Managing Warranty Requests

While warranty requests can also be accessed and managed from the Dashboards and the Edit Warranty Job page, the Warranty Request list is the primary workspace for working with Warranty Requests.
From this page, users can filter and review requests, update details such as status and assignments, and manage related work, including deficiencies and work orders.
Find a Warranty Request
Warranty Requests are managed from the Warranty Request list, which displays all requests associated with Warranty Jobs.
To locate a specific request, use the available search and filter tools.
- Searches can be performed using the Warranty Request Number, Warranty Job, Civic Address, and Description. Search results support partial matches, allowing you to enter incomplete information to locate requests.
- Filters can also be applied using the Filter button to the right of the search bar. Users can filter by:
Filter | Description |
Coordinator | Filters requests by the assigned coordinator. |
Status | Filters by request status (such as New, In Progress, Completed). |
Close Window | Filters requests based on when they were closed. |
Priority | Filters by priority level. |
Aging | Filters requests based on how long they have been open. |
Working with Warranty Requests
Once a Warranty Request has been located, users can take a number of actions directly from the request list.
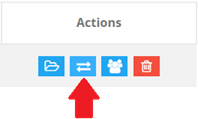
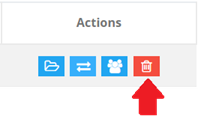
The Warranty Request Number is a link that opens the Warranty Job Requests details page. Additional actions are available from the Actions column.
Warranty Request List Quick Actions
From the Warranty Request list, users can:
- Select the Warranty Request Number – Opens the Warranty Job Requests page with the request details of the selected Warranty Request.
- Manage – Opens the Warranty Job Requests page with the request details of the selected Warranty Request.
- Change Status – Opens the Change Status window.
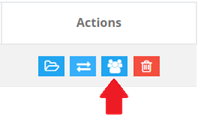
- Assign Coordinator – Opens the Assign Coordinator window.
- Delete – Removes the Warranty Request.
When accessing a request from the Warranty Request List, the selected request is automatically highlighted when opened, allowing users to quickly identify and begin working with the correct record.
Change a Warranty Request Status
To update the status of a Warranty Request:
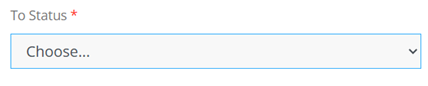
- Select Change Status from the Actions column. The Change Status window will open.
- Review the current status displayed in the window.
- Select a new status from the available options.
- Enter a status change description. The description field defaults to “Status change”, but can be updated as needed.

- Select Submit to apply the change.

Assign a Coordinator to a Warranty Request
To assign a coordinator to a Warranty Request:
- Select Assign Coordinator from the Actions column. The Assign Coordinator window will open.
- Review the list of available coordinators. Use the search bar to locate a coordinator. Searches can be performed using available coordinator details and support partial matches.
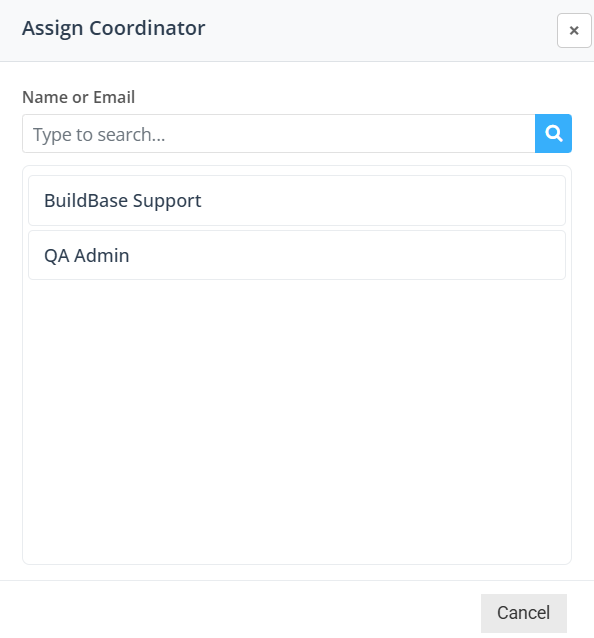
- Select a coordinator from the list. The coordinator is automatically assigned when selected.
Delete a Warranty Request
- Once the appropriate Warranty Request is located, select Delete from the Actions column.
- Confirm the deletion when prompted.
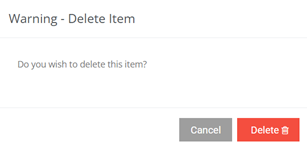
If you are unsure, contact your administrator before proceeding.
Manage Requests from the Warranty Job Requests Page
The Warranty Job Requests page is the primary location for reviewing and managing Warranty Requests once they have been accessed.
From this page, users can work directly with all Warranty Requests linked to the Warranty Job and perform a range of actions to support issue tracking and resolution.
When accessing a request from the Warranty Request List, the selected request is automatically highlighted when opened, allowing users to quickly identify and begin working with the correct record.
From the Warranty Job Requests page, users can:
- Change the Warranty Job associated with the request.
- Edit request details.
- View, add, and delete attachments.
- View, add, update, and delete notes.
Change Warranty Job
To reassign a Warranty Request to a different Warranty Job:
- Select Change Warranty Job.

- The Change Warranty Job window will open.
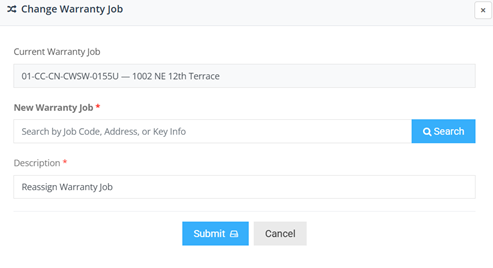
- In the Change Warranty Job window, complete the following fields:
Field
Description
Current Warranty Job
Displays the Warranty Job currently linked to the request (read-only)
New Warranty Job
Select the magnifying class to search for and select the new Warranty Job
Description
Provides context for the change (defaults to “Reassign warranty job”)
If the correct Warranty Job cannot be found in the search results, it may not yet exist in the system. In this case, create a new Warranty Job as described in Create a Warranty Job. - Select the Submit button to save the change.

Edit Warranty Request Details
To update the details of a Warranty Request:
- Once the appropriate Warranty Request is highlighted, select the edit button from the request details tab.

- The Warranty Request Details window will open.
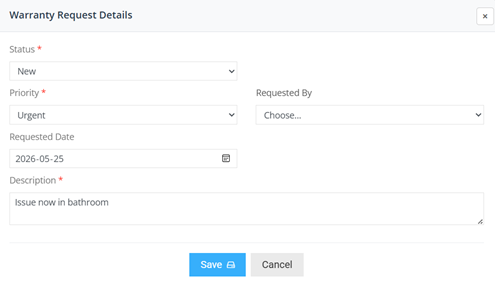
- Update Request Details. In the Warranty Request Details window, complete or update the following fields:
Field
Description
Status (required)
Select the appropriate status for the request.
Priority (required)
Select the importance of the request.
Requested By
Identifies the individual who submitted the request.
Requested Date
Select a date from the calendar or enter a date manually
Description
Freeform text field used to provide additional details about the request
- Review and save the changes by selecting the save button.

Manage Warranty Request Attachments
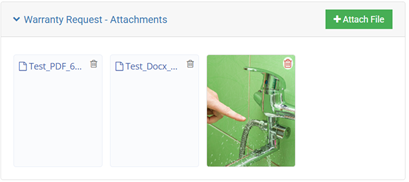
Expand the Warranty Request – Attachments section to view and manage files associated with the request. From the Warranty Request Attachments section users can view, delete existing files or attach new files.
Delete Attachments
To remove an attachment from a Warranty Request:
- Locate the attachment in the attachment preview area.
- Select the garbage can icon in the top left corner of the attachment preview box. The attachment will be removed from the Warranty Request.
The attachment will be removed from the Warranty Request.
Add Attachments
To add one or more attachments to a Warranty Request:
- Select the Attach File button. This will open the Warranty Request - Attach File upload window.
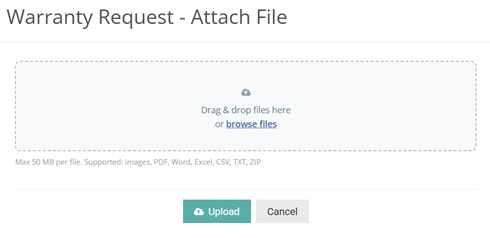
- Add files using one of the following methods:
- Drag and drop one or more files into the window.
- Select browse files to choose files from your device.
- Then select Upload to attach the files to the Warranty Request.
Manage Warranty Request Notes
From the Warranty Job Requests page, ensure the correct Warranty Request is selected.
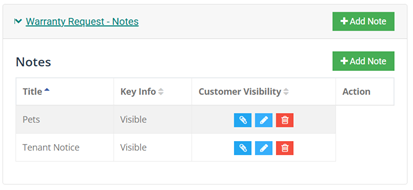
Expand the Warranty Request – Notes section to view and manage notes associated with the request.
Add a Warranty Request Note
To add a note to a Warranty Request:
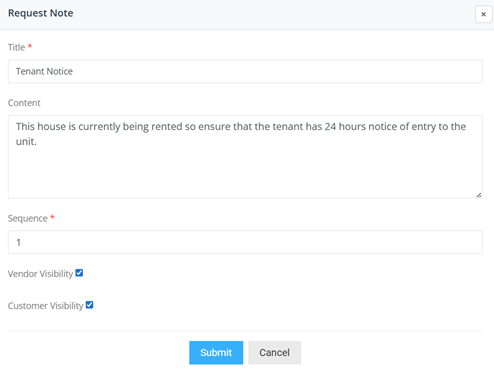
- Select Add Note. The Request Note window will open.

- Enter the note details:
Field | Description |
Title (required) | Enter a title to identify the note. |
Content | Enter the main details of the note. |
Vendor Visibility | Select to allow vendor users to view the note. |
Customer Visibility | Select to allow customer users to view the note. |
Description | Enter any additional context as needed. |
- Review the note details and select the Submit button to save the note.
Attach a File to a Warranty Request Note
To attach a file to a Warranty Request note:
- Select the Attach File button. This will open the Warranty Request - Attach File upload window.
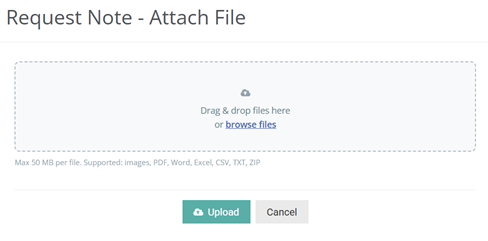
- Add files using one of the following methods:
- Drag and drop one or more files into the window.
- Select browse files to choose files from your device.
- Then select Upload to attach the files to the Warranty Request.
Edit Warranty Request Notes
To edit a Warranty Request Note:
- Select Edit button from the action column. The Request Note window will open.
- Update the relevant note updates. More information on the Request Note window fields can be found above in Add a Warranty Request Note section.
- Review the note details and select the Submit button to save the note.
Delete a Warranty Request Note
To delete a Warranty Request Note
- Select Delete button from the action column. The Delete Request Note confirmation window will open.
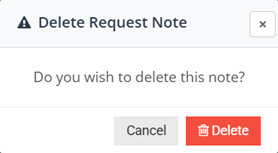
- Confirm the deletion by selecting the Delete button