Cost Model - Budgets

This application may be found in the “Process” tab within the Item Library:
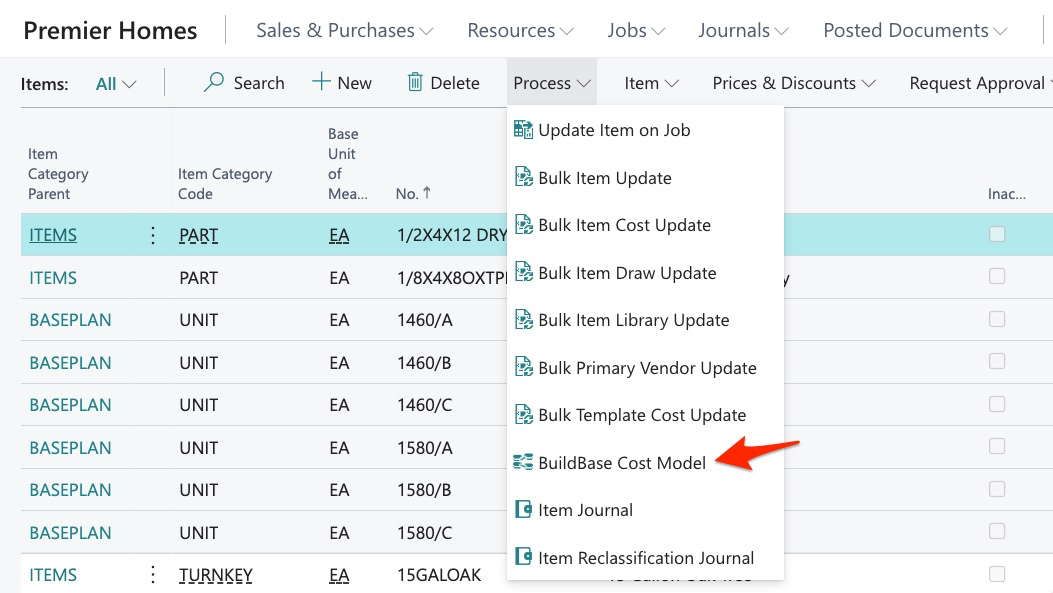
The purpose of this tool is to apply items to jobs for validation of primary vendor as well as the unit cost that will be applied to purchase orders. In short, this app allows us to explode a budget onto a job for preview of models by community, and more.
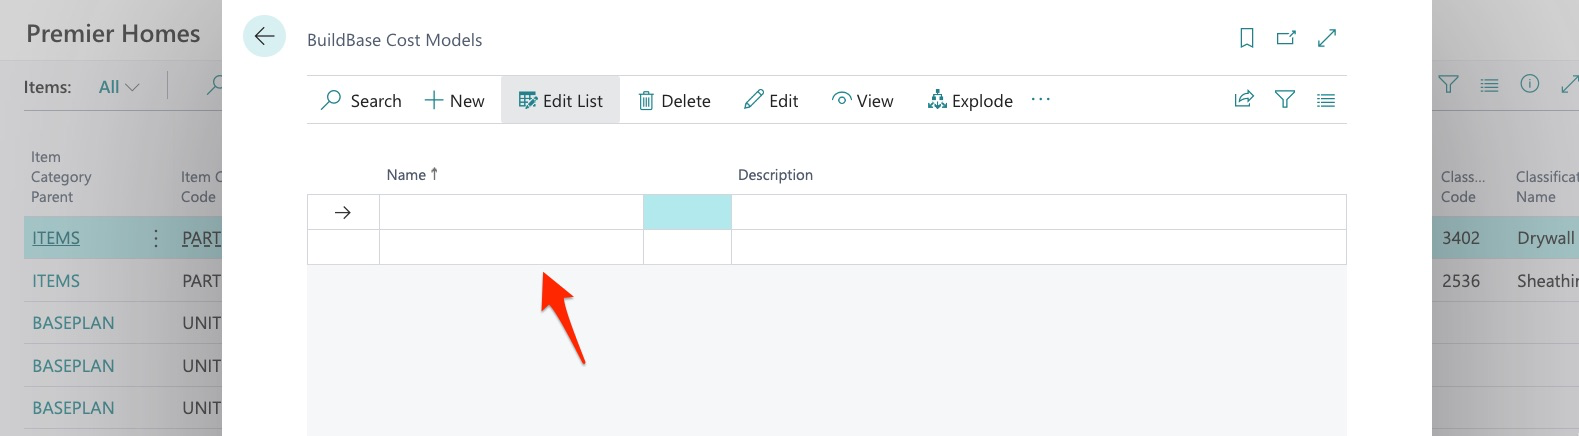
Once in BuildBase Cost Models, we can see we currently have no reports/templates created:
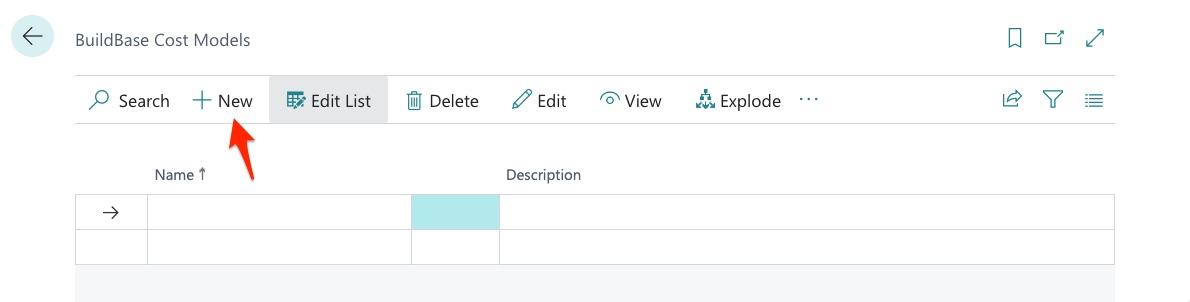
To get started, we click “NEW”:
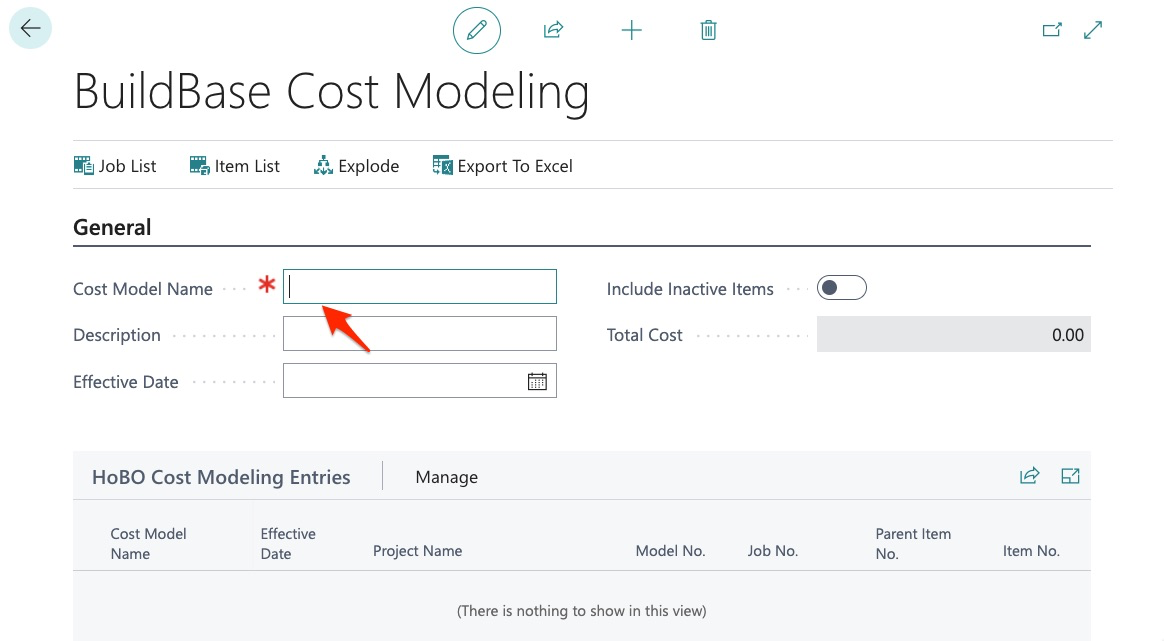
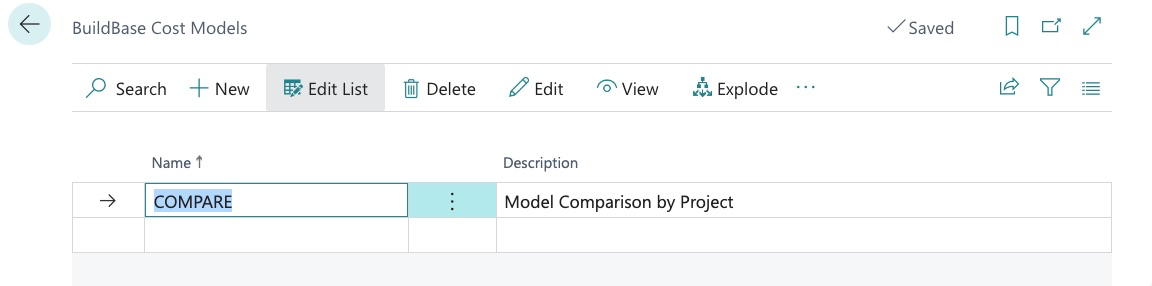
We will start with giving our cost model a name:
In this example, we want to make a model comparison for a model by project:
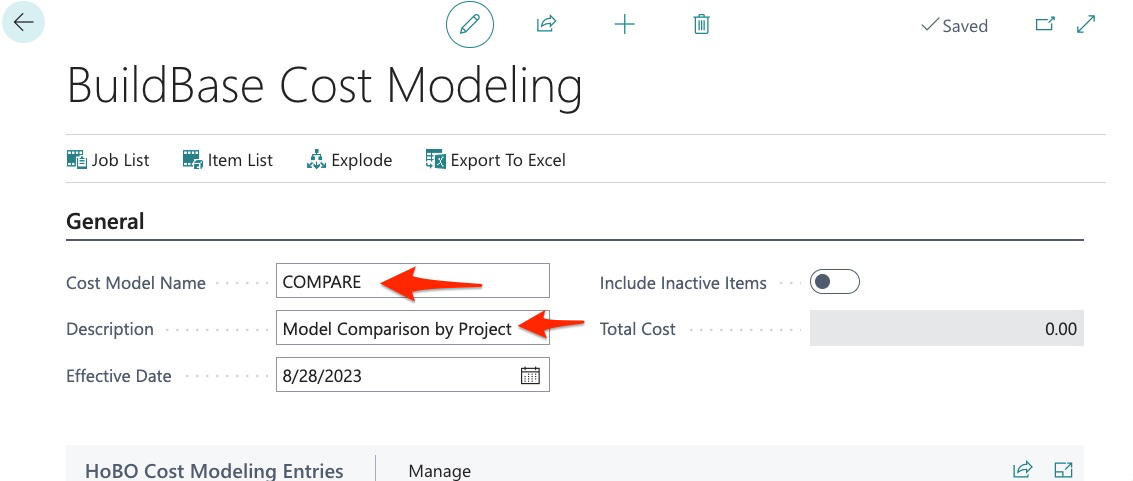
Here we give the cost model a name and description.
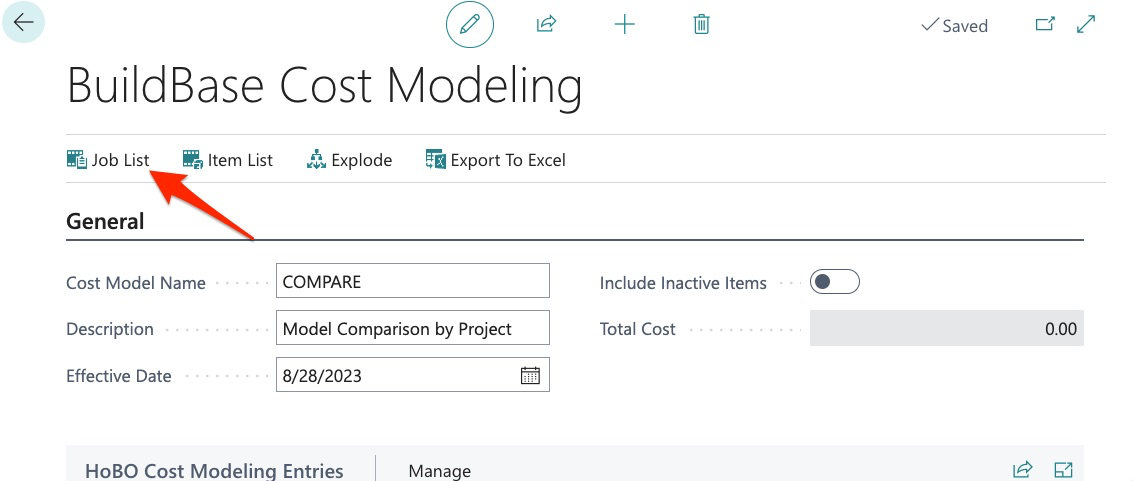
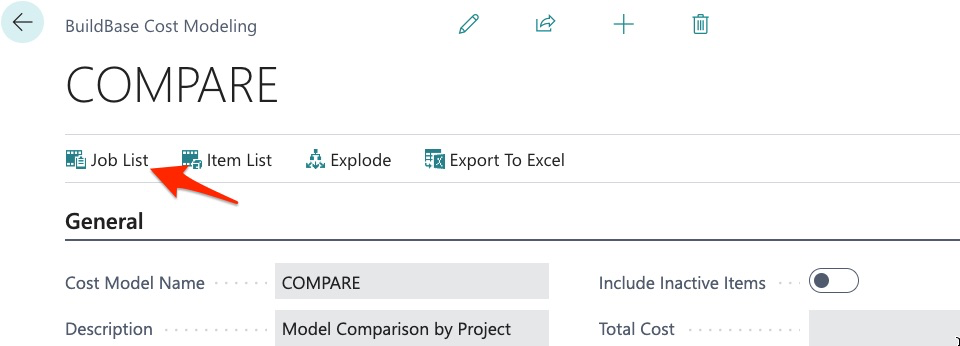
Next, we create our Job List:
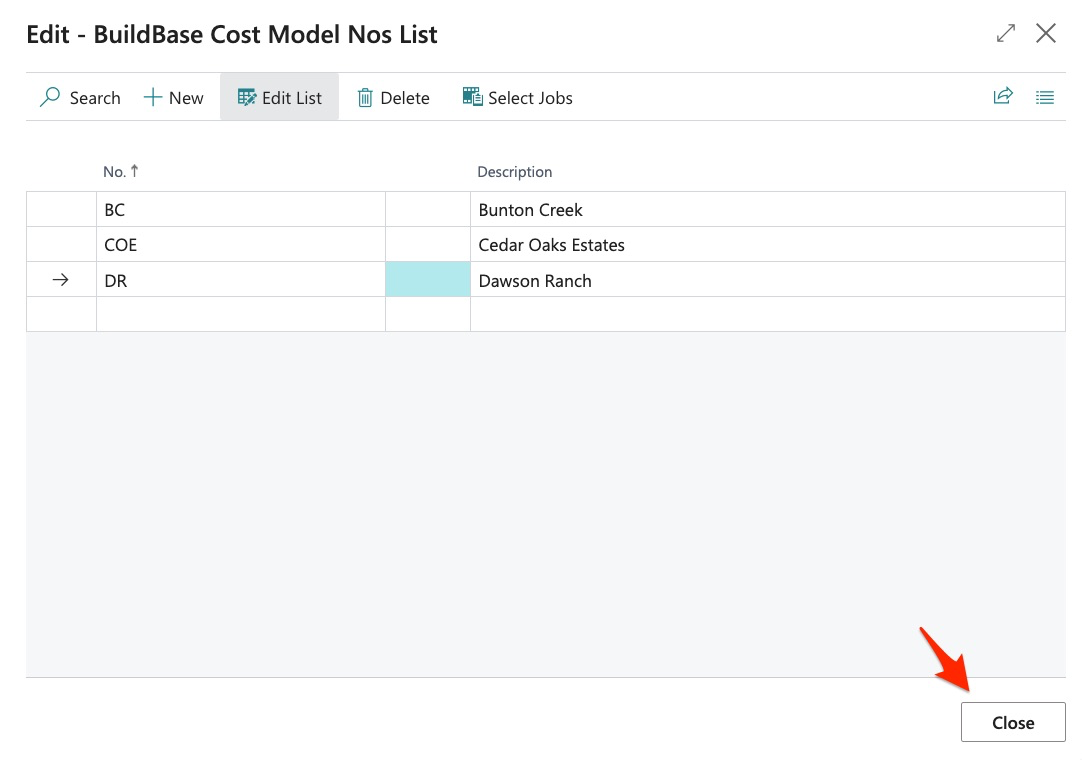
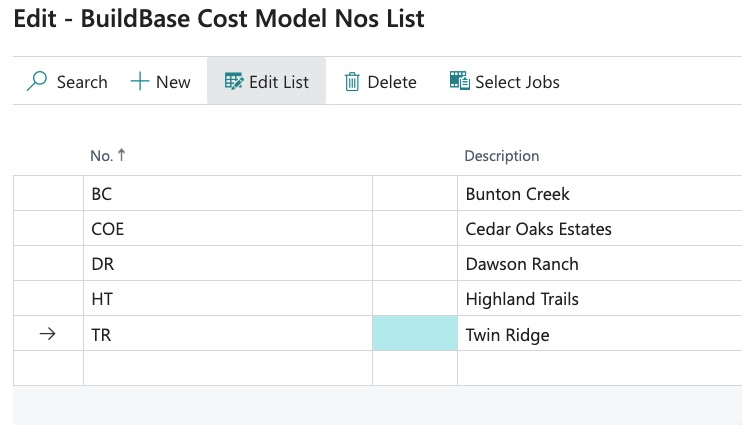
We can select a Job (Project, Building, or Unit):
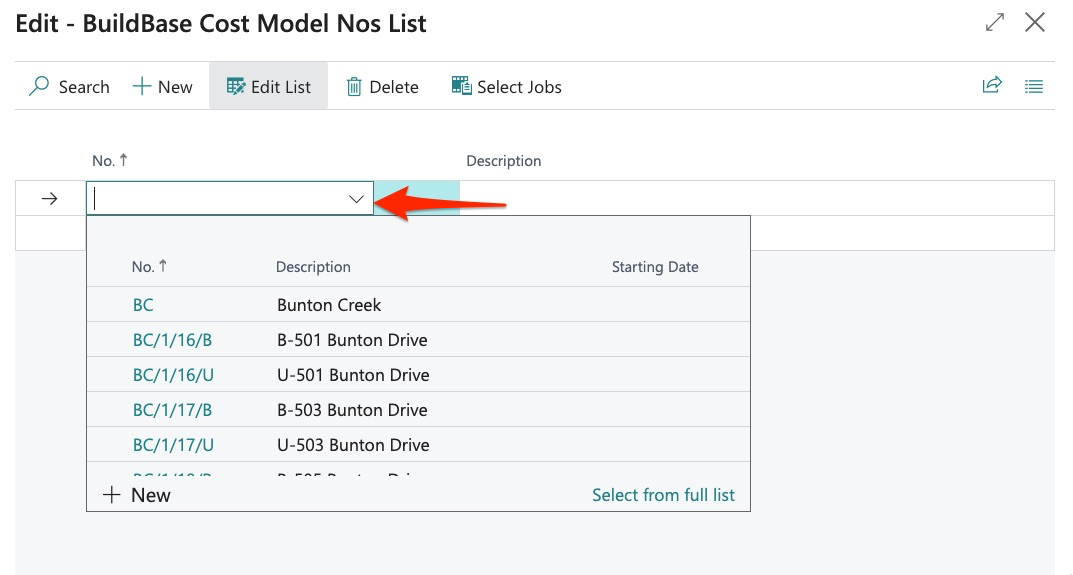
In this example, we want to compare 1 model across multiple projects:
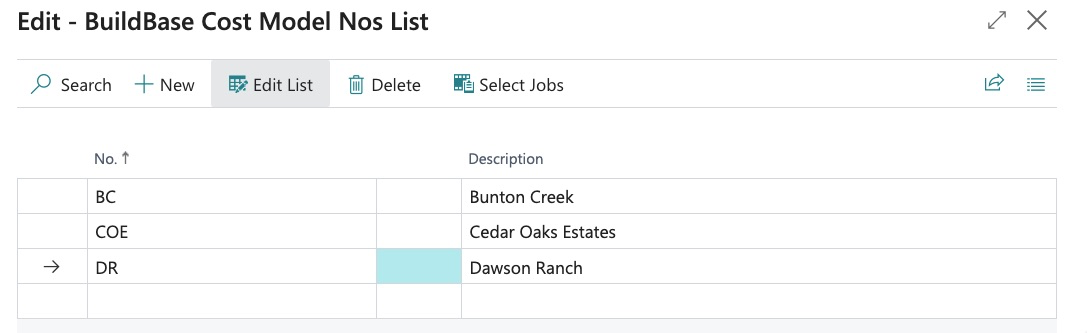
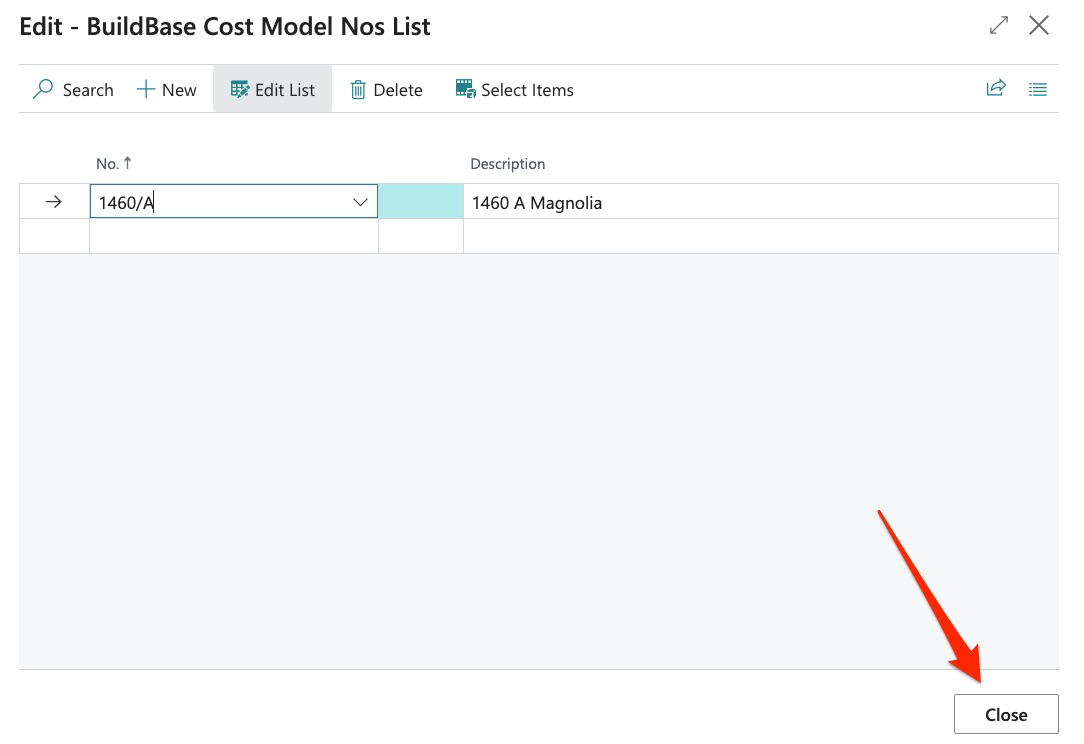
Once all jobs are selected, simply close:
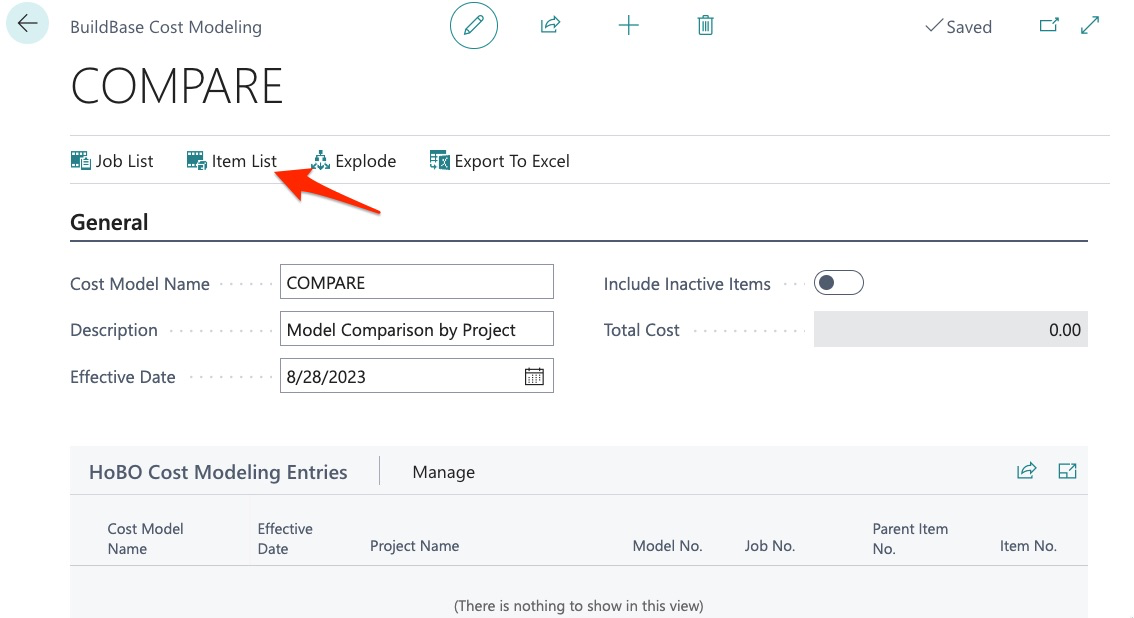
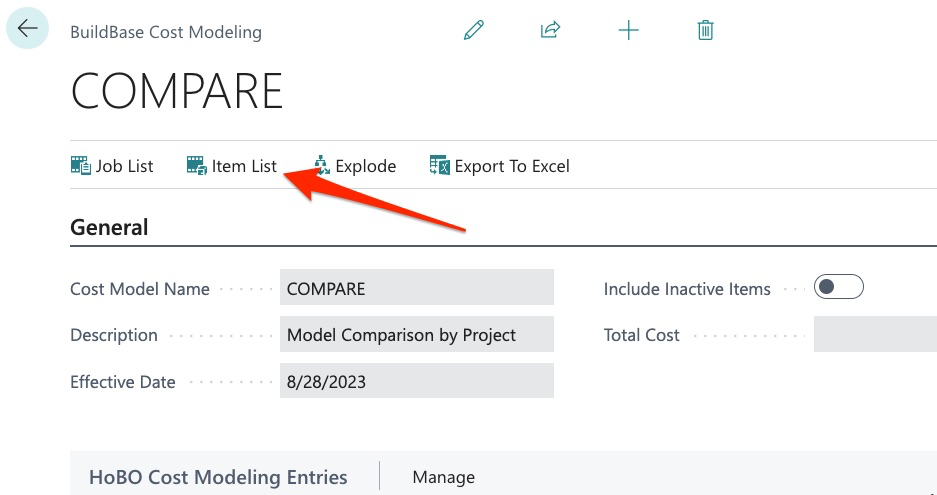
Next, we select our item list:
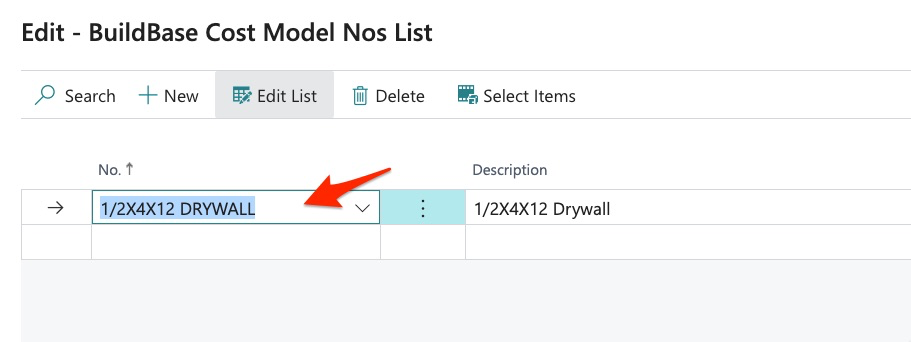
As you can see, we may select from our entire item library:
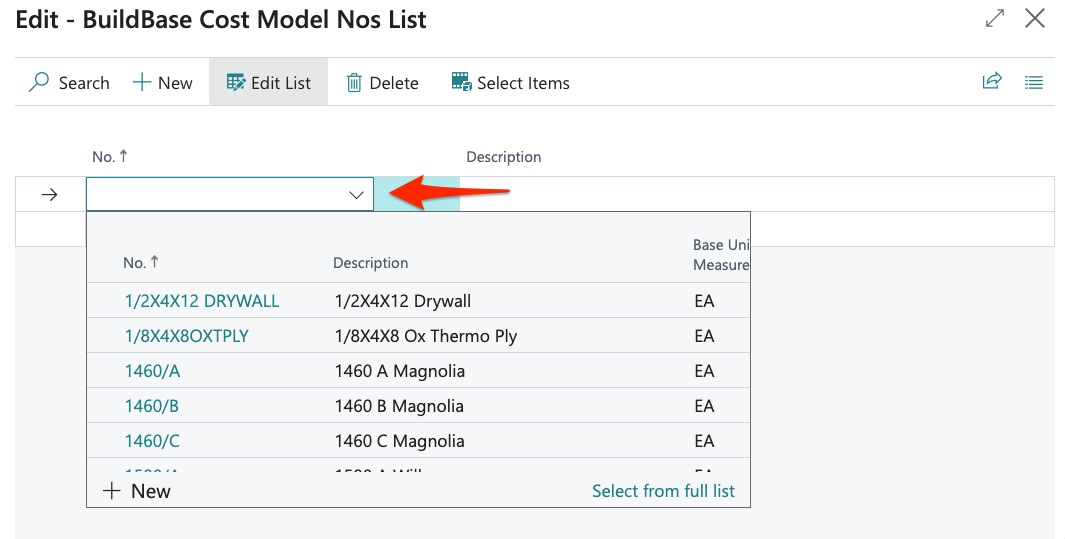
But in this example, we want to compare 1 model across multiple projects so we select the desired model template:
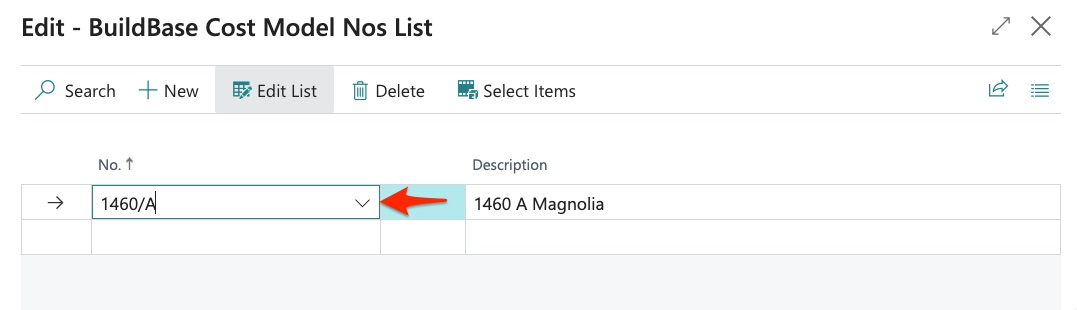
Keep in mind that we can select multiple items (Parts, Models, etc.). Once desired item(s) are selected, close:
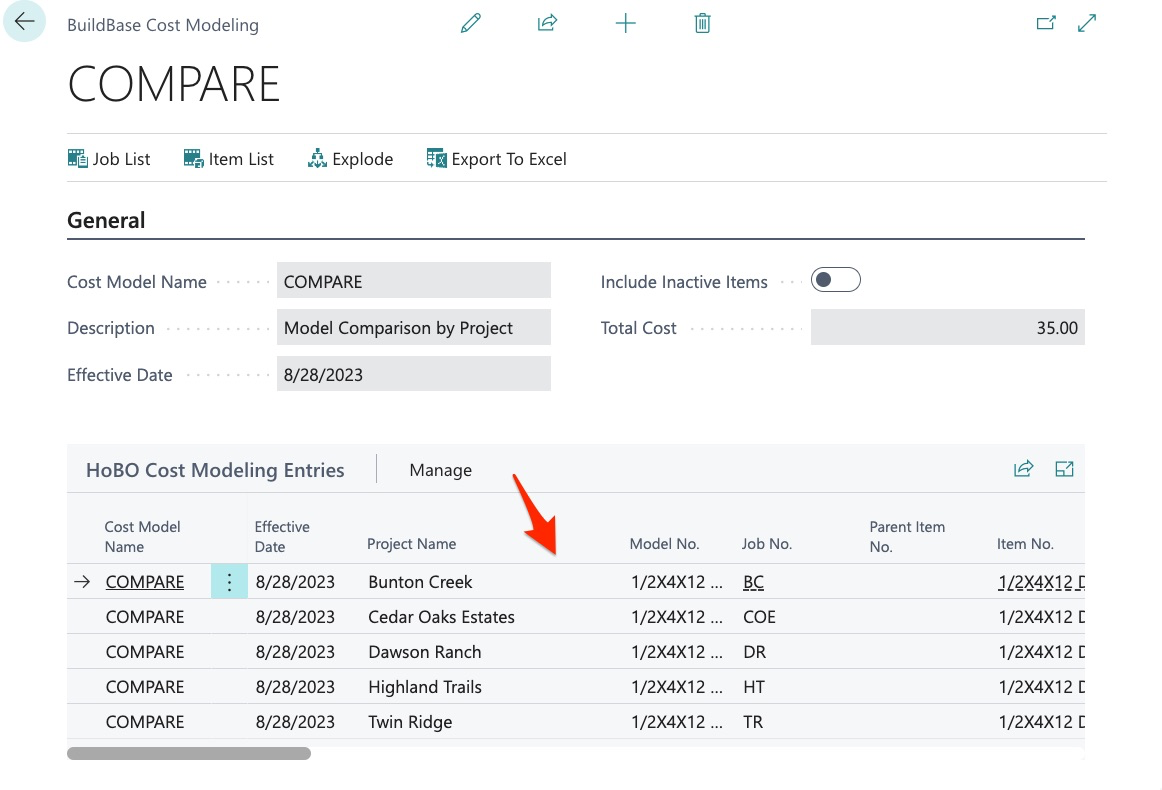
We have now selected the jobs and the item(s) but as you can see, nothing is yet populated in our review pane:
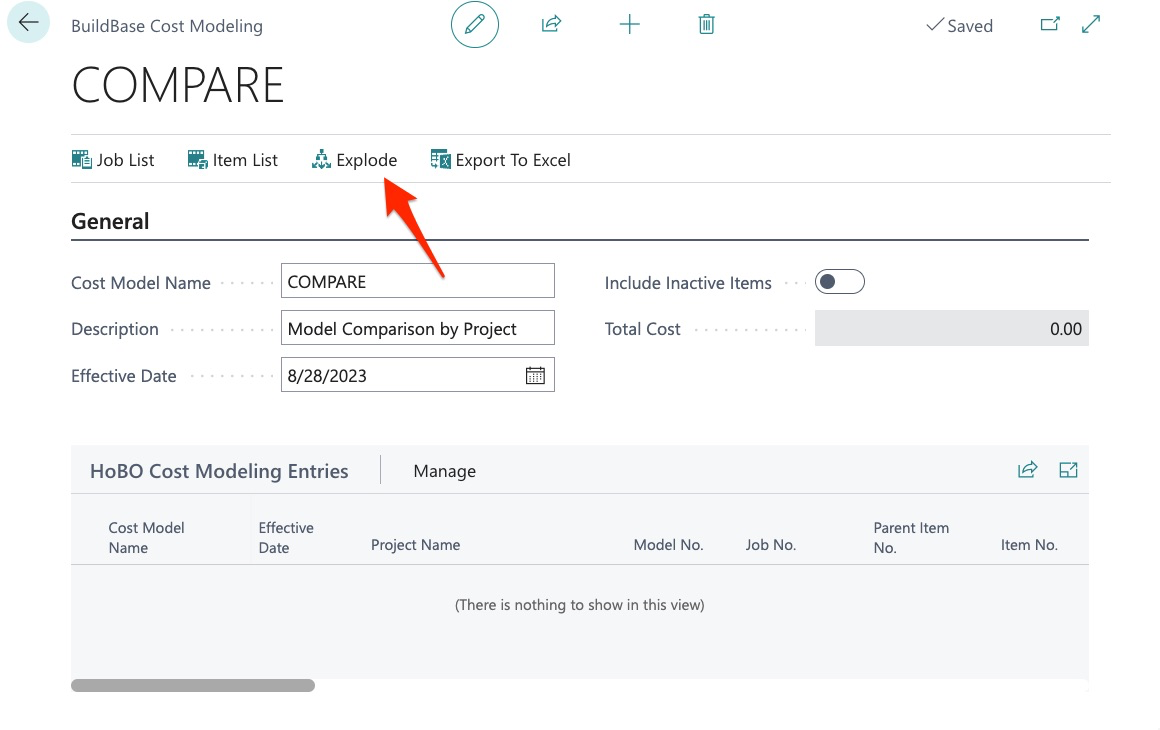
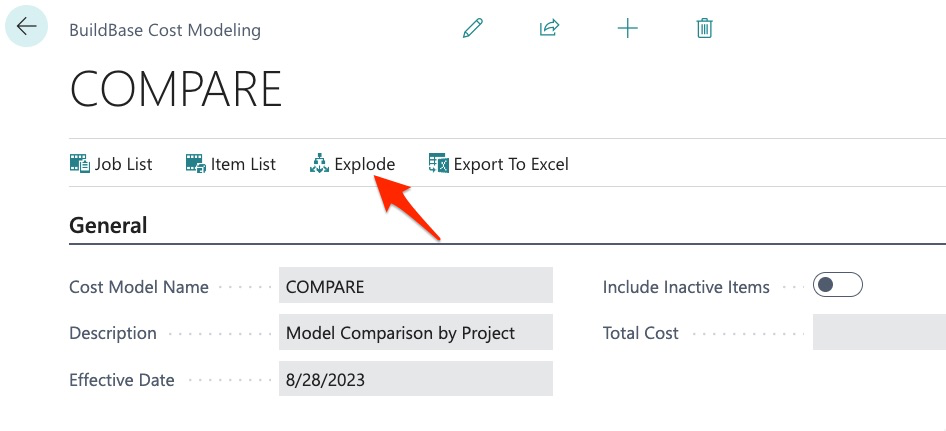
This is because we now have to select “Explode” to bring in all the data.
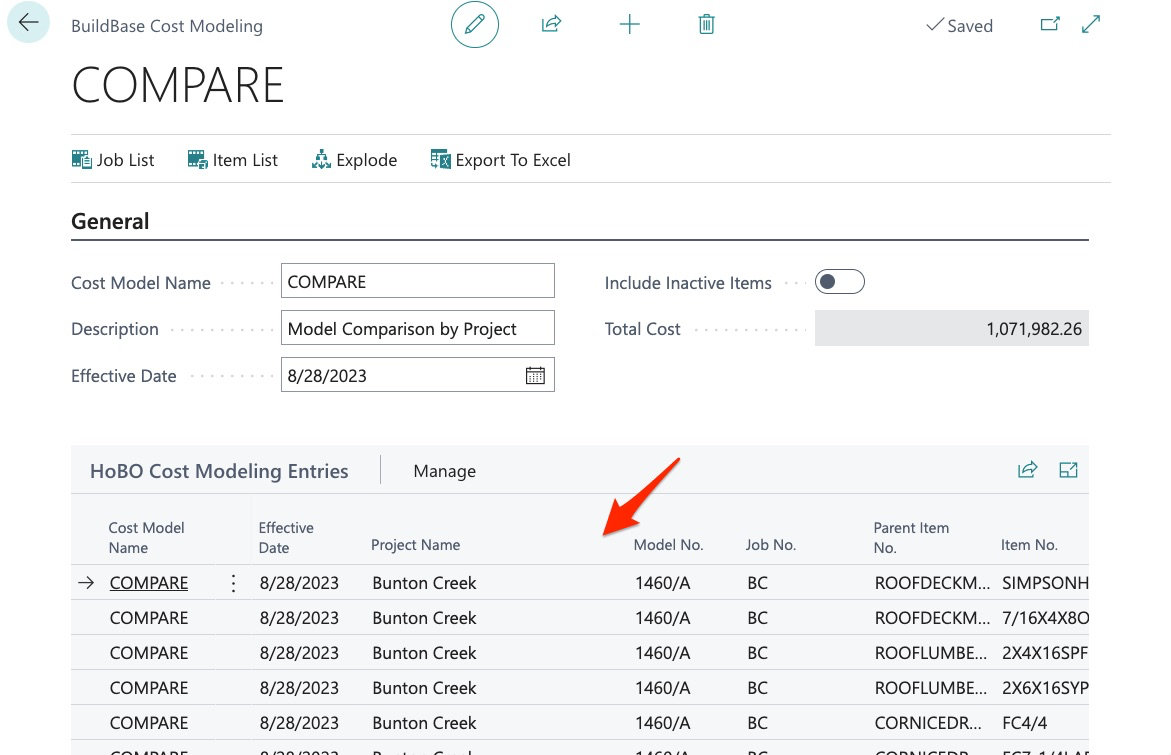
Once exploded, we can now see our items:
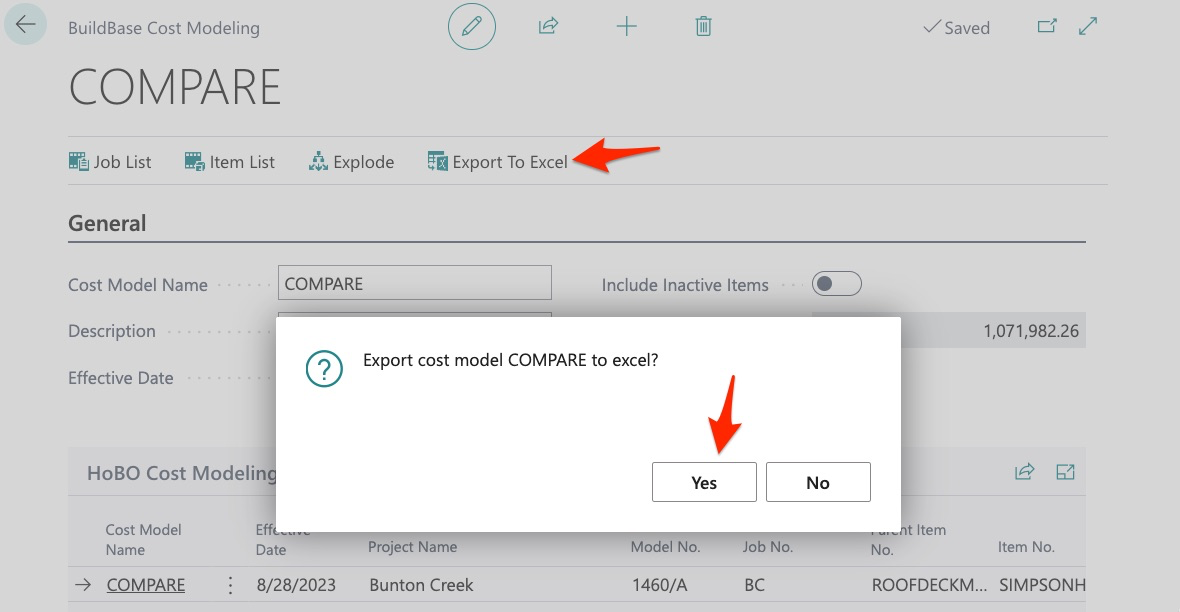
Our data may now be exported to Excel:
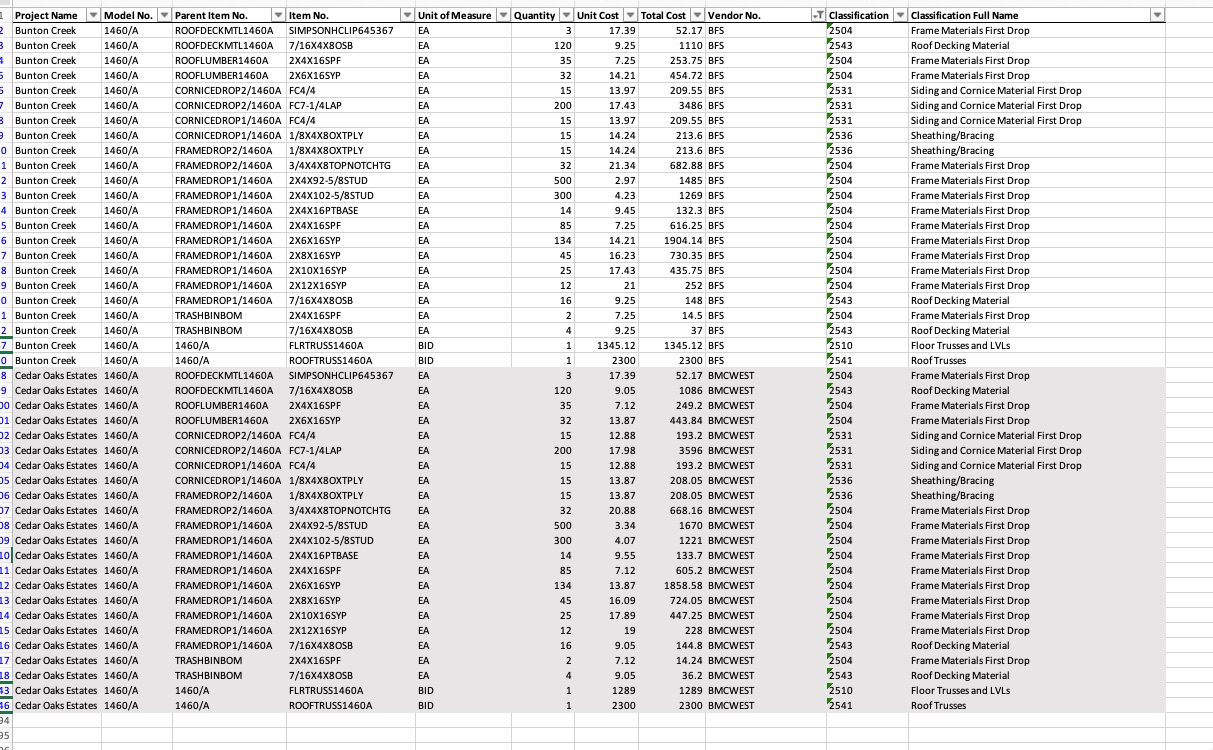
Once exported, we can now see all the items in the assembly 1460/A for each job, in this case project:
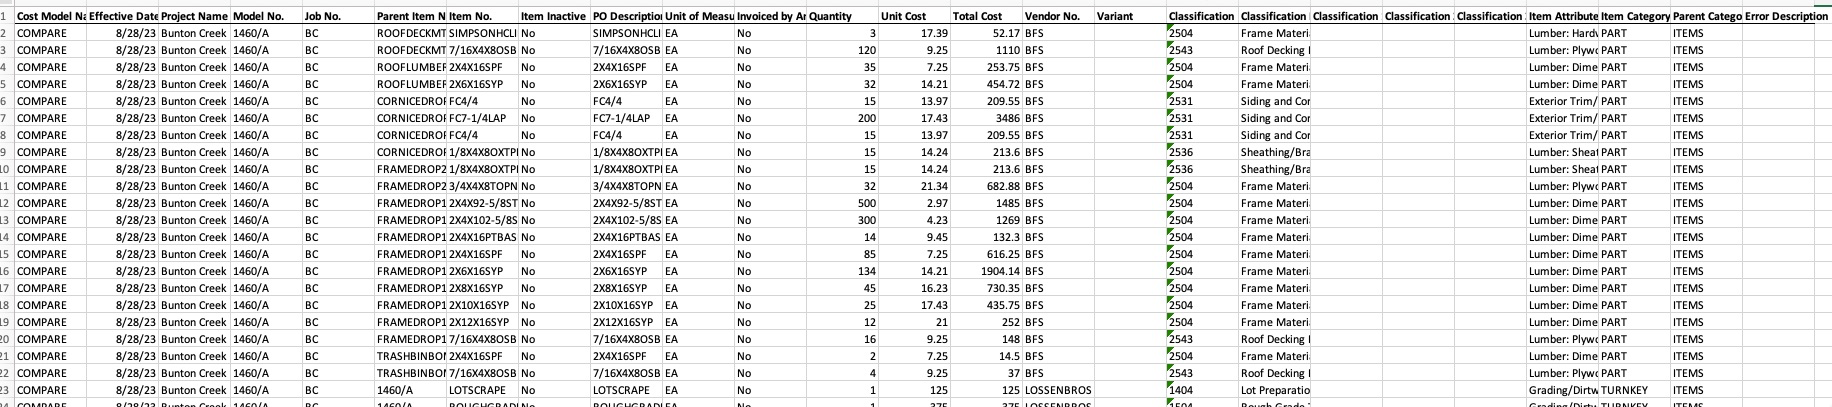
The information also includes vendor assignment, cost, quantity, etc.
Above we see the information for BC or “Bunton Creek”. Next, we see our project COE or “Cedar Oak Estates”:
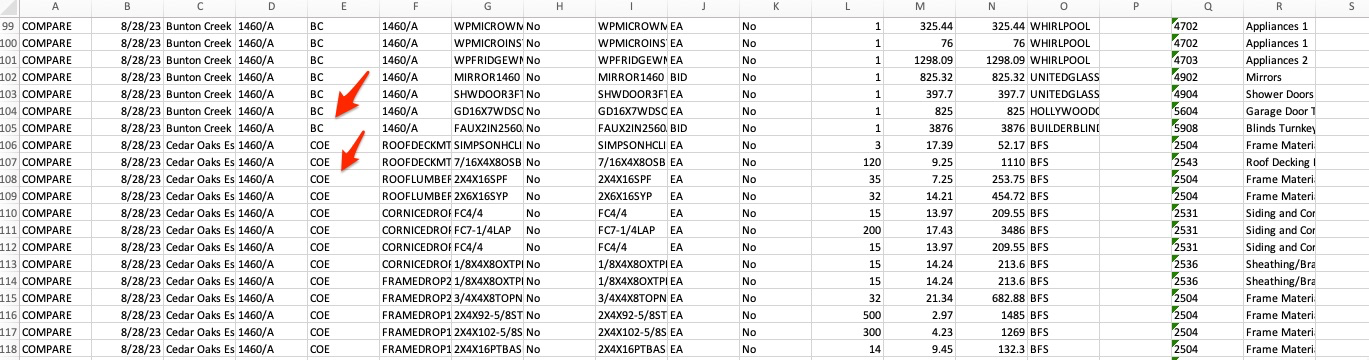
We can now use this data in Excel to review costs for this model by project.
In addition to using this application for cost comparisons, we can also use this tool to locate missing vendor costs. For example here we can see that BFS is assigned to this item for Bunton Creek and has a cost assigned:

However, in Cedar Oak Estates, we can see that CF Supply is the primary vendor and has no cost assigned:

This tool can also show us missing primary vendor assignments:

Above we can see that in Dawsons Ranch, this same item does NOT have a primary vendor assigned.
These features are very useful when it comes to setting up new models and projects as you can review to ensure all vendors are assigned and all costs are created.
Vendor Comparisons
BuildBase Cost Models may also be used to compare vendor costs. From our main menu:
We can choose to create a new report OR we can simply modify the existing report. To modify existing, we click “View”:
Here we select the jobs desired:
And in this example, we add all projects to our list:
Next, we click on our item list:
And in this example, let’s say we want to compare all vendor costs for drywall:
We then “explode” to bring in our changed parameters:
We can see our items below:
And export:

We can now compare vendor costing for this item. Obviously, this is a very simplified example but we want to illustrate how this tool may be used. This is a great way to compare vendor costing across plans and projects for things like:
- Lumber and Cornice Packages
- Interior Trim Material
- Brick and Masonry Supplies
- ETC.
This tools gives us visibility down to the item level as well as across an entire assembly which will allow us to make good decisions when assigning contracts to our trade partners.
For example, BFS (Builder’s First Source) is our lumber supplier in Bunton Creek and BMC West is our lumber supplier in Cedar Oak Estates. We can use the cost model to compare our costs:
With filtering, we can now review all the items applied to a model and receive good cost comparison data to better analyze costs.
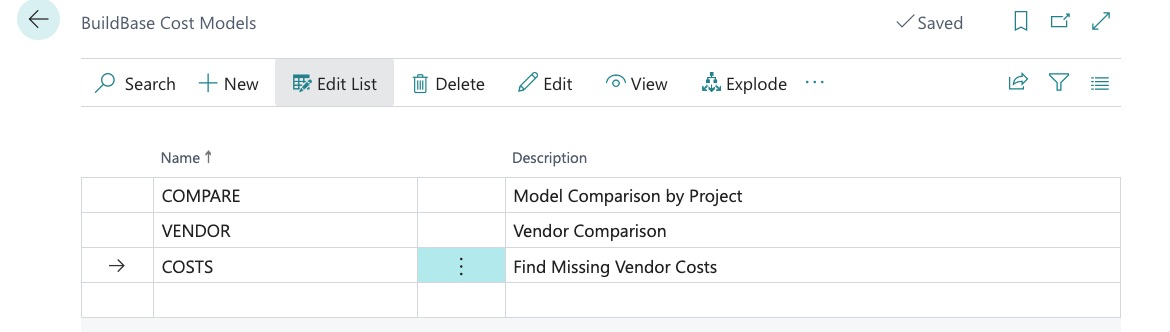
Keep in mind that you have the ability to create many cost models:
And can modify them at any time.
We hope you found this guide useful.