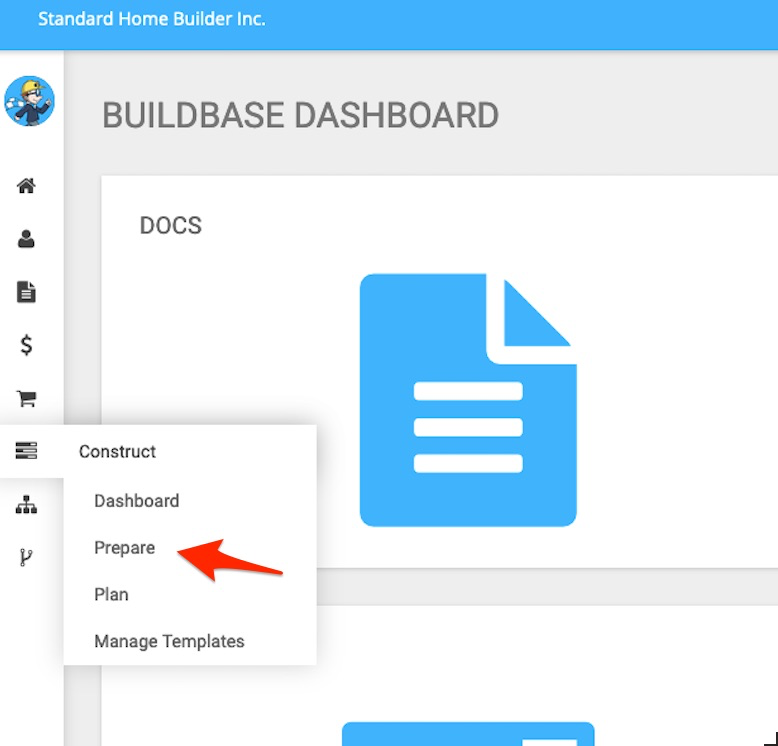
Apply a Schedule - Prepare

Before you start construction on a new job/lot, you need to apply the construction schedule using the prepare feature in construct.
This primary function of this application is to allow us to assign schedule templates to jobs (units and buildings).
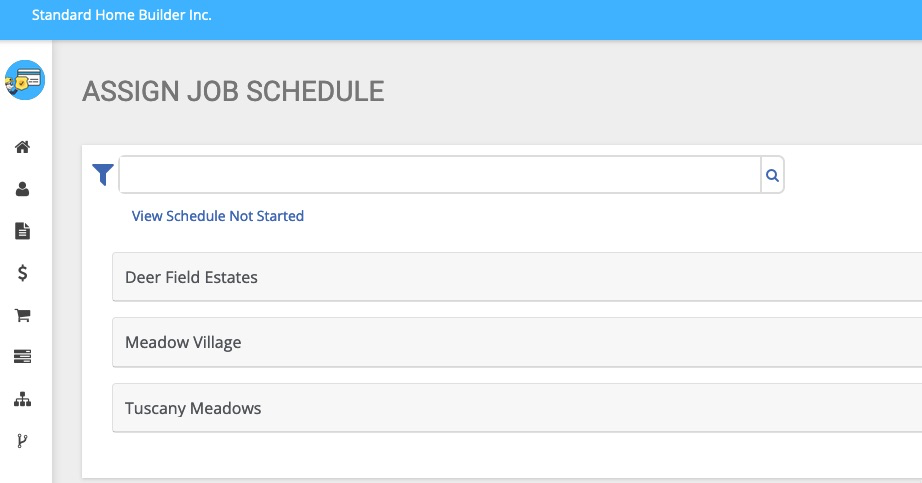
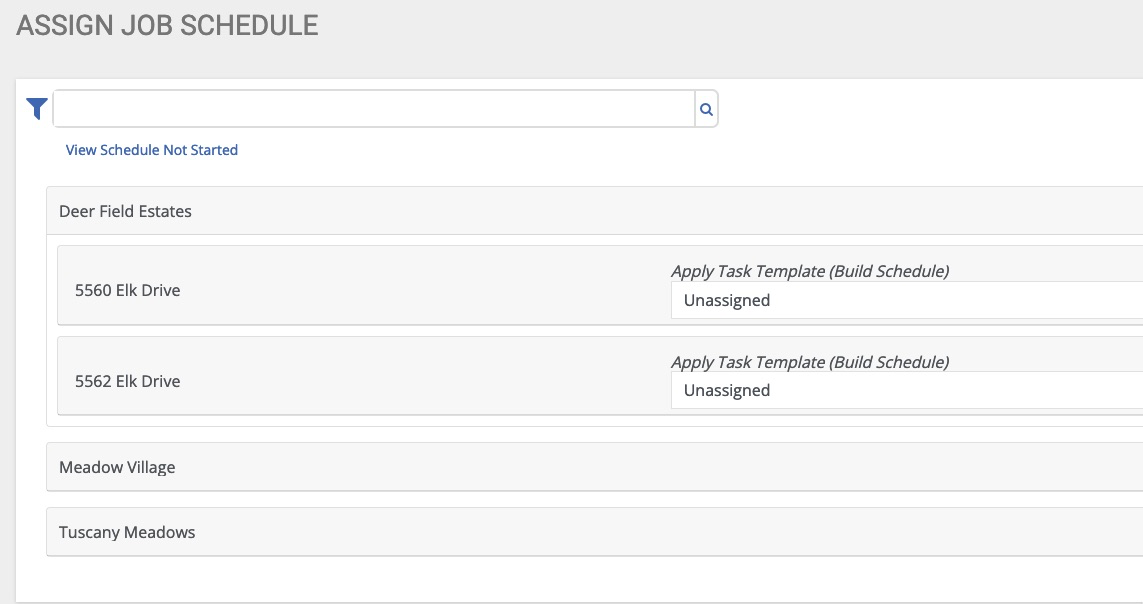
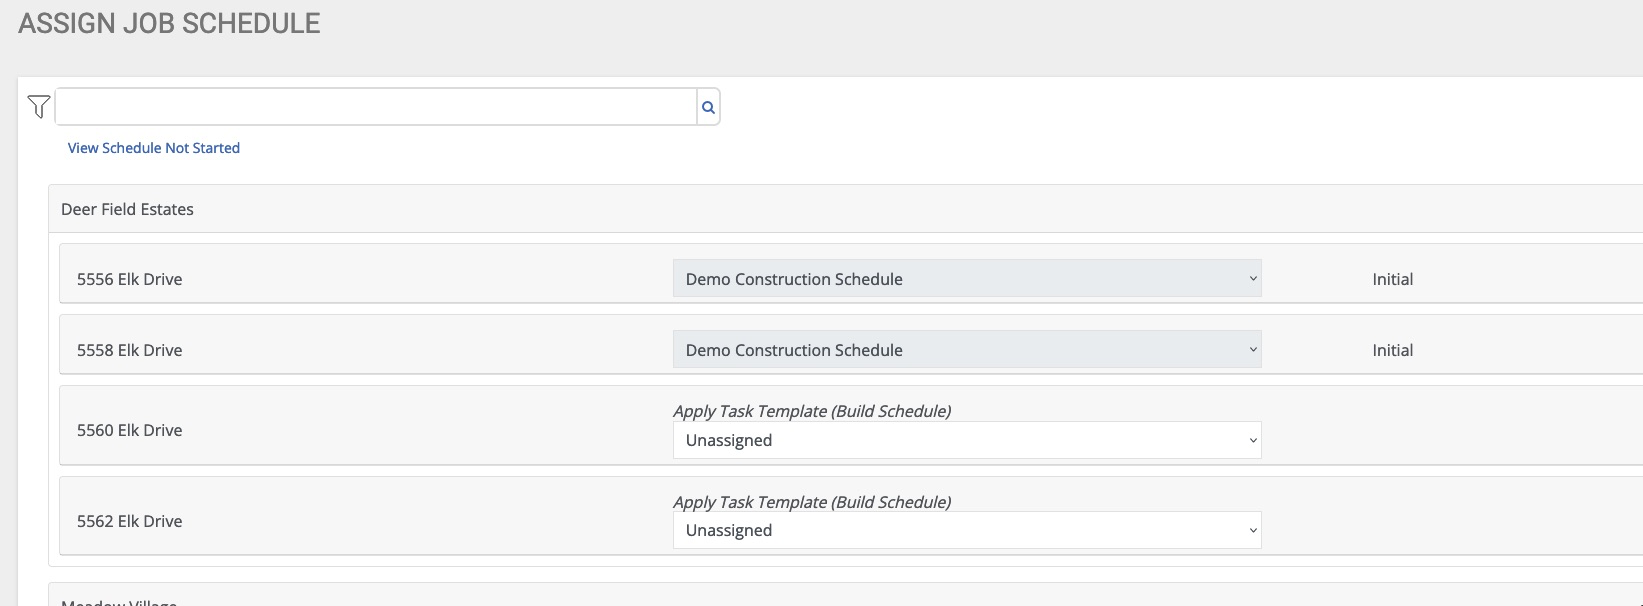
Once in the application, we see a list of all active projects in the system.
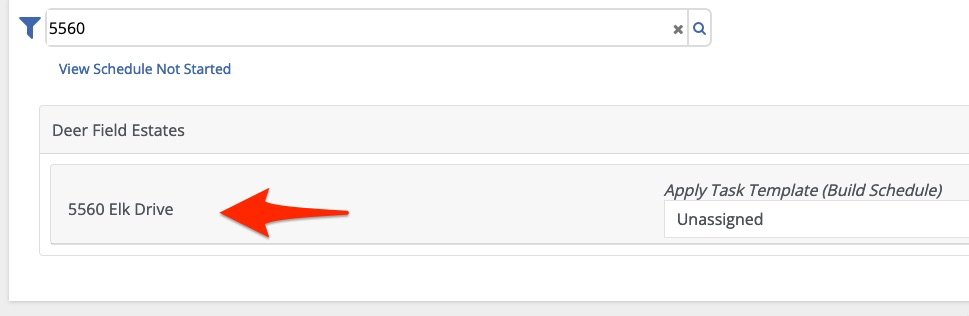
Clicking on a project name reveals any buildings/units that do not have a schedule assigned:
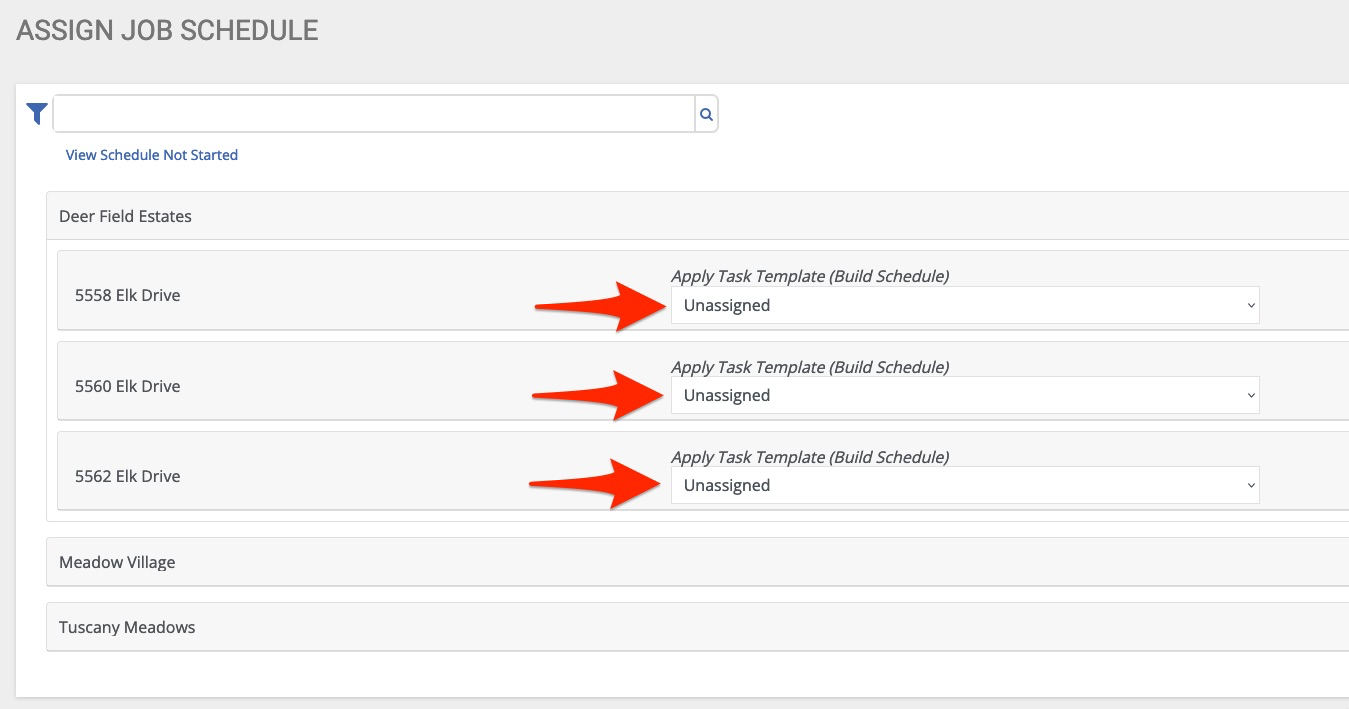
To assign a build schedule to a job, simply select the desired schedule from the list:
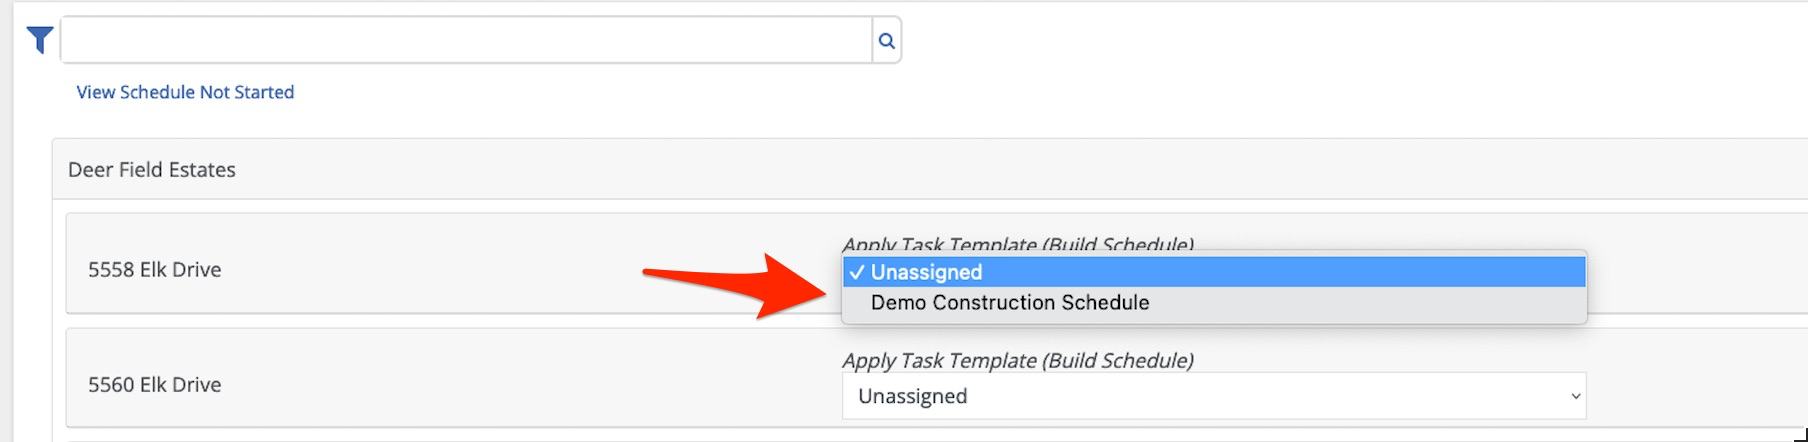
In this example, we only have 1 “demonstration” schedule but your organization may have multiple schedules to
choose from. The BuildBase team will work with you to define and create the schedules you need. These may
include:
- Single family schedule
- Project specific schedules
- Multi-family schedules
Once the schedule is selected:
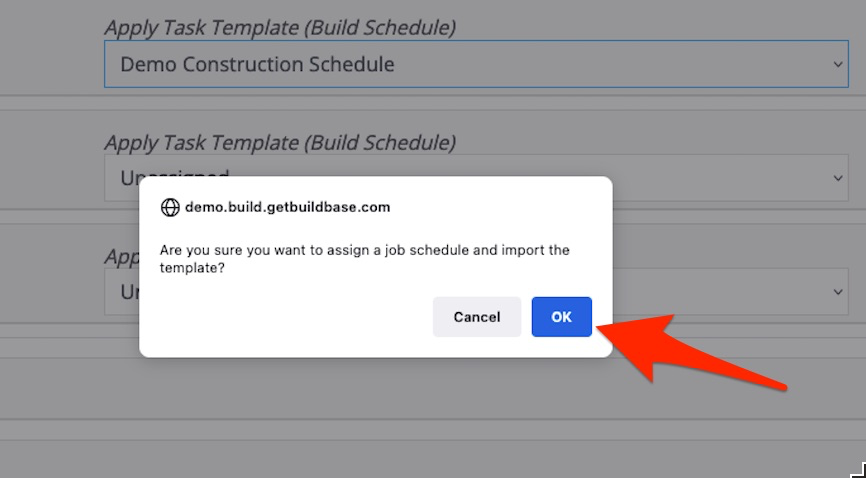
Click “OK”.
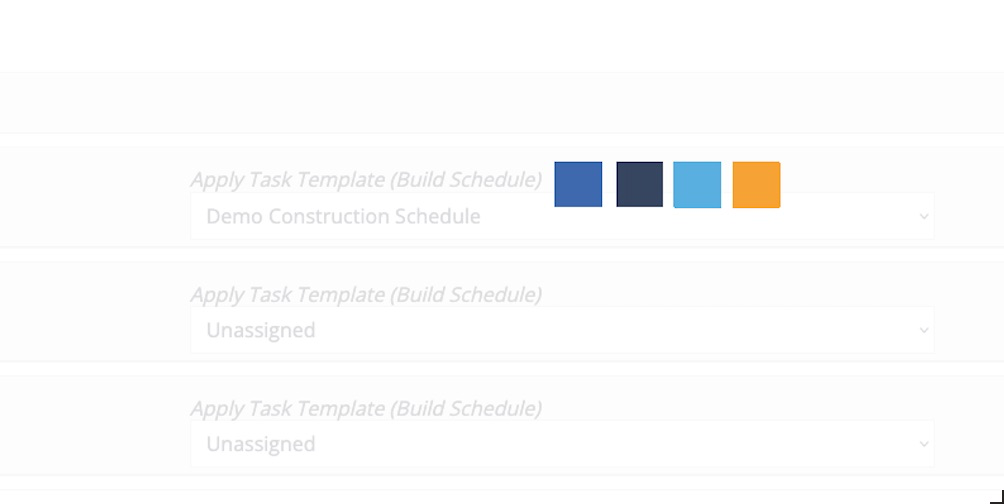
The system will give you a quick progress screen as it applies the schedule and all its tasks:
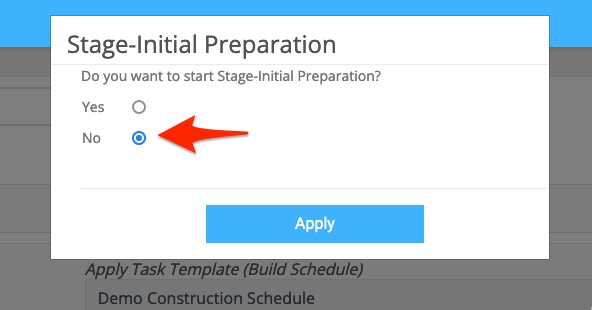
Once loaded, the system will ask if you want to start the initial stage:

If yes is selected, the schedule will become active meaning, the first stage (does this mean the first task has been started or does it mean that the first stage or group of tasks has been started) has now been started and the schedule is in progress.
In this example, we select “No” and apply:
We are now back in our list of projects and jobs that do not have schedules assigned:
Above, we can see that 5558 Elk Drive is no longer on the list because it now has an assigned schedule.
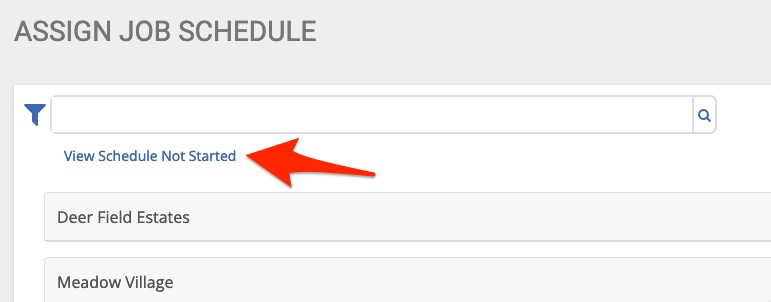
This application also allows us to find all jobs that have a schedule assigned, but are not yet started:
A new browser window opens and here we can see the address for the job we just assigned a schedule:

In this view, I may use the actions to start the job. See guide on “Construction Dashboard” for details.
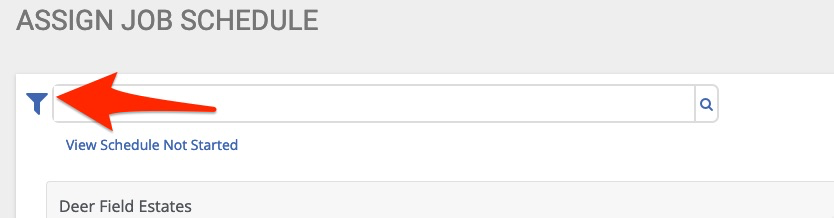
The “Prepare” application also includes filters and a search feature:
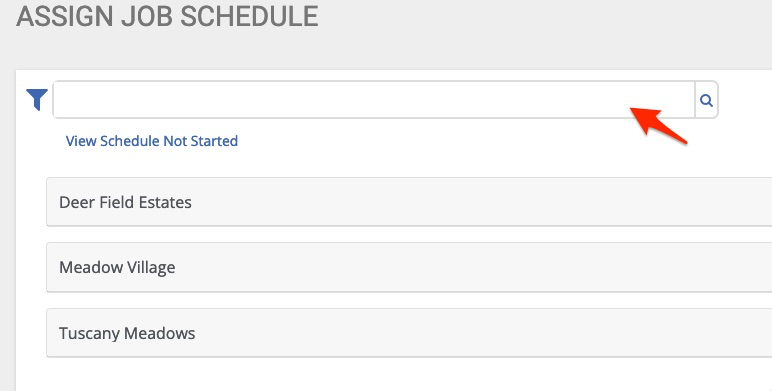
The quick search feature allows me to quickly reach the desired project:
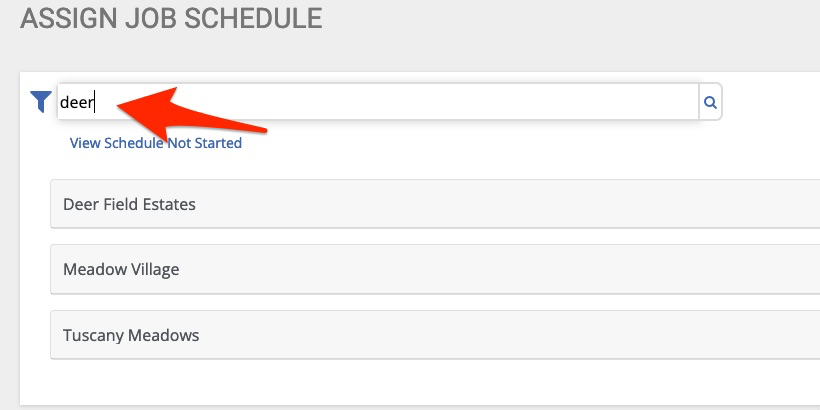
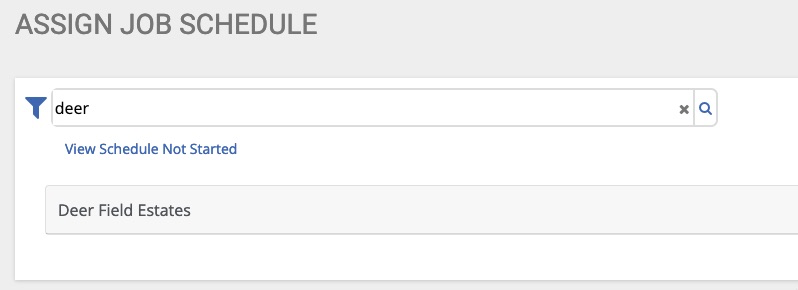
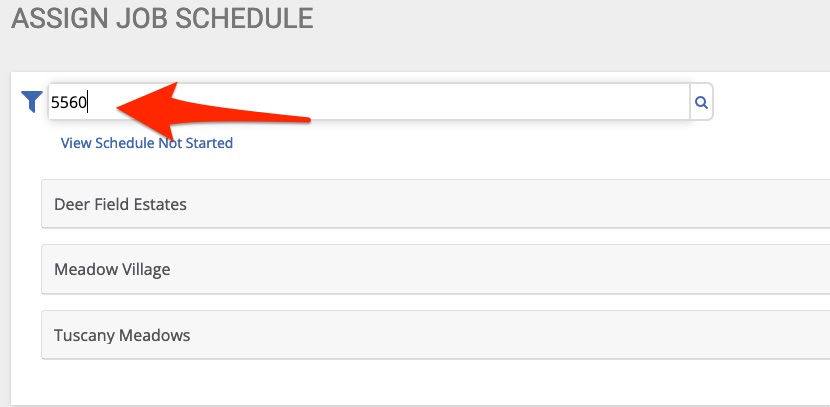
Or job:
By simply typing in a few key letters/numbers, then click return or the search icon.
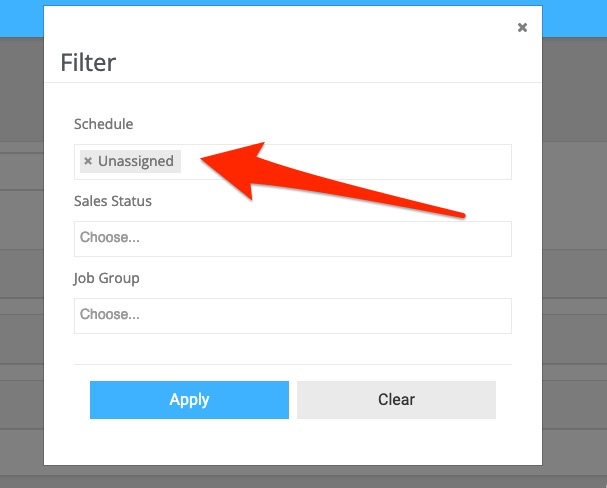
The filter tool provides even more refined search capabilities:
Here we see that by default the report show users only those jobs that have not yet been assigned schedules:
If we remove the “unassigned” parameter and apply:
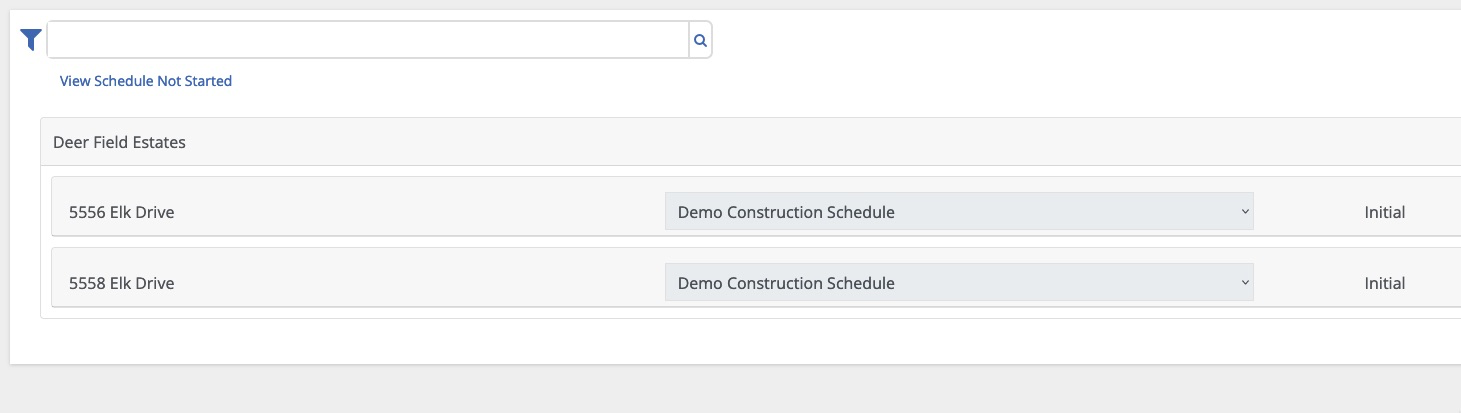
The report now shows us all active jobs in the system, whether there is a schedule assigned or not, as well as
whether or not they are started. So, this is a great way to filter to check/confirm the following:
- Do all my jobs have schedules?
- Do all my jobs have the correct schedule?
In addition to looking for all jobs to see which schedule is assigned, we can also search by building schedule template to find all jobs that have this schedule assigned:
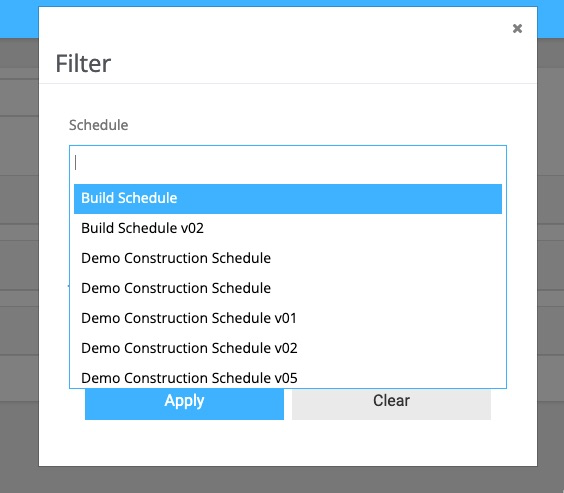
Here we select our demonstration schedule:

We can then see the jobs that utilize this schedule: