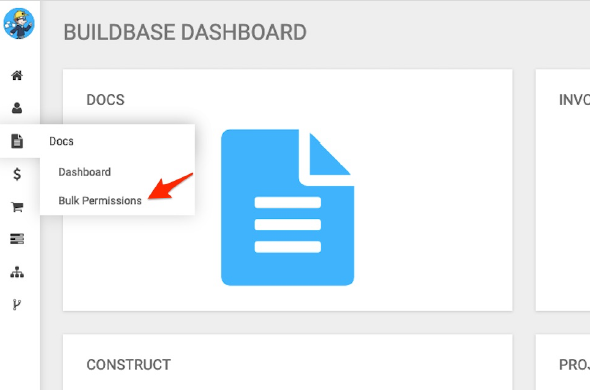
Bulk Permission Assignment

As seen in a previous training guide, document type permissions may be setup one at a time for each document type. In this guide, we will learn how the Bulk Permissions application allows us to set permissions across all user roles in one easy to use menu.
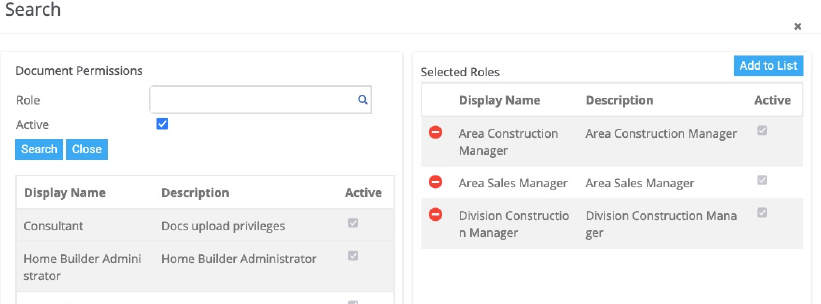
Once in Bulk Permissions, we see this:
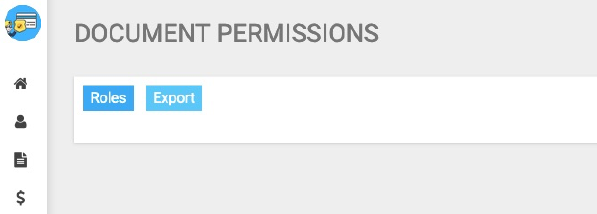
We can select “Roles” or “Export”. By selecting “Roles” we are given a list of all active roles.
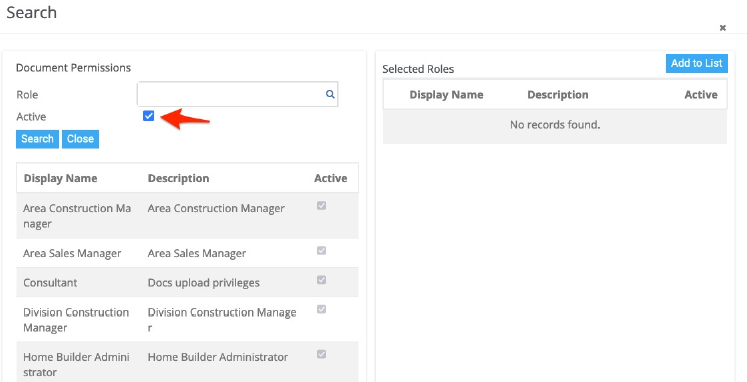
A key word search is also available to make finding roles easy:
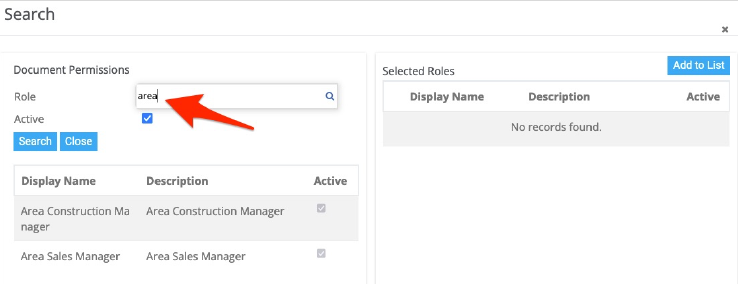
In the role list, select the roles to adjust permission. Each role selected is then added to the right side of the menu:
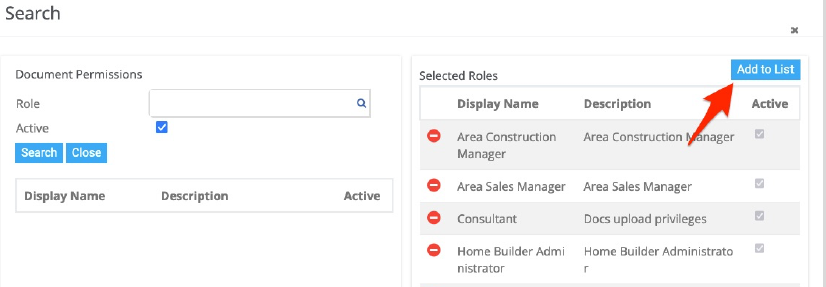
To remove a role from the list, simply click the red “minus” icon next to the role:

In this example, we have selected all roles. We then select “Add to List”:
Our menu now shows us all active document categories on the left and the roles we selected on the right:
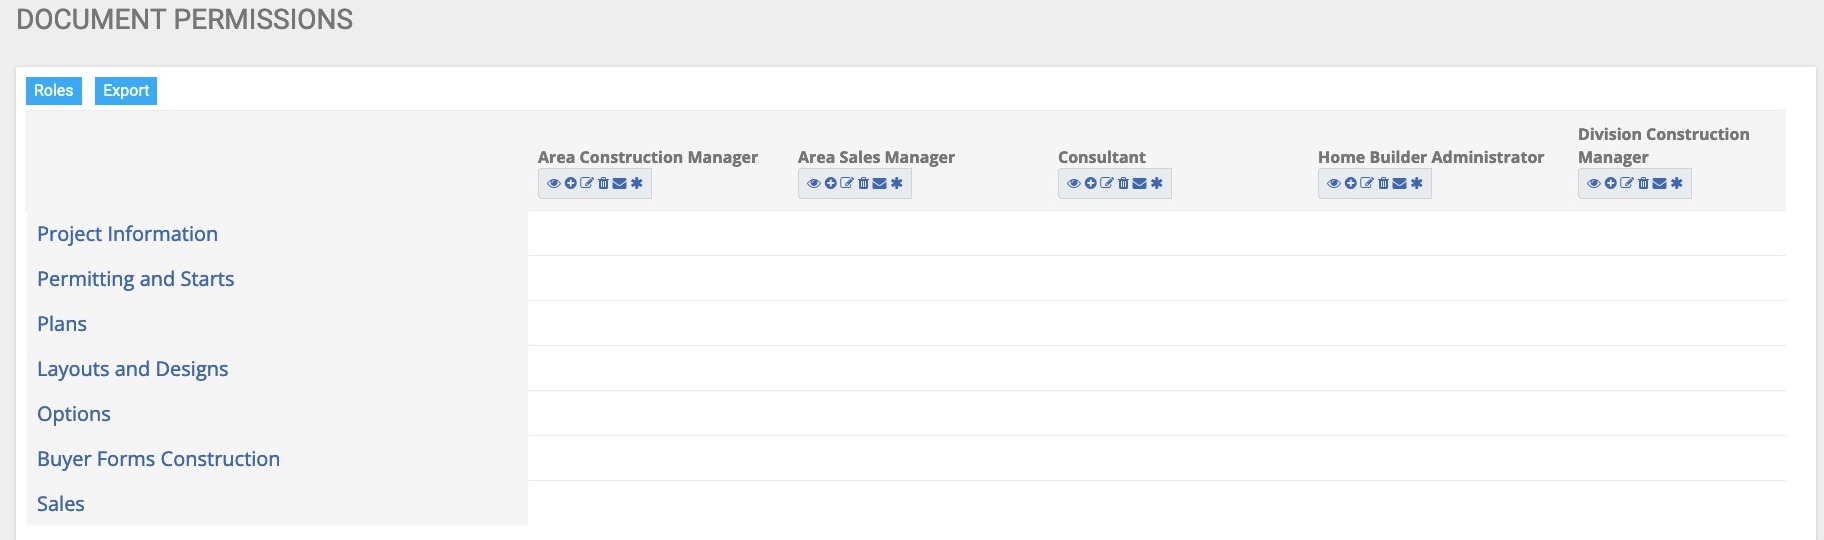
Clicking on a document category will expand the category to reveal the document types assigned:
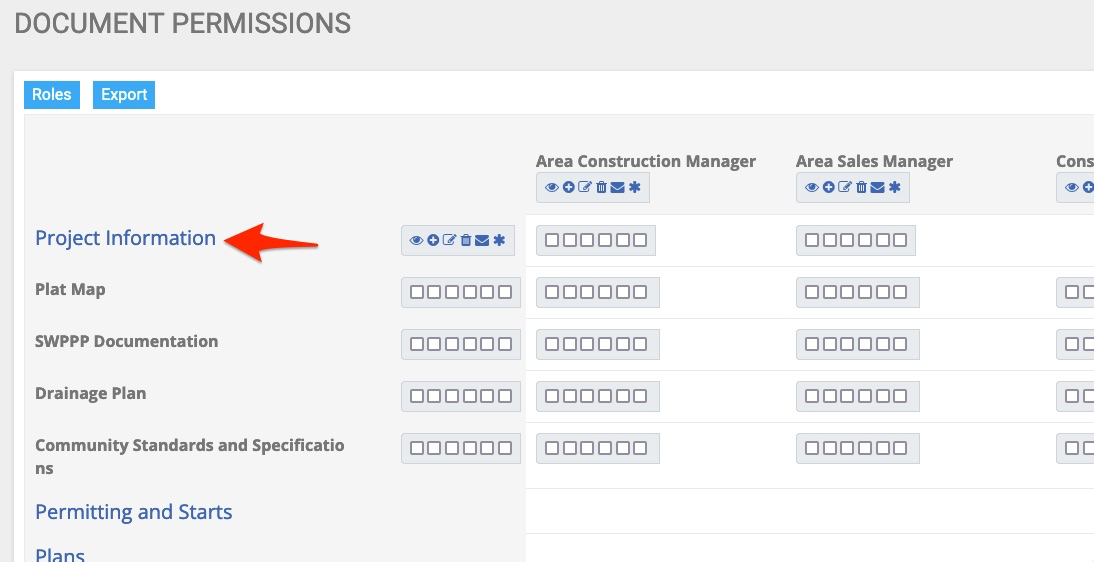
By expanding the category “Project Information” we now see the 4 active document types within this category.
Permissions are set for each document type by role.
Permissions

Eye Icon – This gives users the ability to view the document
Plus Icon – This gives users the ability to create a new document in the category type
Note Icon – This gives users the ability to update/change a document
Trash Icon – This gives users the ability to delete the document
Mail Icon – Users with this permission will receive email notification if the document is changed
Asterisk - Users with this permission will receive email notification if the document is changed but ONLY if the user has a PO issued for the cost type assigned to the document type
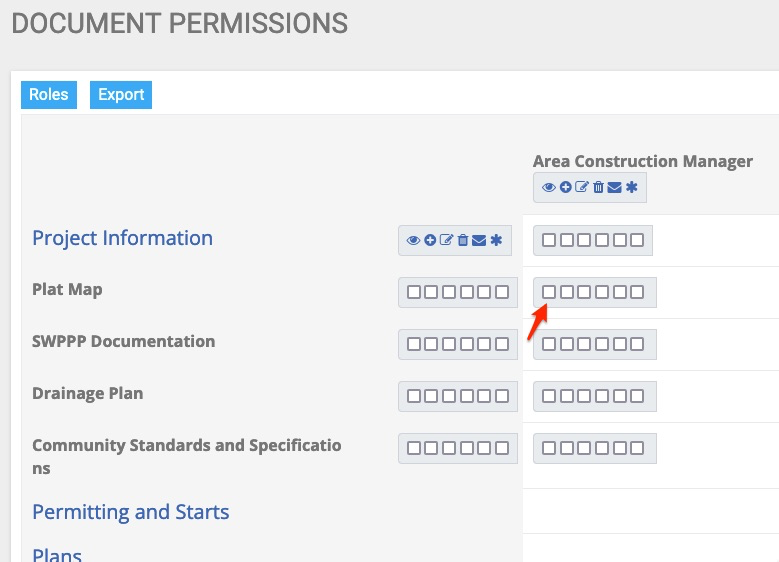
Example Scenario
We want to give the Area Construction Manager the ability only to view Plat Map document types. We could simply select the box with the view icon like this:
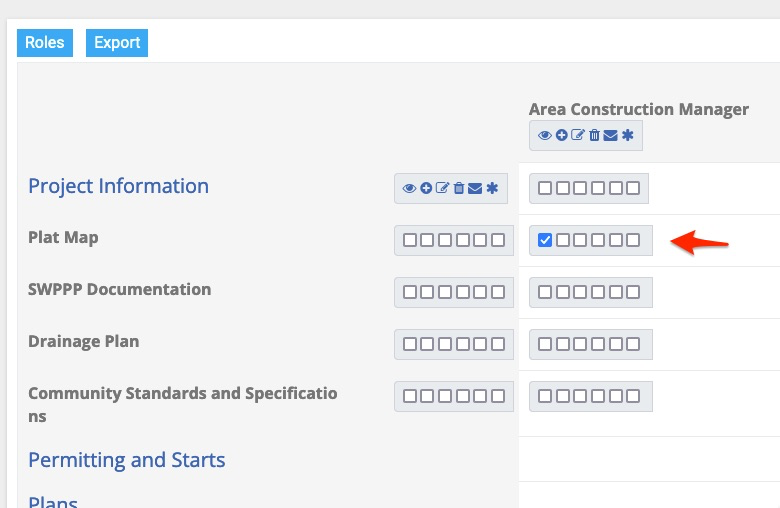
We now see that the Area Construction Manager Role can only view Plat Map Document types:
This menu allows us to check single boxes for each role and document type but it also has a powerful tool to help us complete this task quickly.
At the top of each role, adjacent to the document category, are “select all” boxes. Checking one of these boxes allows us to grant permission enmasse for a role across all document types within a category:
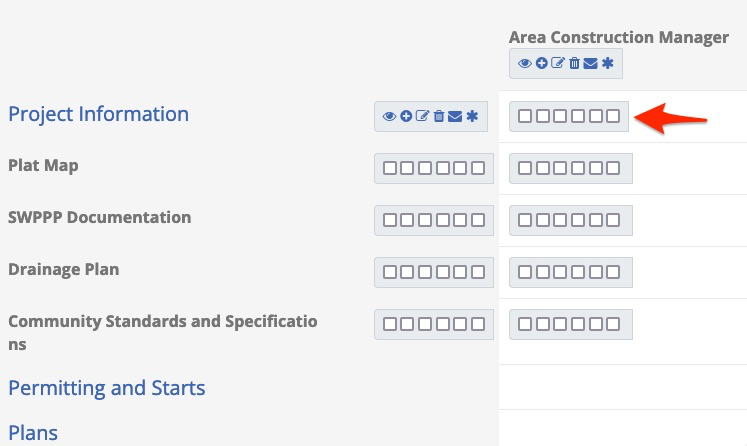
In this example, I know that the Area Construction Manager role needs to be able to view all document types within this category so I simply select the view icon for the entire document category:
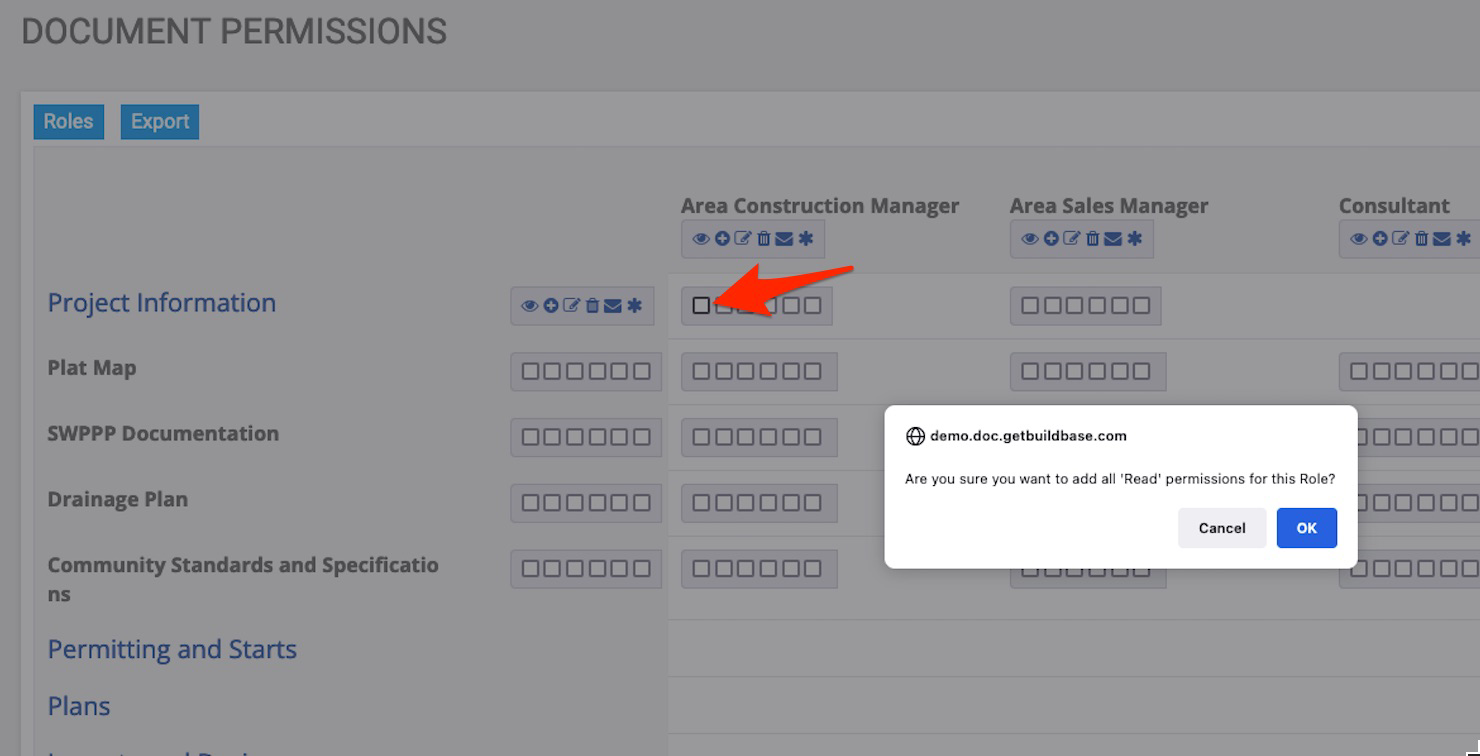
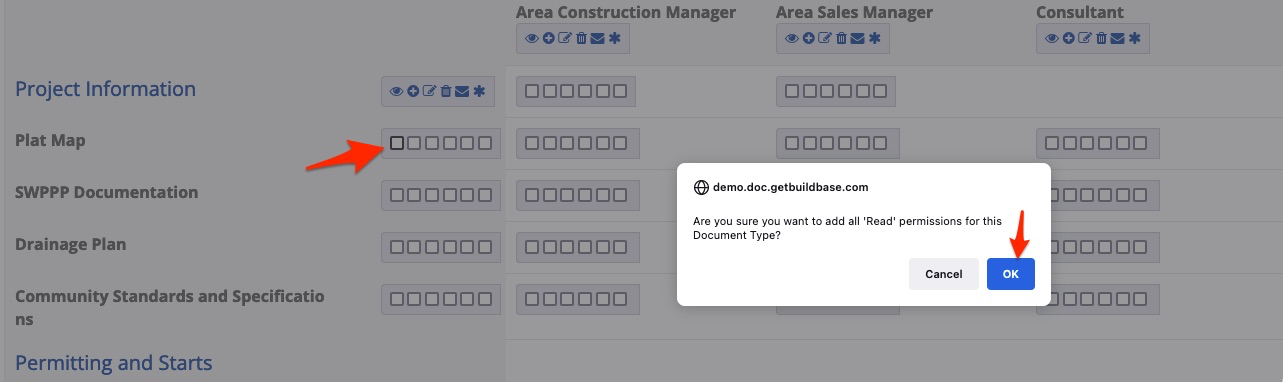
Checking this box gives me this prompt, I then click ok.
And now see this:
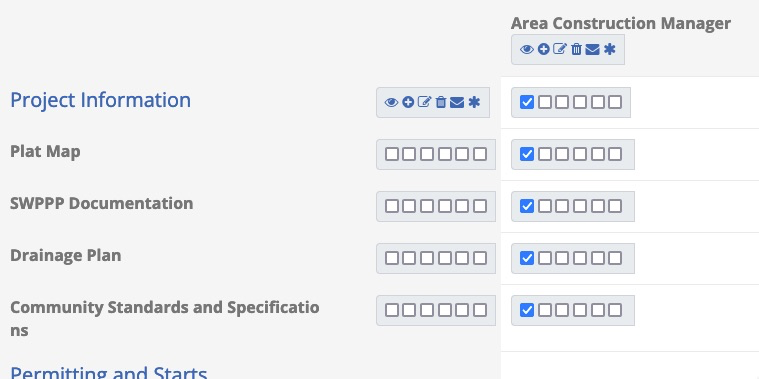
Now the role “Area Construction Manager” has viewing permission for all 4 document types within the “Project Information” category.
In addition to en masse tools at the role level, we may also assign permissions within each document type. For example, this organization determines that it is necessary for all roles to be able to view the plat map for each community. Rather than selecting this on each individual role, we can select the view icon 1 time within the document type:
This permission has now been given for all the active roles:
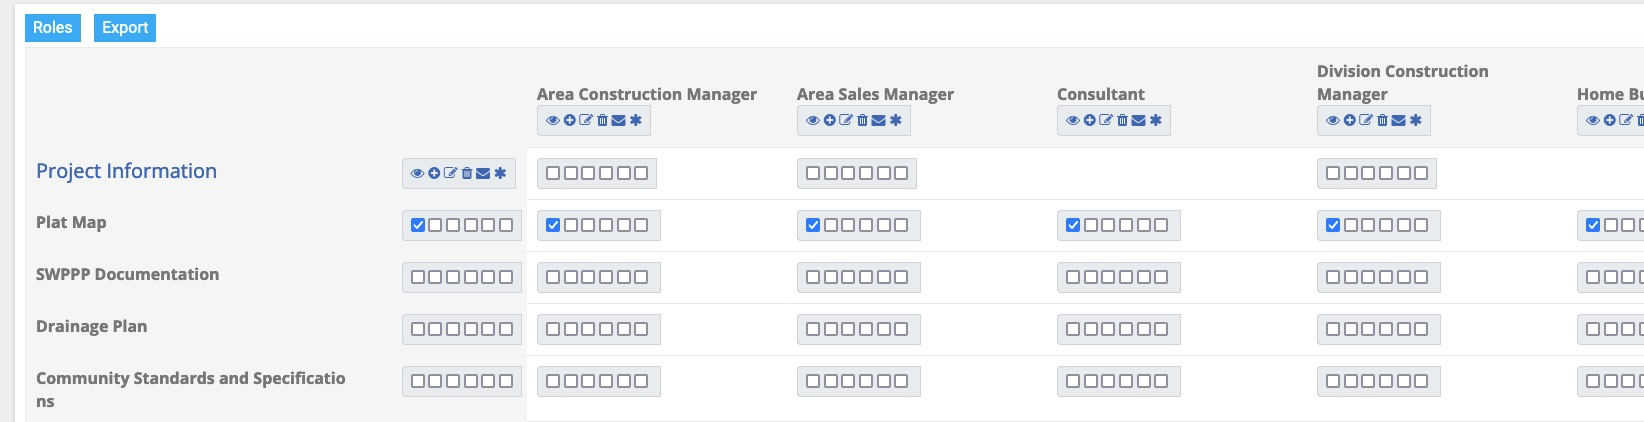
We then follow this same process for all document types.