Managing Deficiencies and Work Orders

Deficiencies and Work Orders are used to identify issues, assign resolution responsibility, and track the work required to resolve a Warranty Request.
- Deficiencies define the specific issue that needs to be addressed
- Work Orders assign and track the work required to resolve that issue
Both are managed from the Warranty Job Requests page, where users can create, update, and complete work associated with a request.
If you need help locating and opening a Warranty Request, see Find Warranty Requests in the Managing Warranty Requests article.
Accessing the Deficiencies Tab
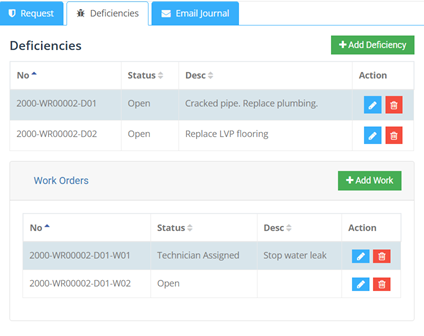
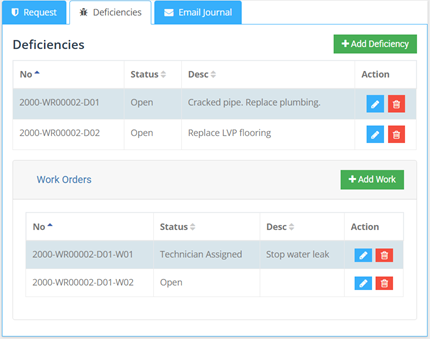
Once a Warranty Request has been opened, select the Deficiencies tab on the Warranty Job Requests page.
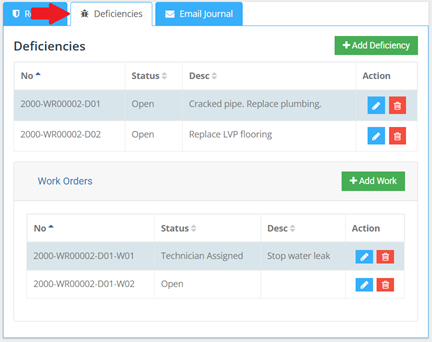
The Deficiencies tab displays all deficiencies associated with the selected request and the related work orders; and allows users to create and manage deficiencies and related work orders.
All deficiency and work order activity is managed from this tab.
Deficiencies
Deficiencies are created to identify and track specific issues within a Warranty Request.
Create a Deficiency
To create a Deficiency:
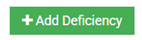
- From the Deficiencies tab, select Add Deficiency.
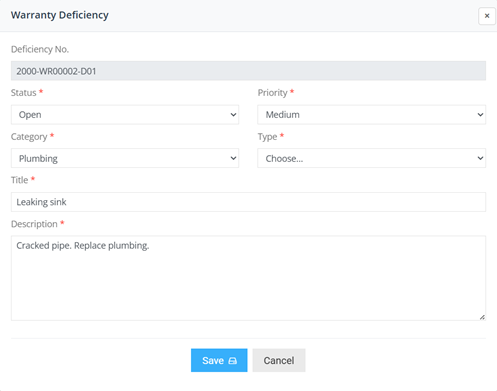
- The Warranty Deficiency window will open.
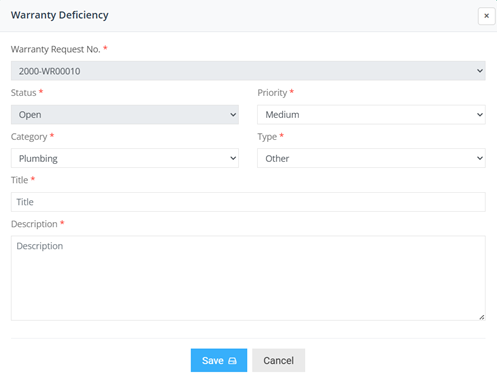
- Some fields will be pre-populated and not available to be changed. For other fields enter the required details:
- Priority (required) – Select the priority for the issue.
- Category (required) – Select the category that best fits the issue.
- Type (required) – Select the type based on the selected category.
- Title (required) – Enter a clear title describing the issue.
- Description – Enter details about the issue.
- Review the information for correctness and select Save to create the deficiency
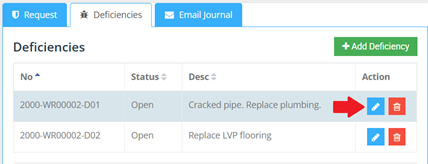
Edit a Deficiency
To update a Deficiency:
- From the Deficiencies tab, locate and highlight the deficiency.
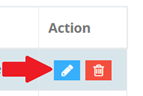
- Select Edit from the Actions column.
- The Warranty Deficiency window will open.
- Update the required fields as needed:
- Status – Update the current status of the deficiency
- Priority – Adjust the priority if required
- Category – Update the category if needed
- Type – Update based on the selected category
- Title – Refine the deficiency title
- Description – Add or update details
- Review the changes for correctness and select Save to apply the updates.
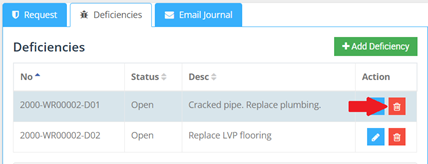
Delete a Deficiency
A deficiency can be removed if it is no longer required.
To delete a Deficiency:
- From the Deficiencies tab, locate and select the relevant deficiency.
- Select Delete from the Actions column
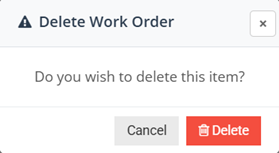
- A confirmation window will appear.
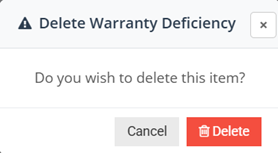
- Select Delete to confirm the deletion.
- A confirmation message will appear when the deficiency has been successfully deleted.
Work Orders
Work Orders are used to assign, schedule, and track the work required to resolve deficiencies within a Warranty Request.
Create a Work Order
To create a Work Order:
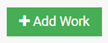
- From the Deficiencies tab, locate and select the relevant deficiency. This will bring up the Work Orders Associated with the deficiency.
- Select Add Work.
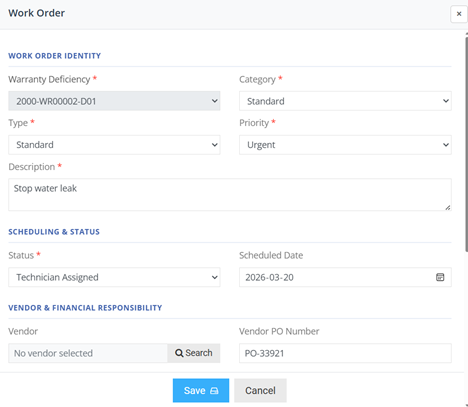
- The Work Order Details window will open.
- Enter the required details:
- Warranty Deficiency ID (required, cannot be changed) – Auto-populated from the selected deficiency.
- Category (required) – Defaults to Standard but the user can also choose other.
- Type (required) – Defaults to Standard but the user can also choose other.
- Priority (required) – Select from Low, Medium, High, or Urgent.
- Description (required) – Freeform text field that allows users to enter a description of the work to be completed.
- Status (required) – Defaults to Open but users can be update as needed.
- Scheduled Date – Select the date from the calendar or manually enter the date as per the displayed format for when the work is scheduled.
- Vendor – Search for and select the vendor responsible for the work. The search locate the vendor based the vendor name as entered into the system.
- PO Number – Enter the associated PO number if available.
- Cost Responsibility – Select who is responsible (Builder, Trade, or Homeowner).
- Back Charge Required – Select if costs should be charged back to another vendor.
- Completion Date – Enter the date the work was completed.
- Completion Comments – Add completion notes or comments.
Important: Completion fields should typically only be used when the Work Order is being completed. The system does not prevent users from entering completion details while the Work Order is still open. When entering completion details ensure that you set the work order status to Completed or Closed. - Review the information for correctness then select Save to create the Work Order.
Edit a Work Order
Once a Work Order has been created, it can be updated as work progresses. To update a Work Order:
- From the Deficiencies tab, locate and select the relevant deficiency.

- Identify the Work Order associated with that deficiency
- Select Edit from the Actions column.
- The Work Order Details window will open.
- Update the Work Order details as needed. For a full list of available fields, see Create a Work Order above.
- When editing an existing Work Order, system-generated fields may be displayed (such as the Work Order number and sequence number). These fields are automatically generated and cannot be changed.
- Review the changes for completeness and select Save to apply the updates.
Delete a Work Order
To delete a Work Order:
- From the Deficiencies tab, locate and select the relevant deficiency.
- Identify the relevant Work Order associated with that deficiency and select Delete from the Actions column.

- A confirmation window will appear, select Delete to confirm the deletion.