Navigating Dynamics

Welcome to the BuildBase Family! In this guide we will discover how to navigate Dynamics as well as cover some great tips and tricks to unlock all the power BuildBase has to offer.
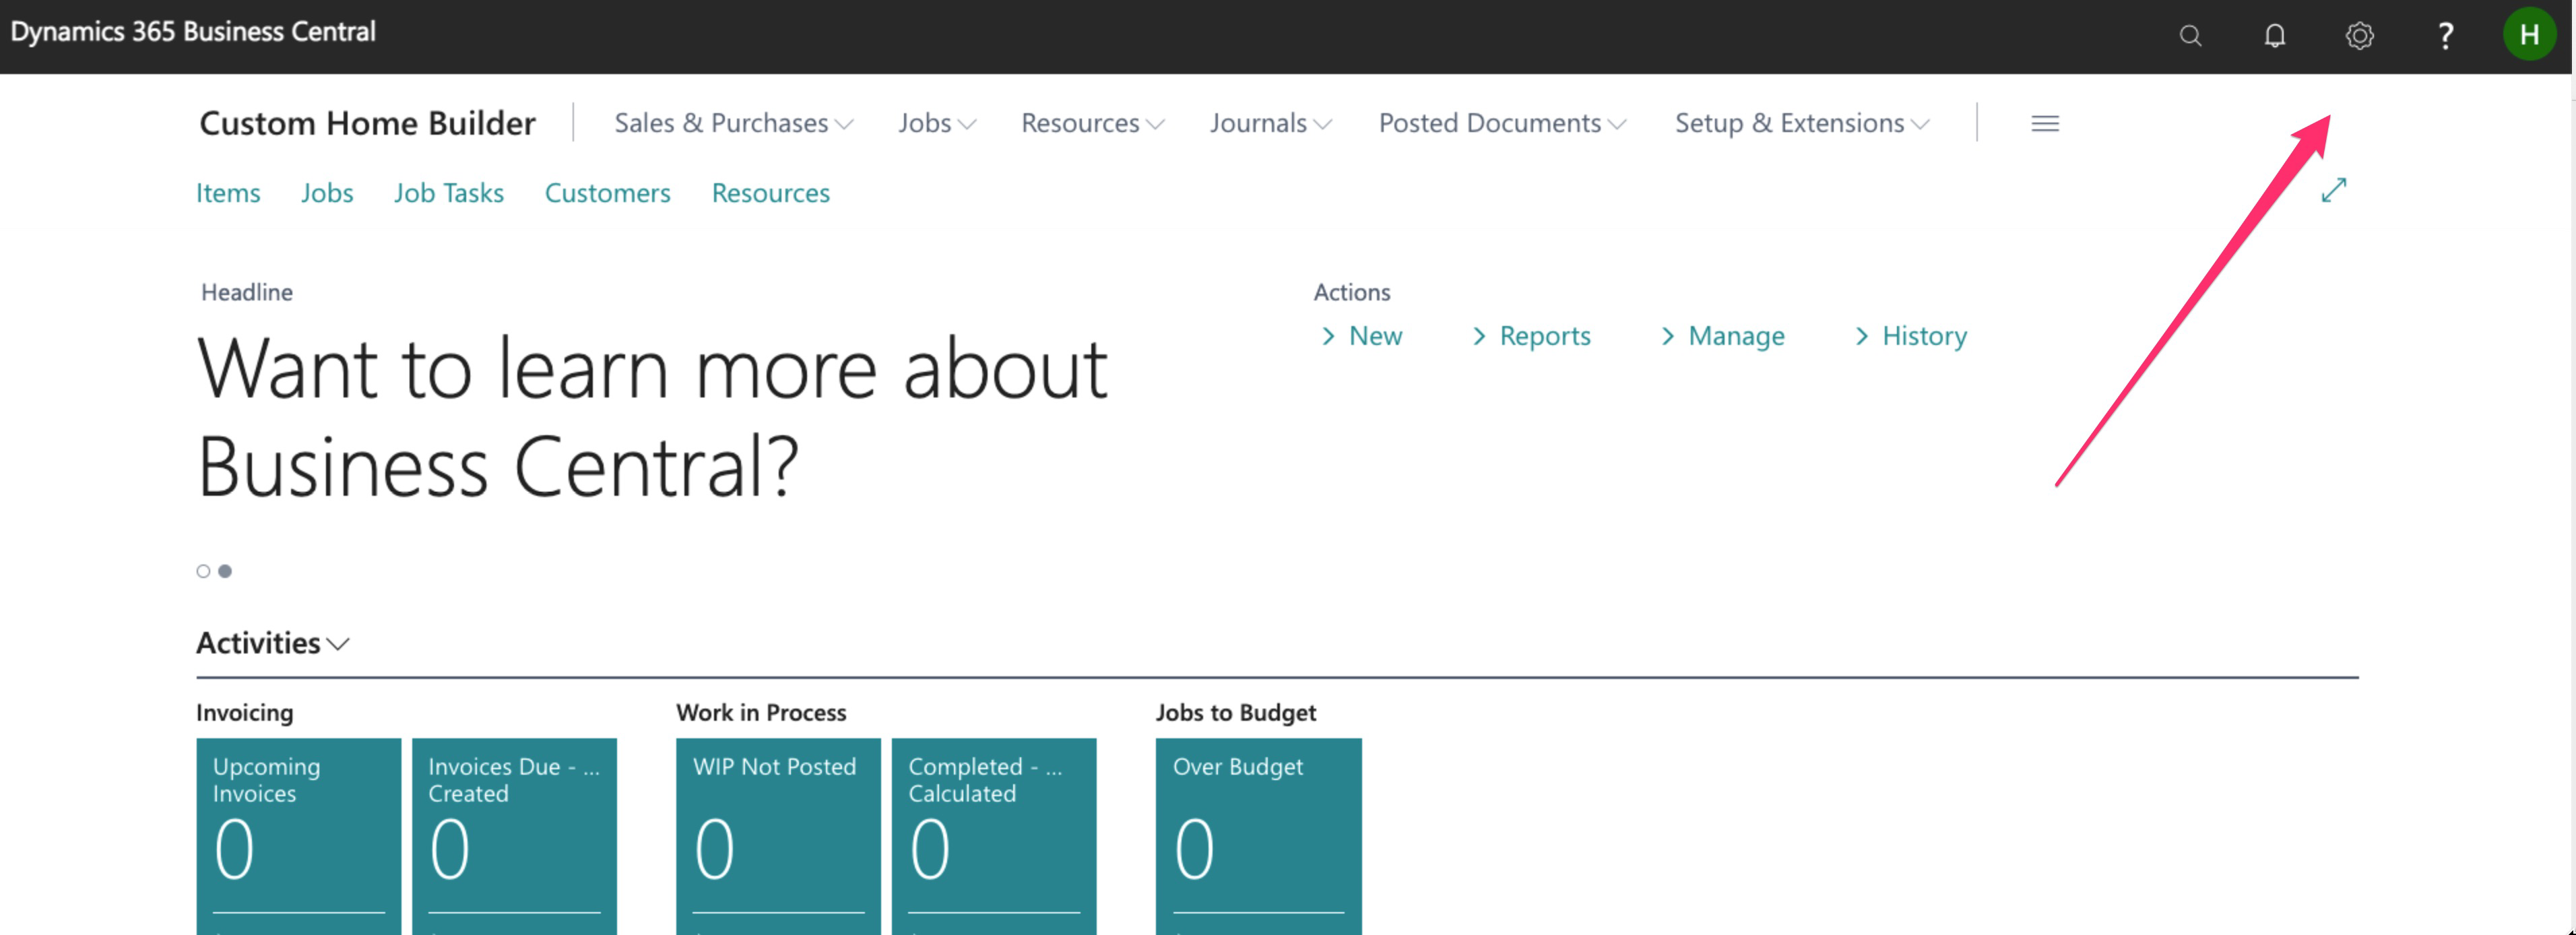
Upon login, this is what we see:

To get started, let’s take a look at the top right menu:
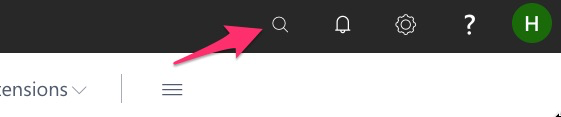
The search feature is something that you will likely use consistently as you work in the system and may be used to help you find the applications and functions you are looking for quickly.
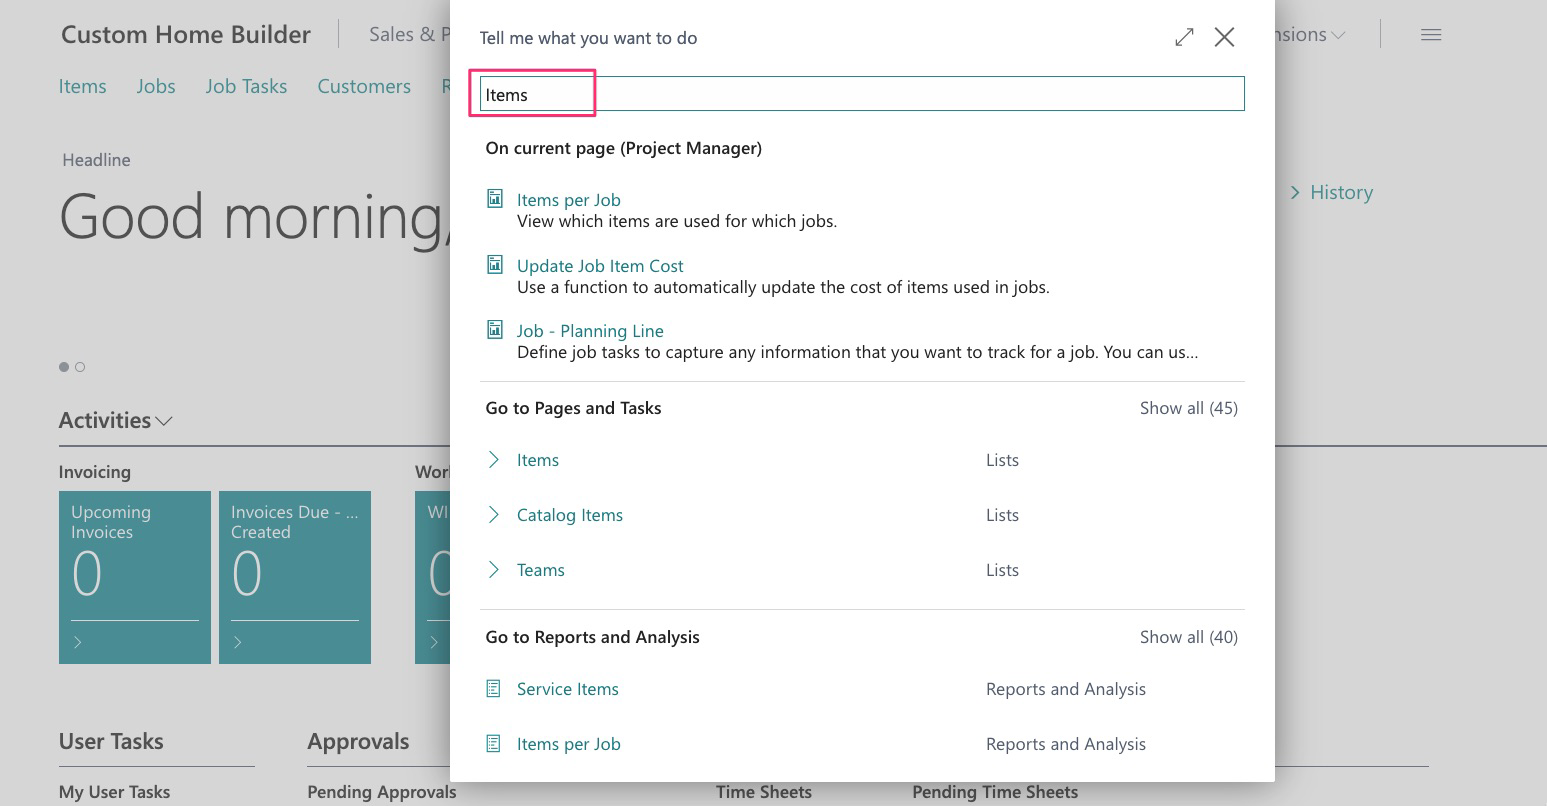
Here, we can simply type in some or all of the letters in a topic, and the system will give us results:

Here I type in the topic “items”

And the system now gives me all related topics/applications:
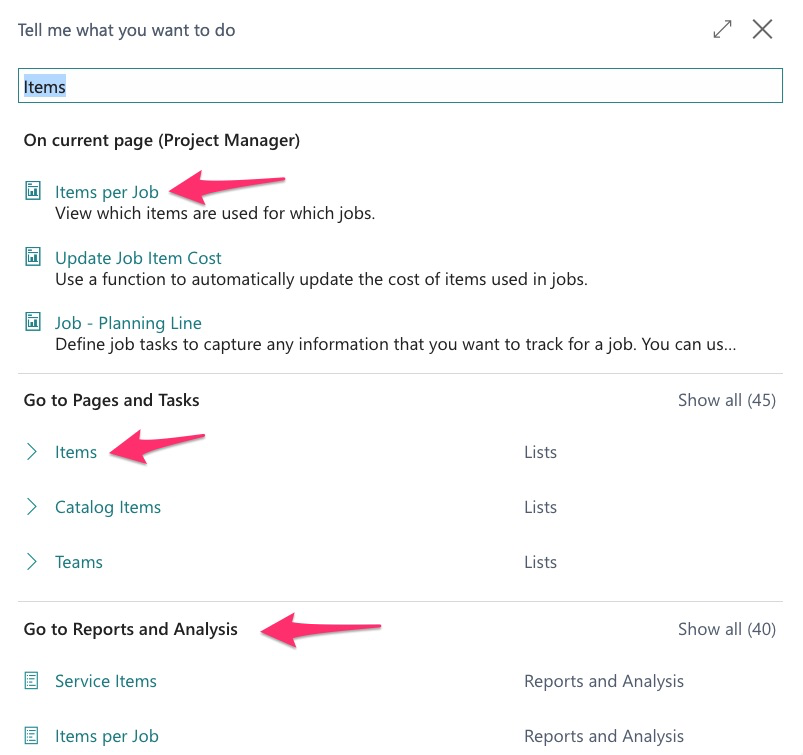
This search function is extremely powerful and as you use the system you will use it more to access applications quickly. For example, if you want to view all current attributes, or add more:
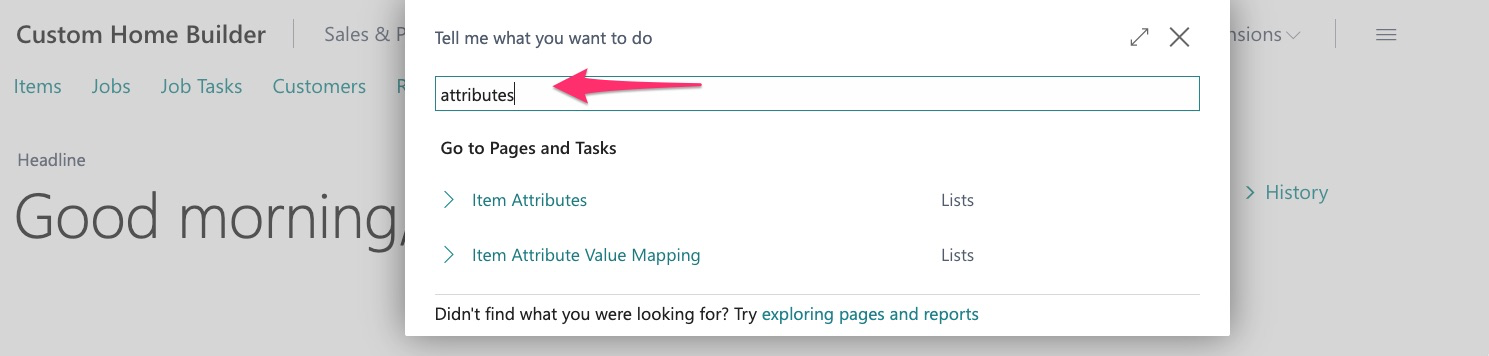
As we continue through this guide, we will cover more uses for the search feature.
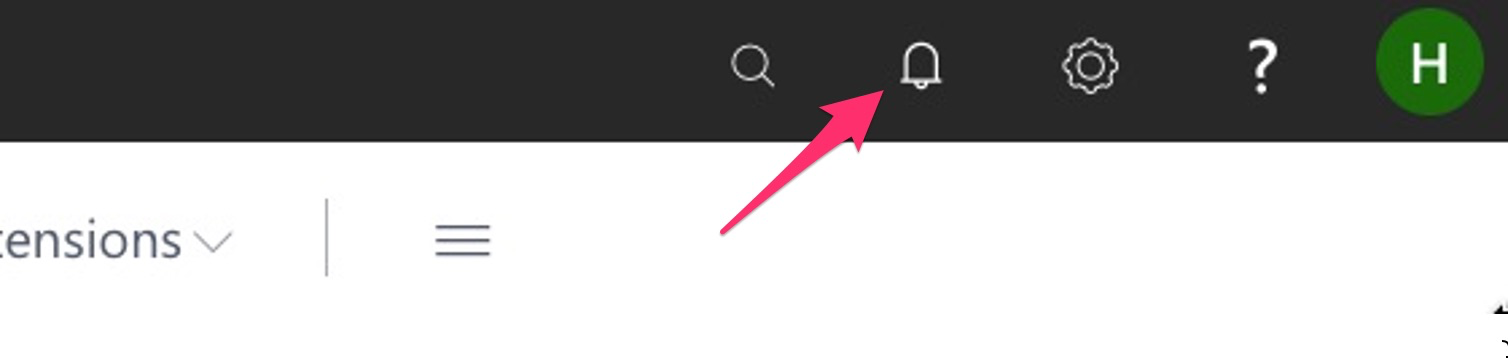
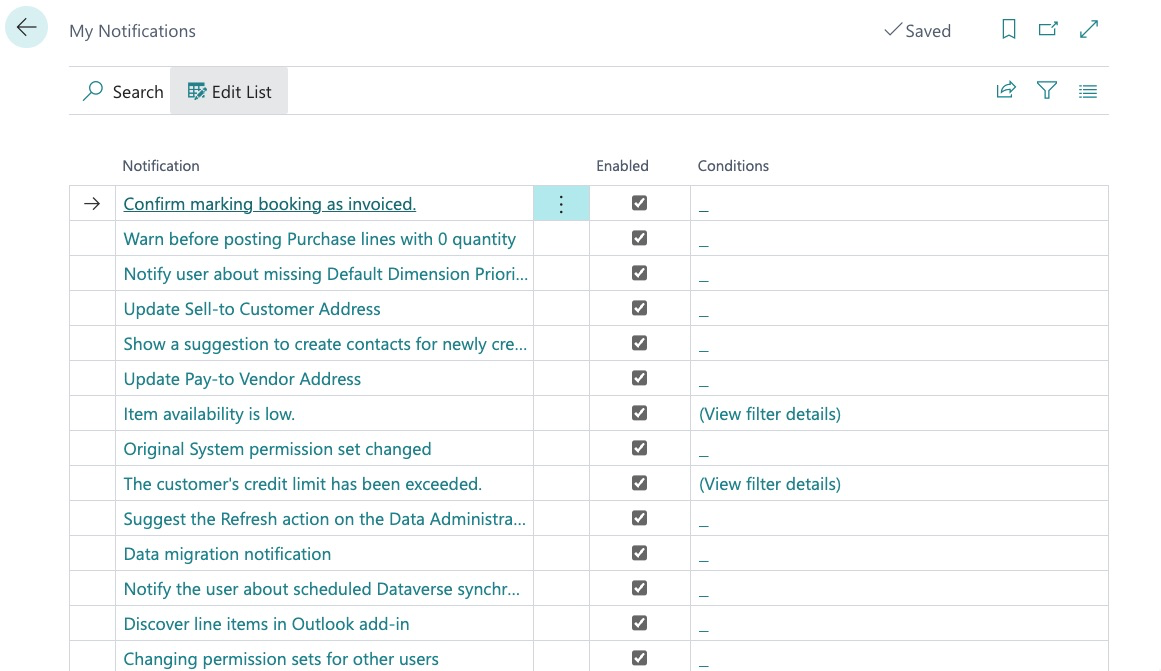
Your account may be configured to notify you for a variety of things:
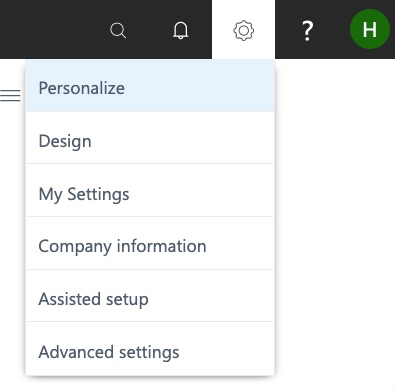
Settings

Settings includes the following:
Need Help?

Browse the extensive library of help topics to get the answers you need.
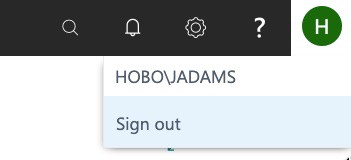
User

This shows us the user logged in as well as the ability to sign out:
Now that we have covered the main menu, let’s review some features within the applications of Dynamics.
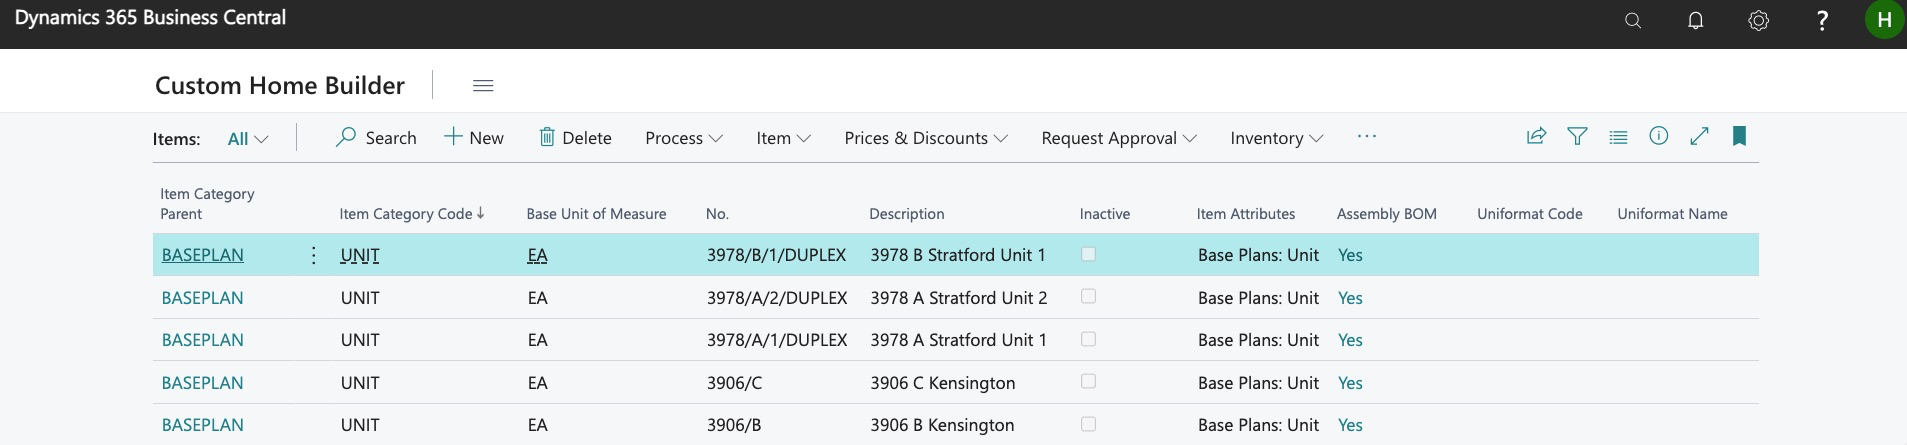
Items
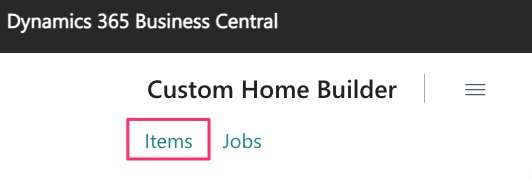
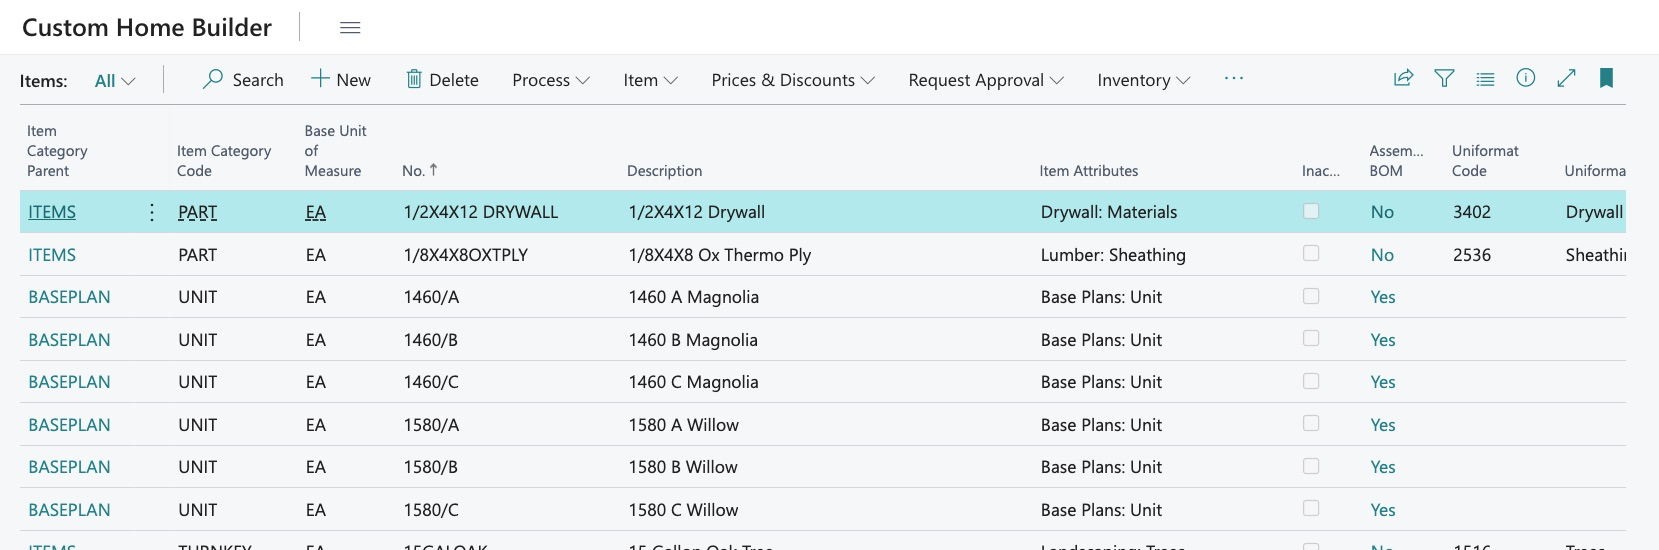
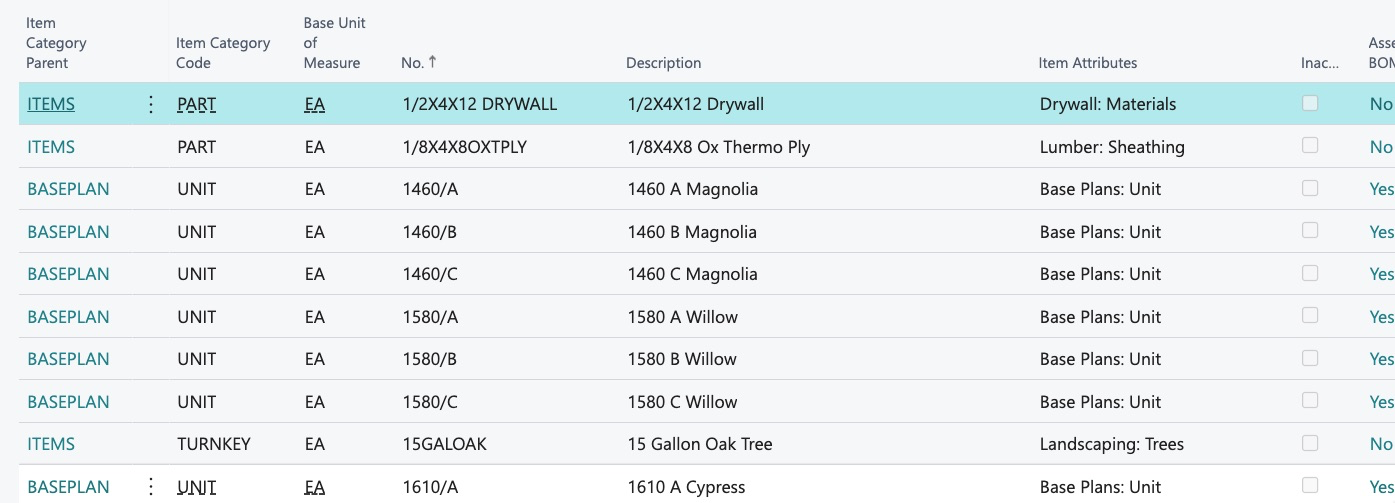
Here we can see our item library:
First, we see that the “Personalization” feature may also be applied here and functions may be hid or moved:
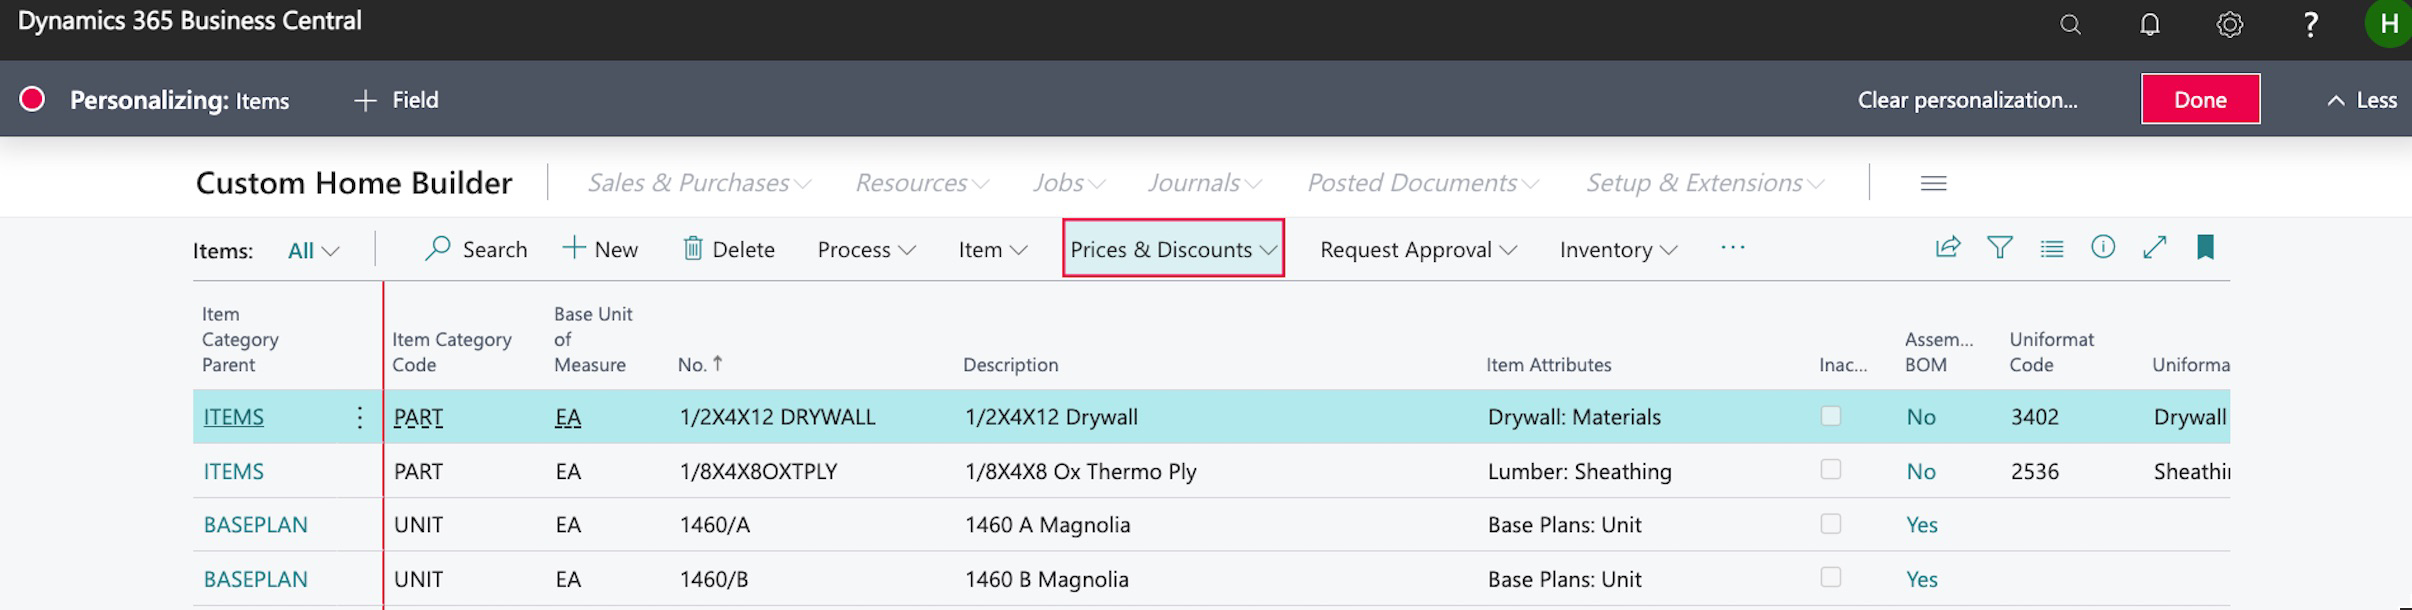
In this application, we may want to add additional fields, more on that later.
First let’s look specifically at all the ways we can filter and sort our data. We will start with basic order.
By default, the items in our library are “alpha ordered” by item code OR, the last sorting you used:
This order may be changed at any time by clicking on a header. For example, we click the item number header:
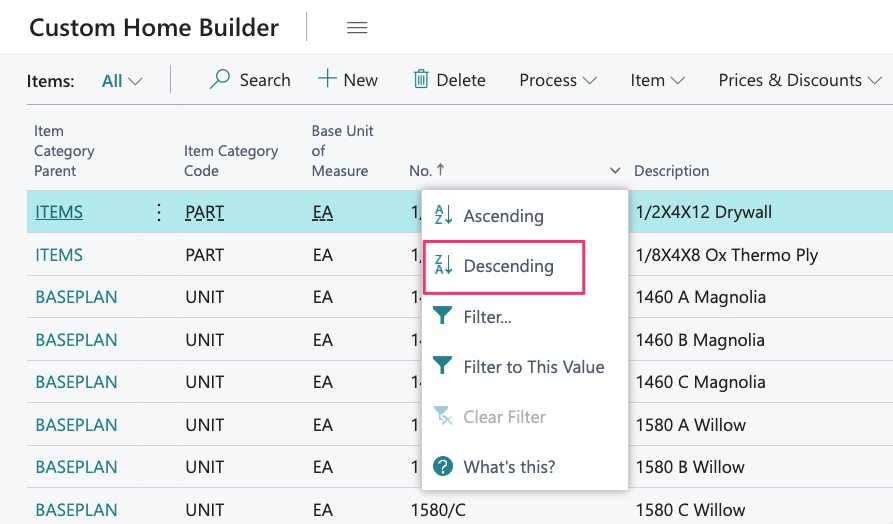
And choose “Descending”:
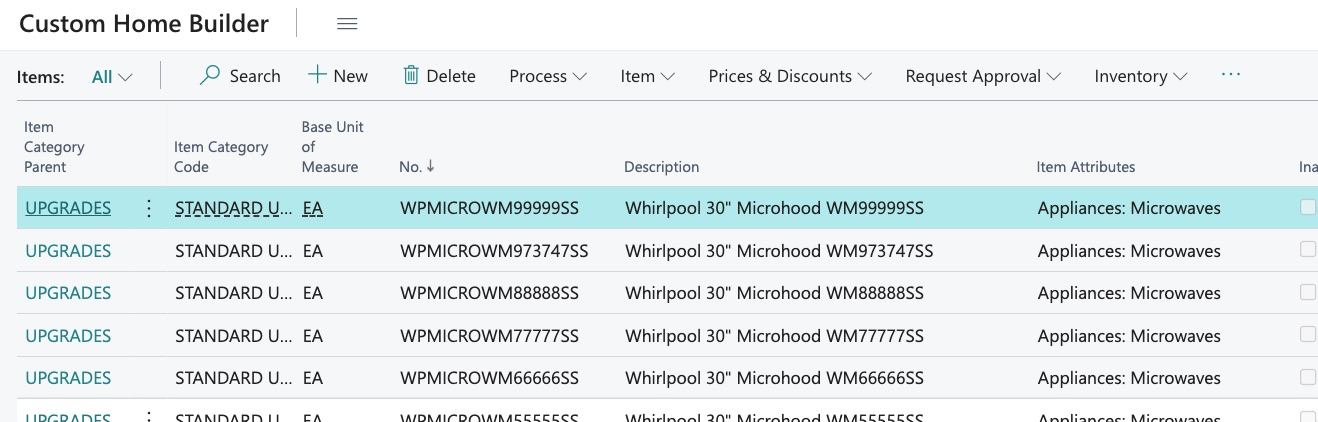
Our items are now alpha ordered from last to first.
This can be done with any column:
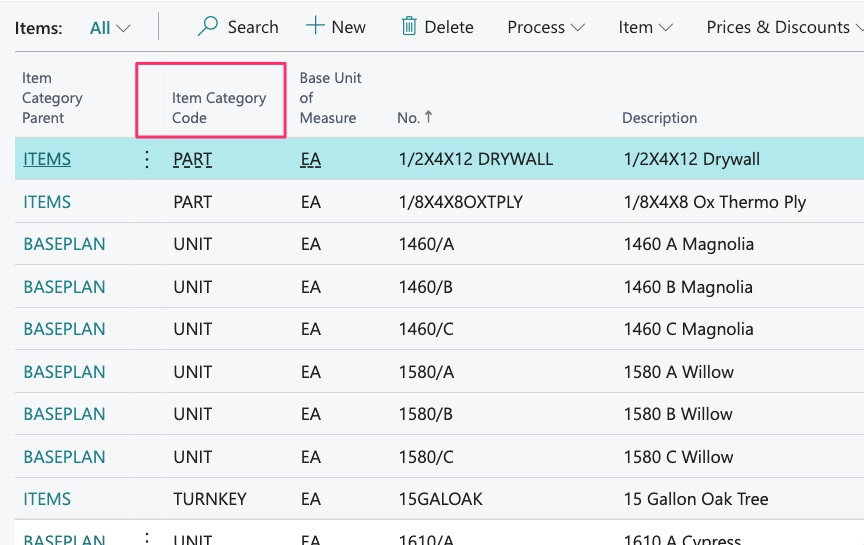
I now see all items ordered descending by item category code:
There are powerful searching capabilities available. The first is the “Quick Search”:
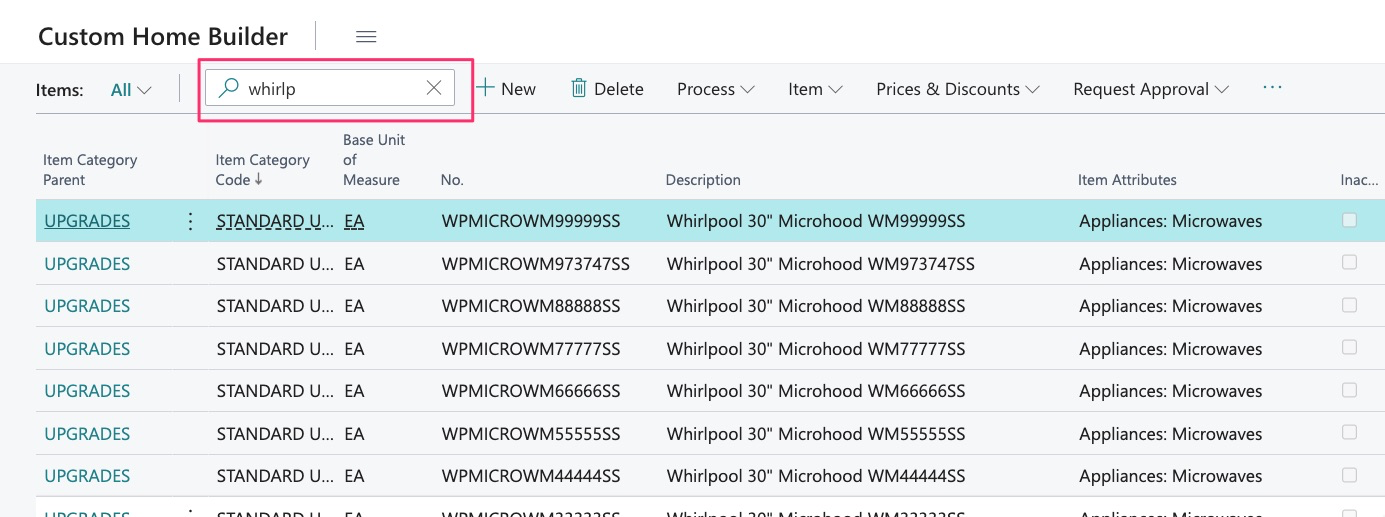
Here I can type in key words or partial words to find the items I need. See guide on “Items” for more information on proper setup of item numbers and descriptions.
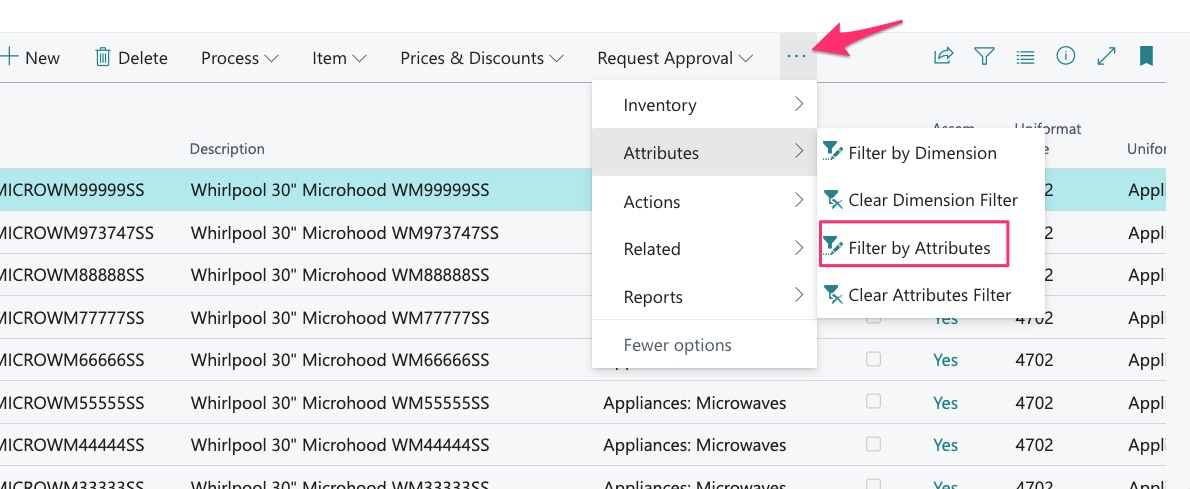
Items may also be searched by Attributes and Uniformat/Classification Code:
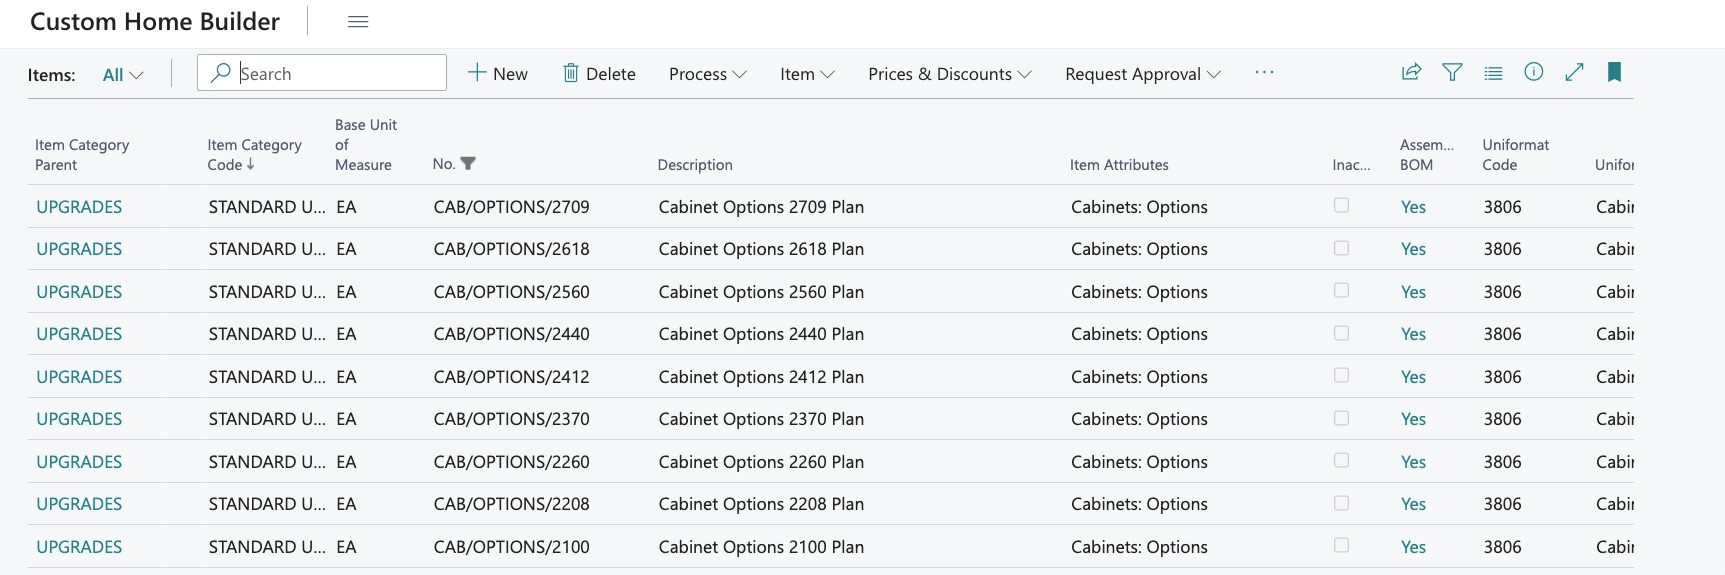
Here we choose to search for all cabinet items with all values assigned:
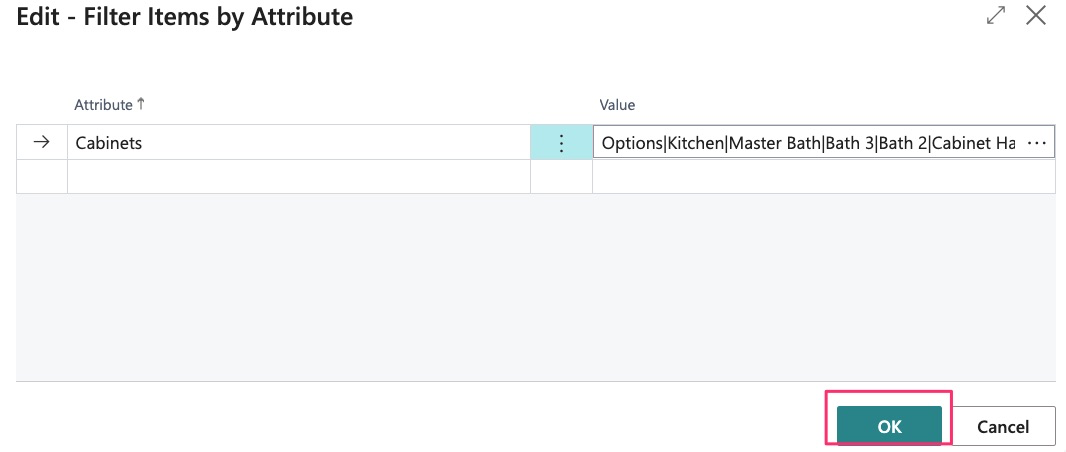
We now see every cabinet item:
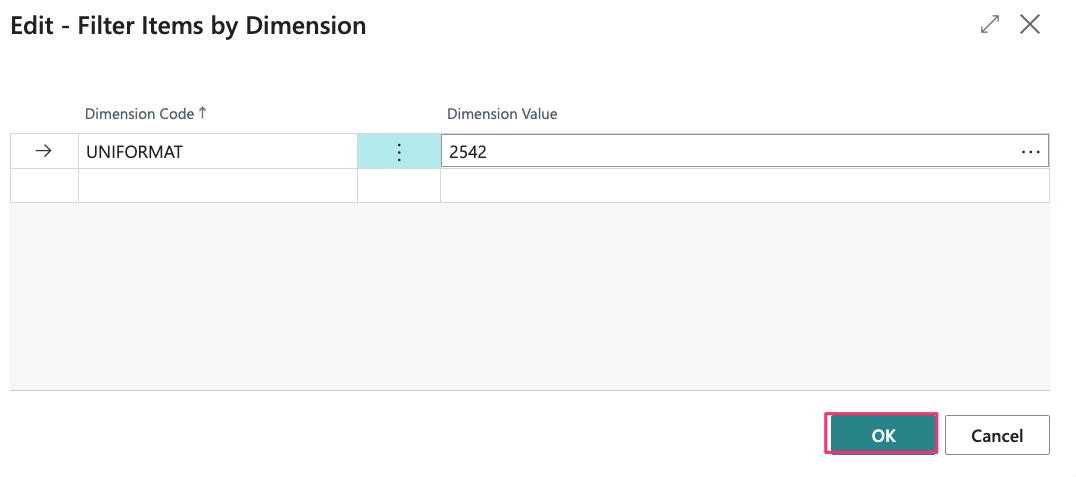
We can also use this search by Uniformat/Classification code:

Here we search for lumber assigned to a specific Uniformat/Classification:

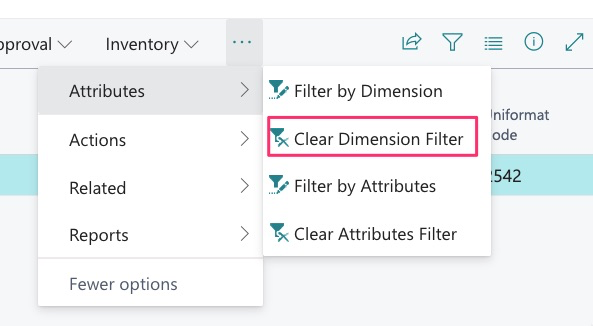
Just be sure to clear your filters when complete:
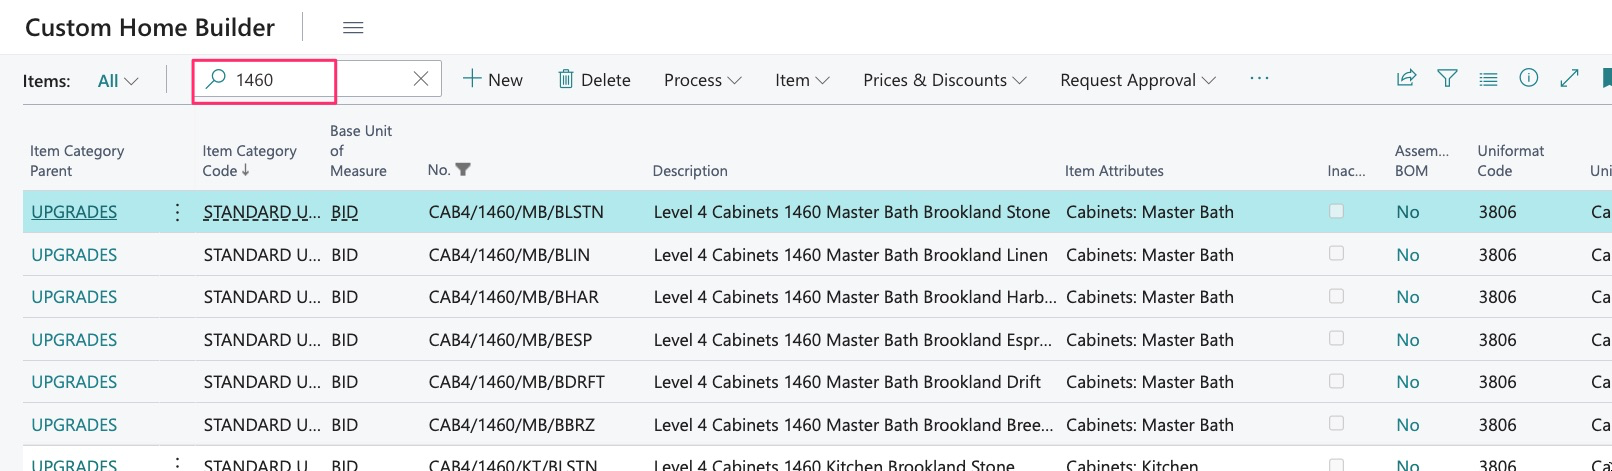
These filters may be used in addition to the search filter. For example, I use attributes to find all my cabinet items.
But can then still use the quick search with my items filtered to cabinets only:
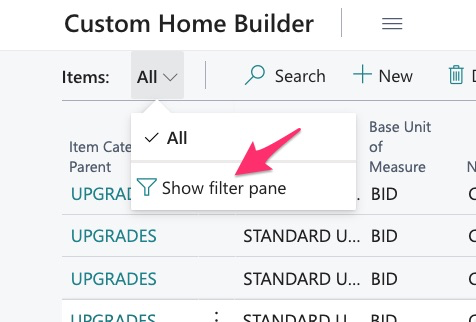
Advanced filtering may also be used and can be found here with the click of a button:
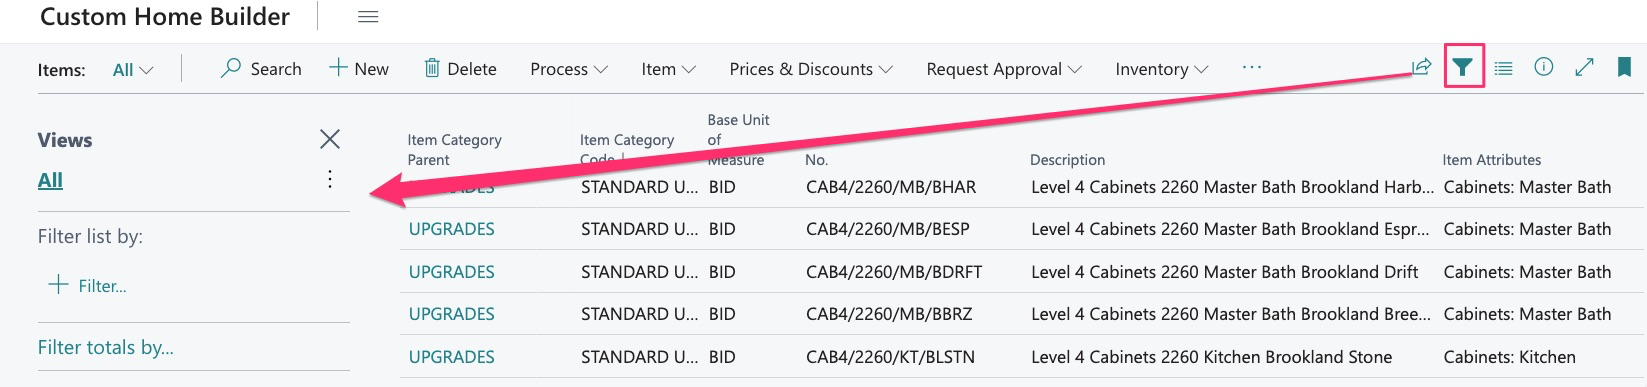
Or here:
You will notice that when the filter is open, the filter icon will be fully shaded:

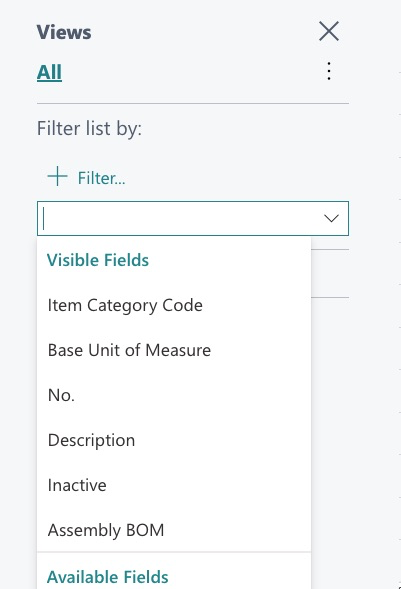
The advanced filter allows us to use some quick filtering by category. By selecting “+ Filter”, we get a list of available parameters:
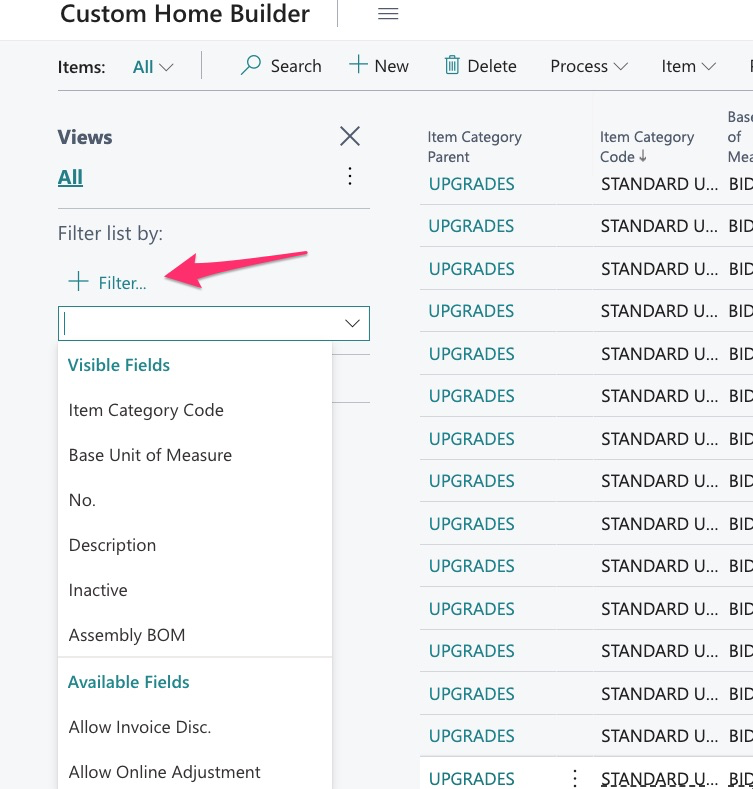
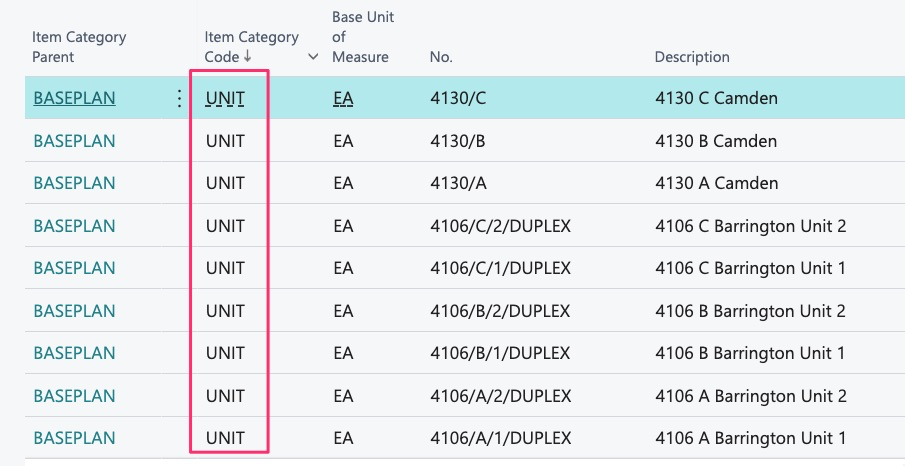
If I want to view all my baseplans, I can choose “Item Category Code”:
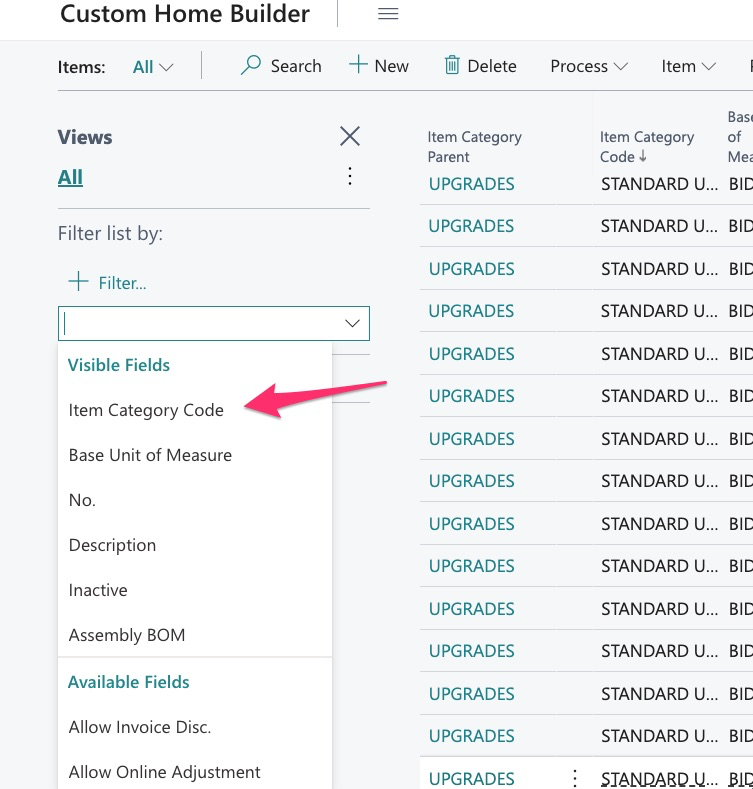
I am then given a drop-down menu with all my categories:
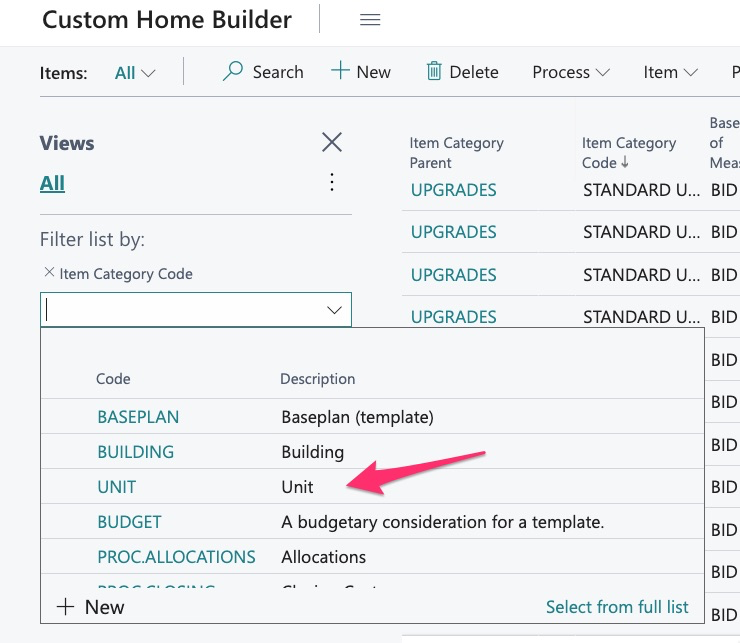
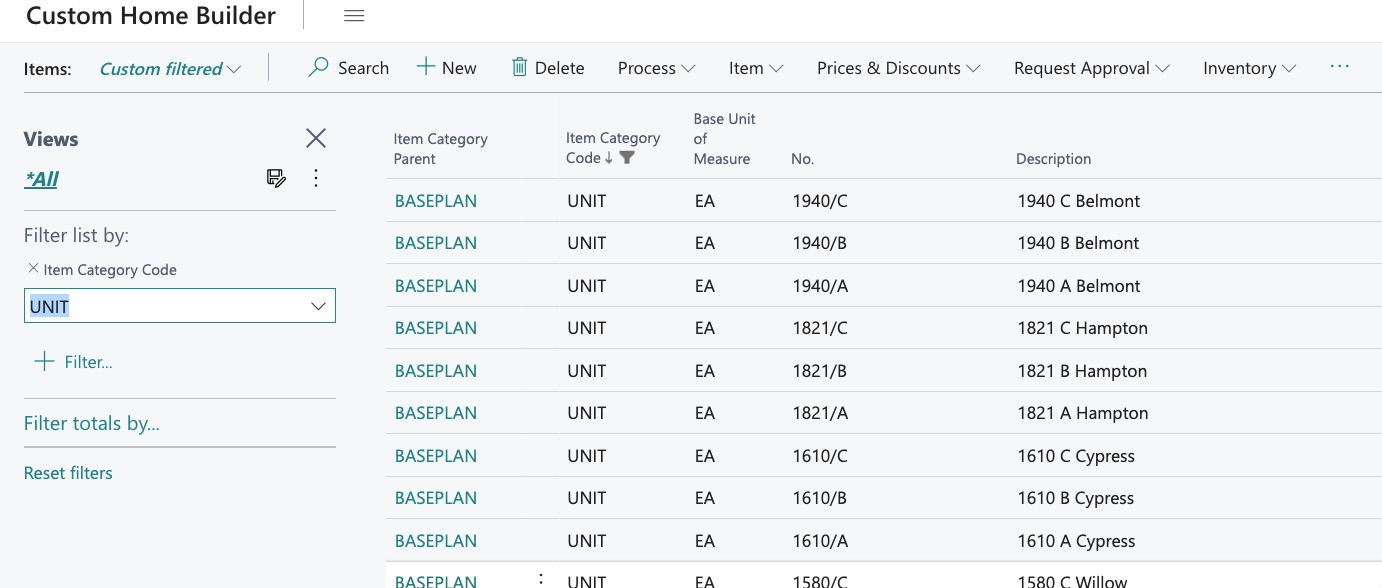
I then select “Unit”
And now see all the items I need:
I can then continue filtering using the quick search and/or filters by attribute and Uniformat/Classification
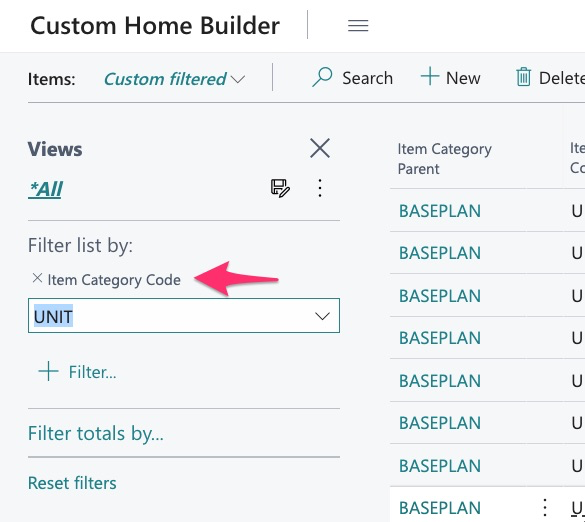
If not, the list will remain filtered.
Even if you close the filter:
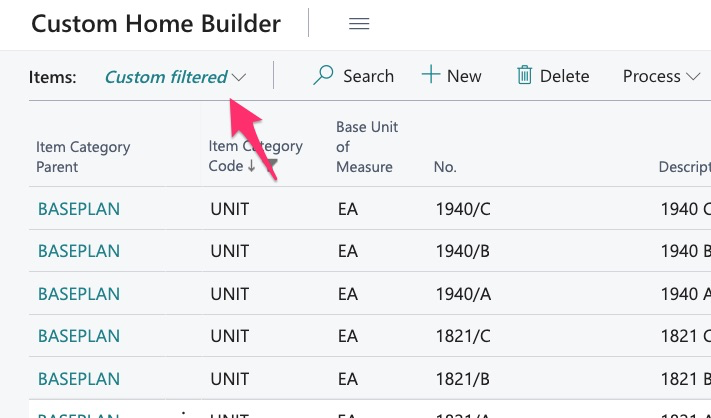
There are many parameters that may be used for filtering, take a look and see what works best for you:
Changing the View and Columns in an Application
In this example of the item library, I have designed it based upon what I need to see for the task I am working on:
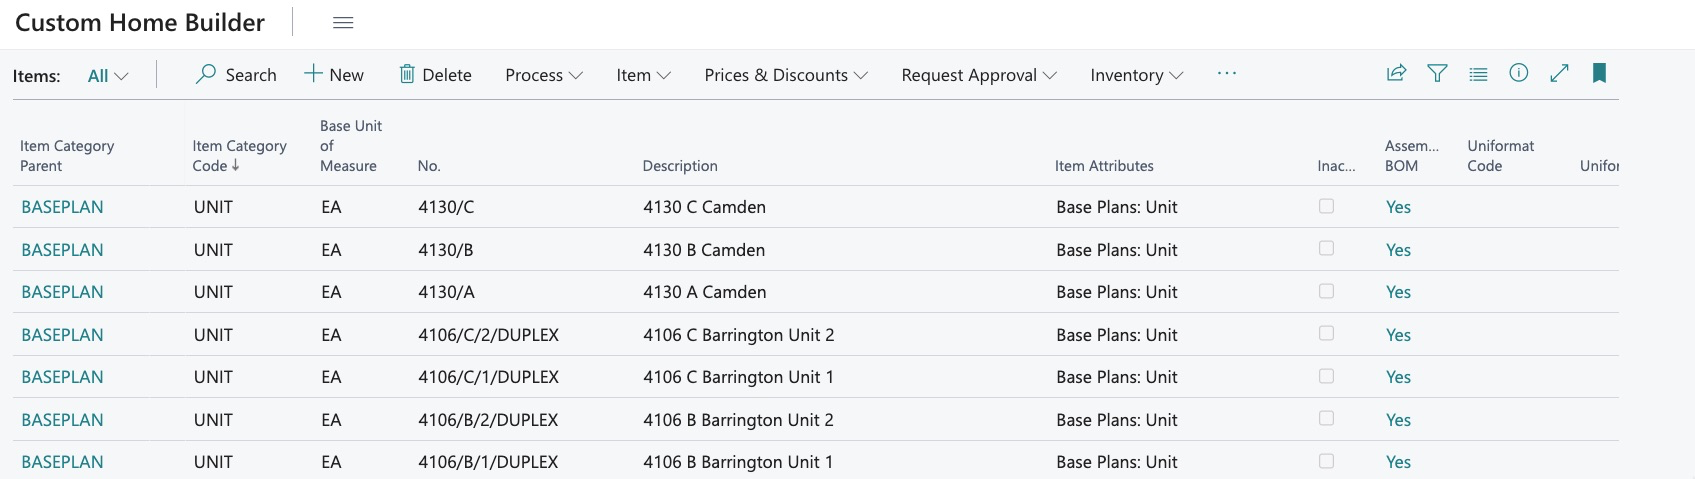
This view might be the best if you are working on set up of items and want to ensure nothing is missed. But the layout is extremely customizable.
Columns may be widened or narrowed:
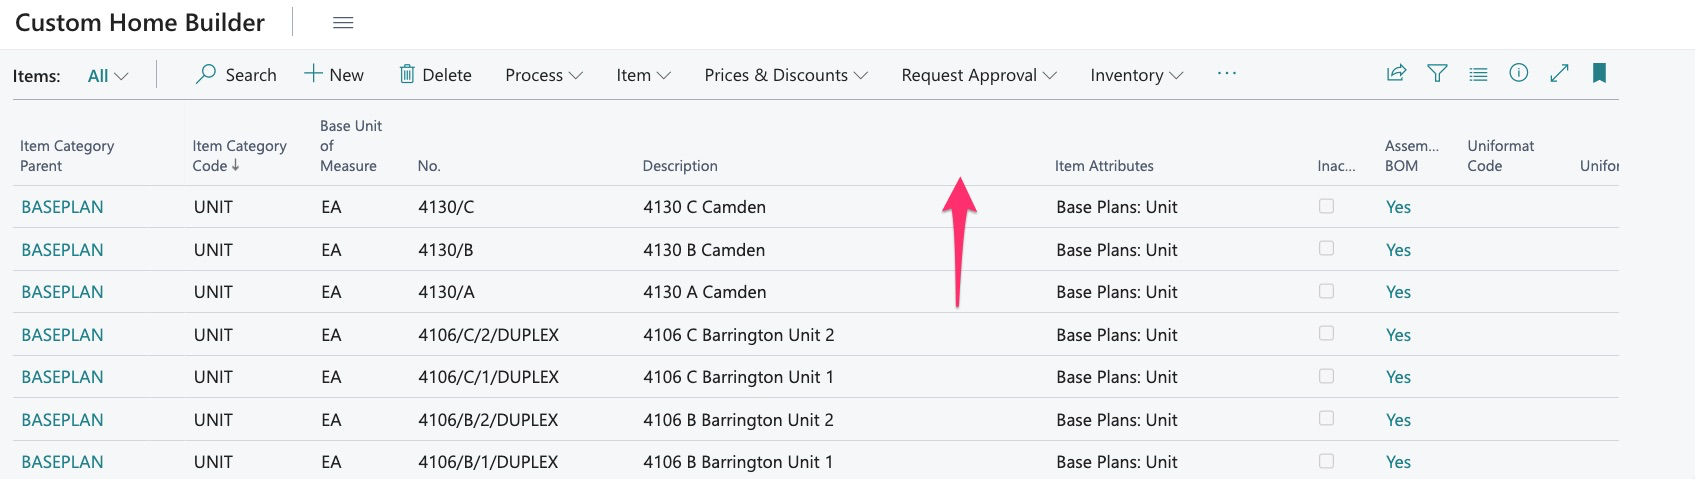
Simply click and drag the column divider:
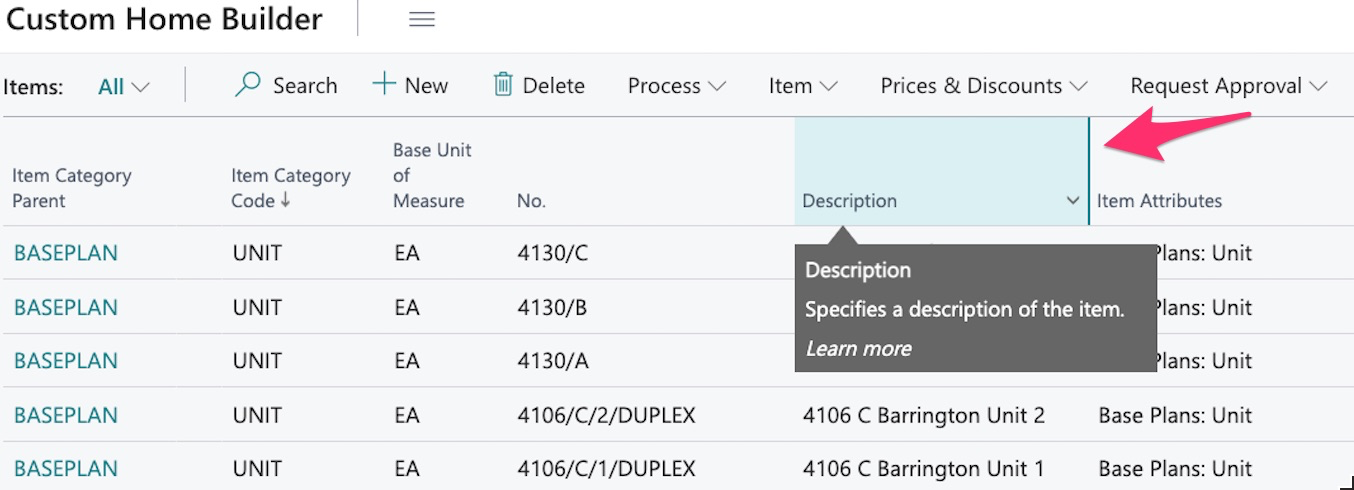
We now see this:

Let’s say in this example I do not care about whether the item is active or not. I can use “Personalize”:

And hide the field:

In addition to hiding fields, they may also be added through “Personalize”:
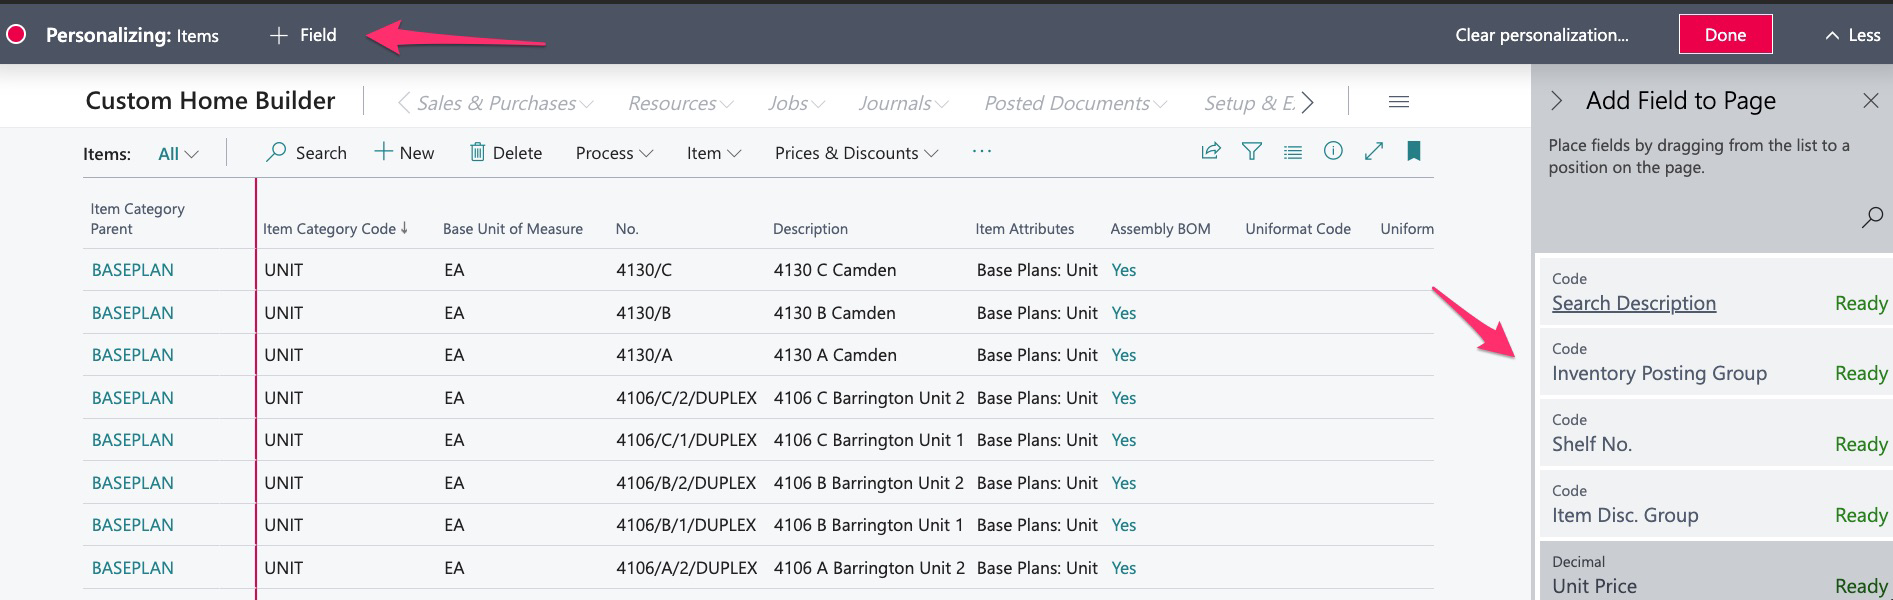
By selecting the “+ Field” option at the top left, I will now see a list on the right of all available fields to add.
I can scroll or use the lookup to find the field to add:
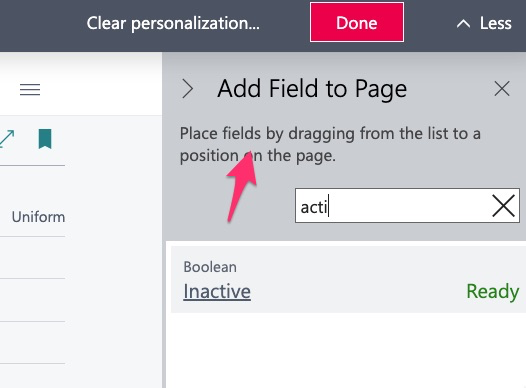
Then I simply drag the field onto the screen and drop it where I want it displayed:
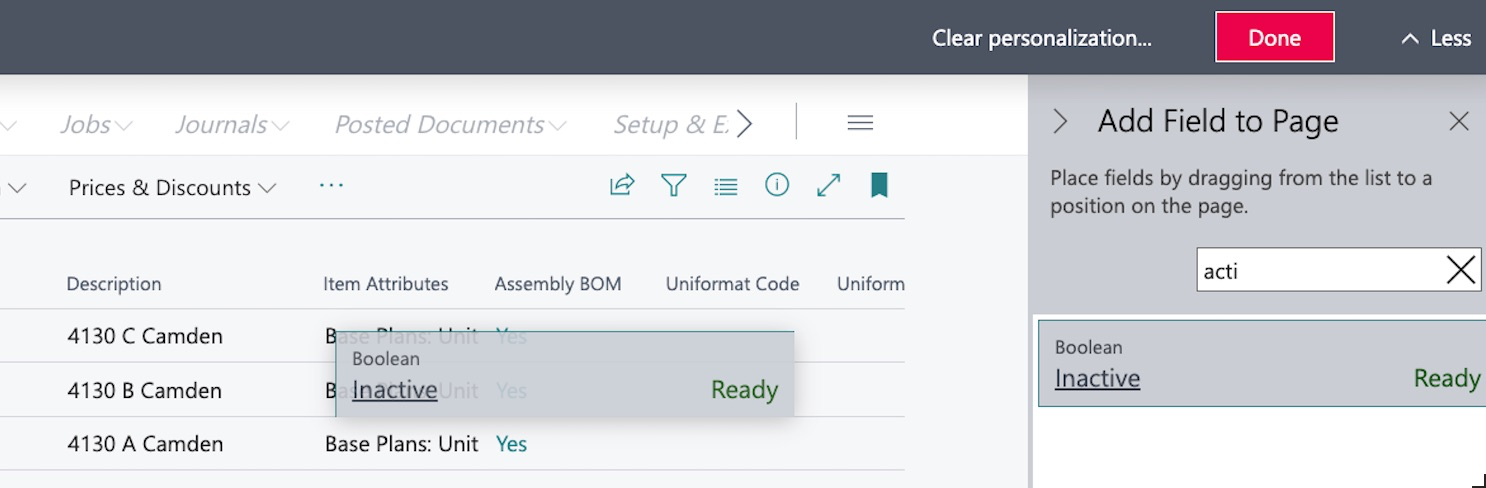
It now appears in the application:

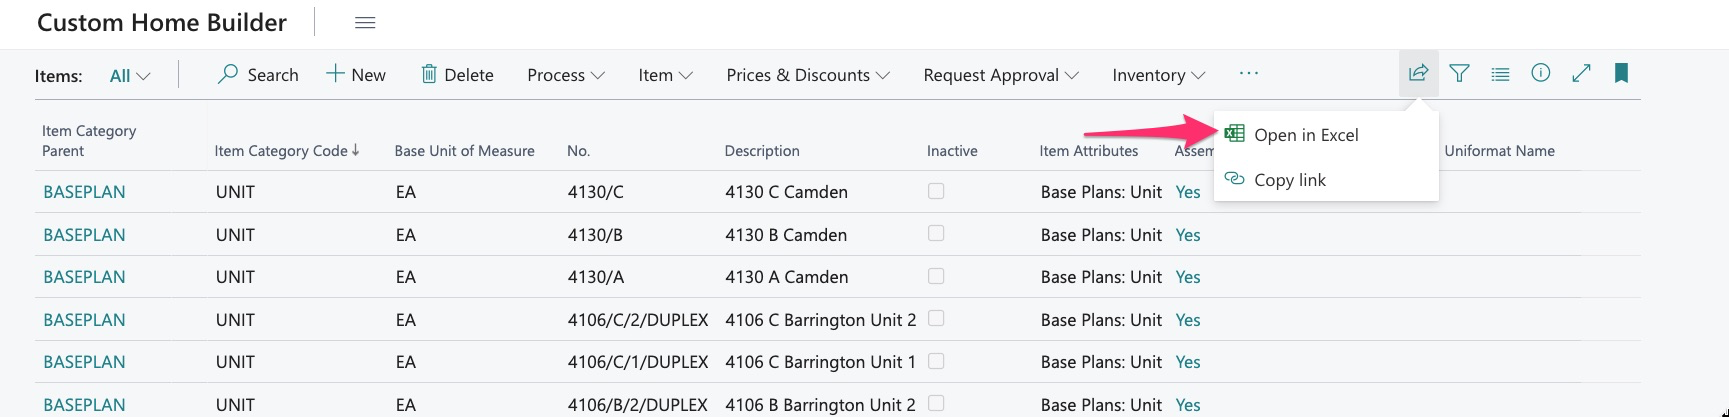
Exporting Data
At any time, we can export the data on screen into excel:
The exported information will appear in the same order as displayed on screen:
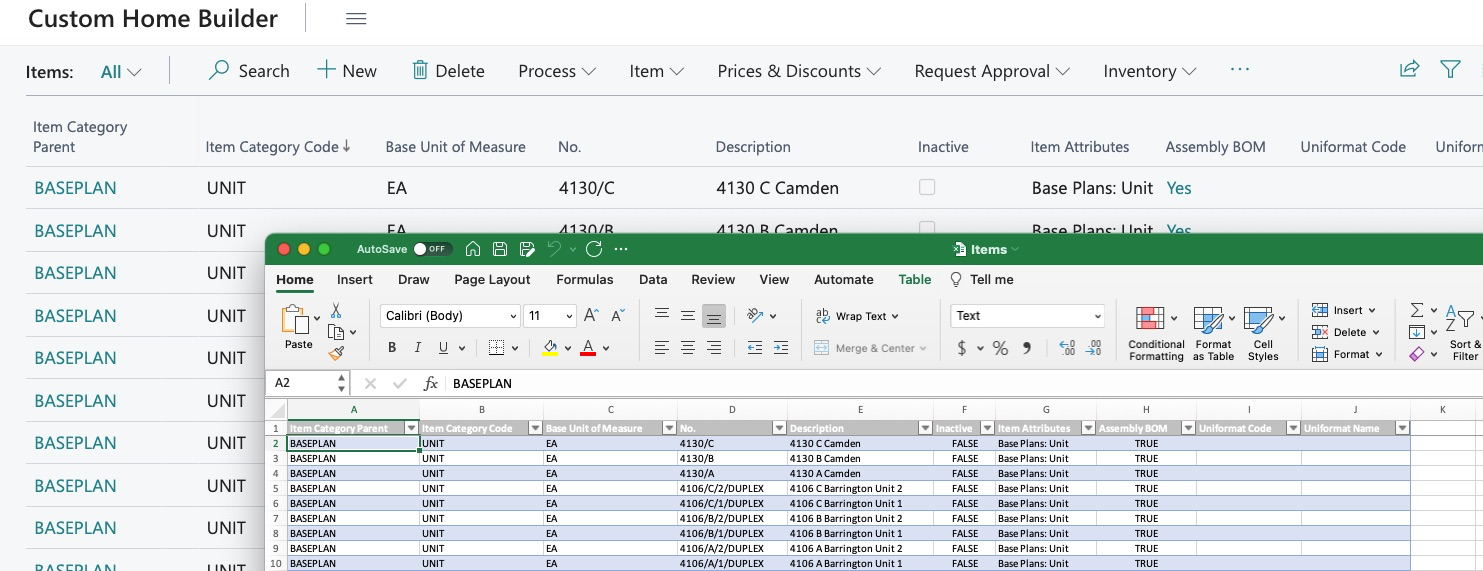
This allows user to filter and sort information as desired and export for use by all.
Some additional features:

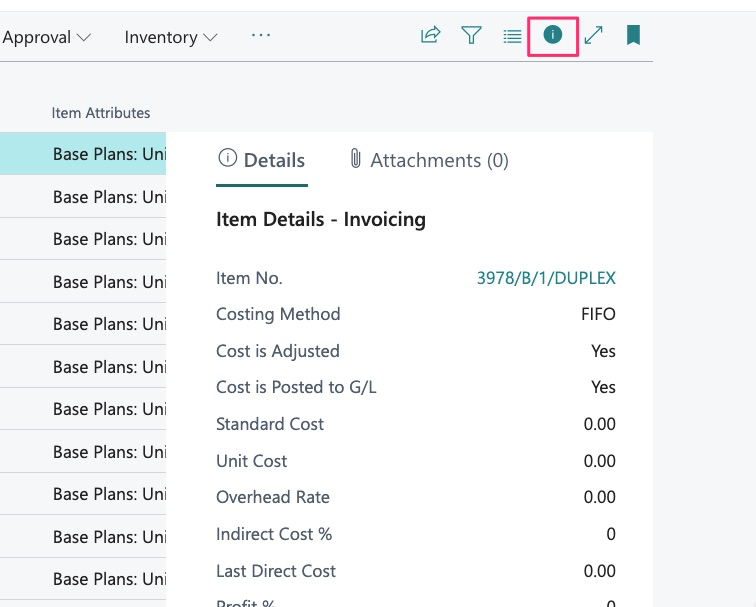
We have reviewed exporting and filtering; the next icon is for viewing:

This gives us some options on how to view the information on screen:

The Information button will appear as a quick dashboard and will remain on until you click it again:
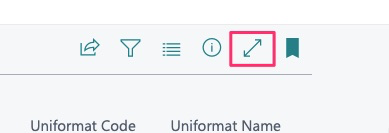
This function will widen our view:
Before:
After:

This feature allows us to bookmark the application to our role center:
Select it here:
And the application is now bookmarked here in the main menu:

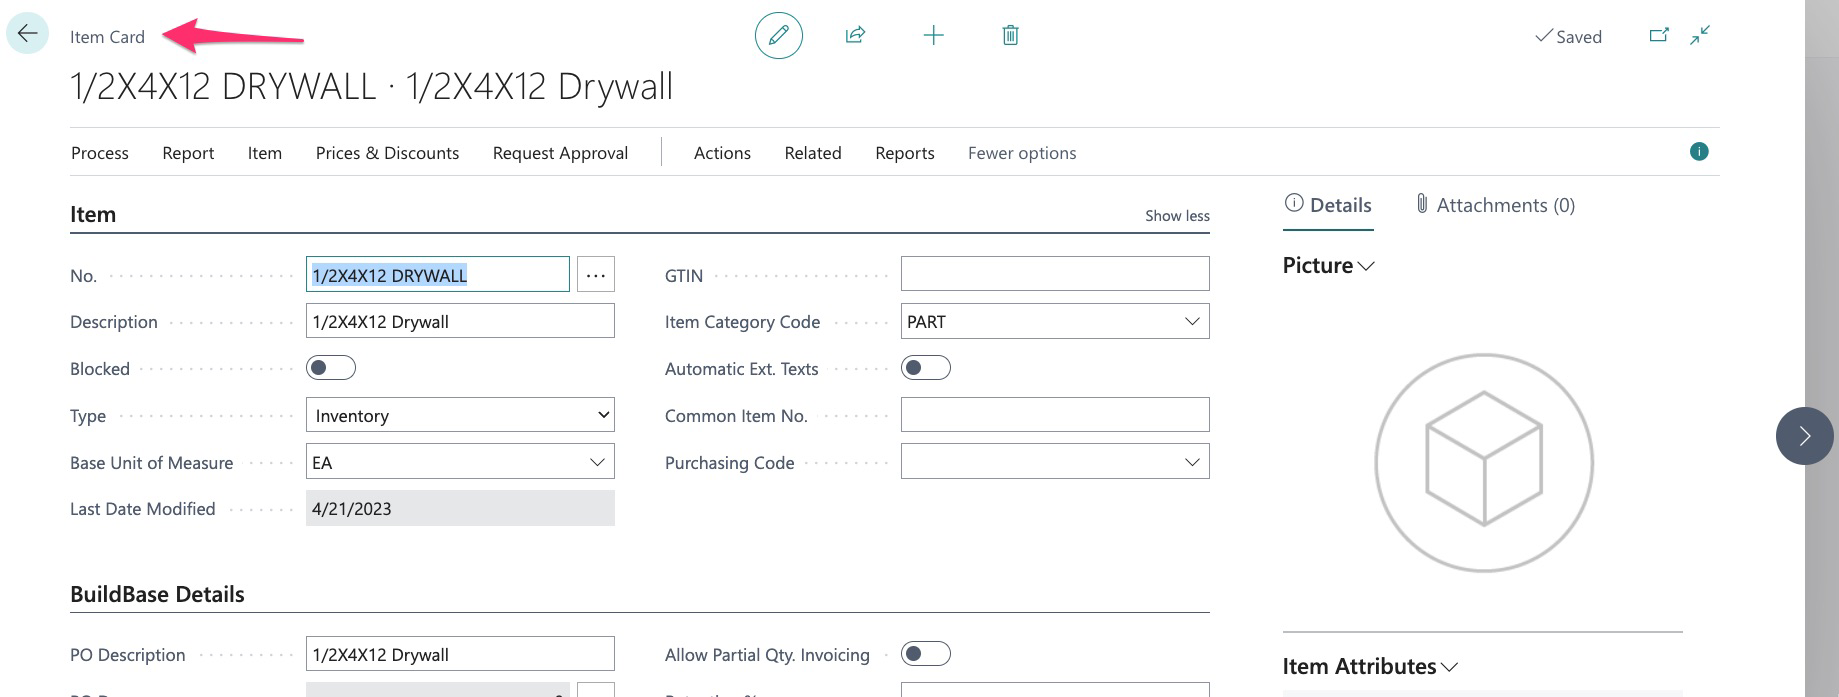
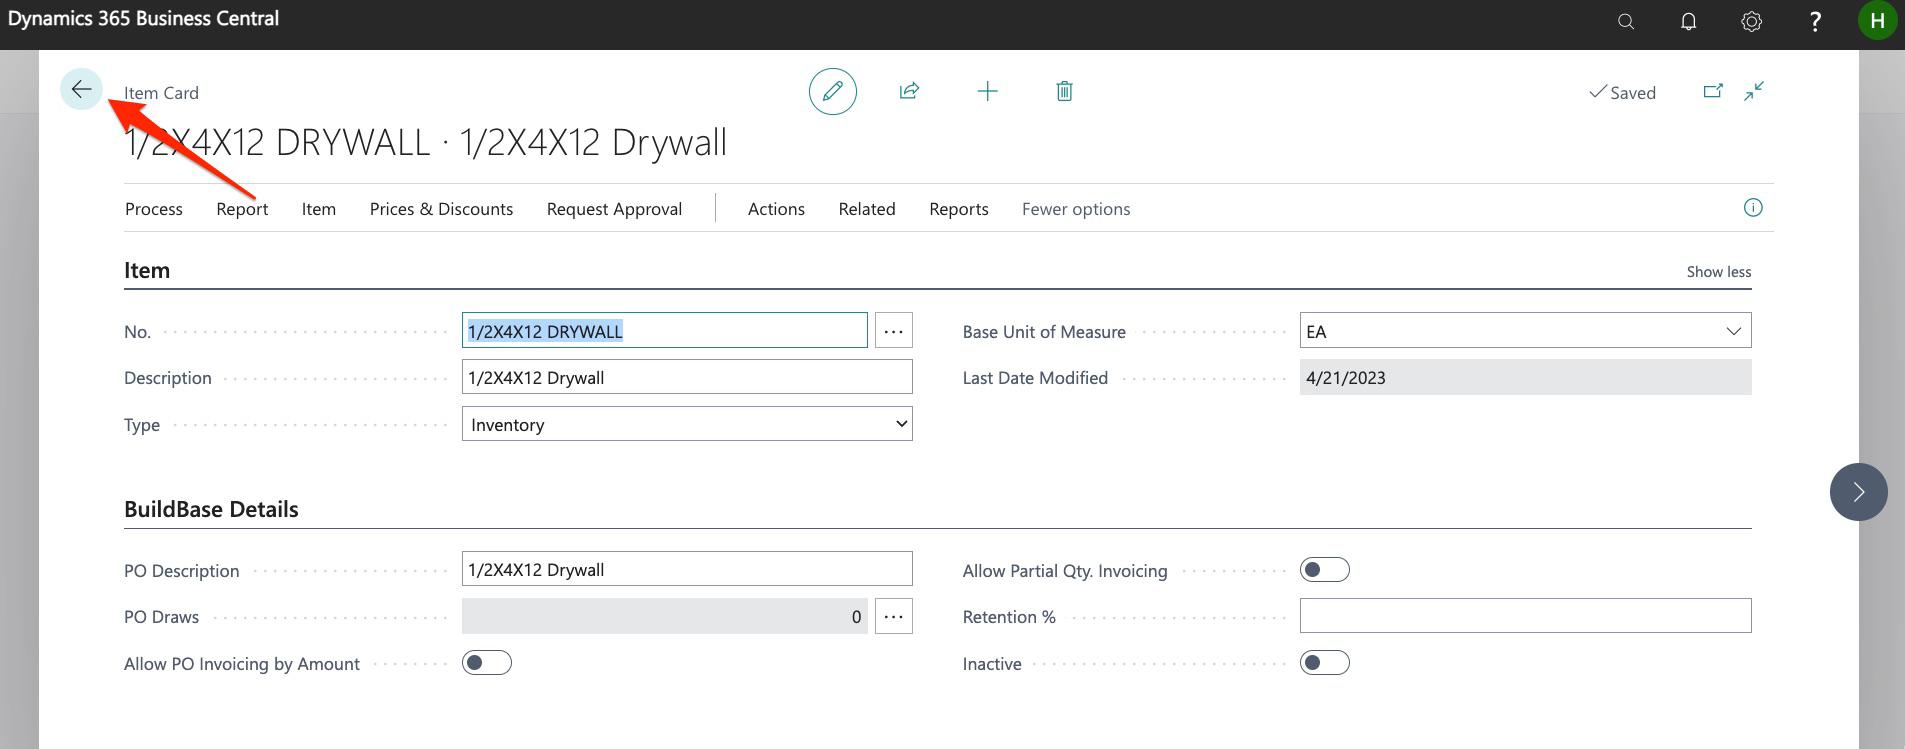
This covers basic navigation of the Item Library Main Menu. Now let’s take a look at an Item Card:

We are now in the item card for this drywall item:
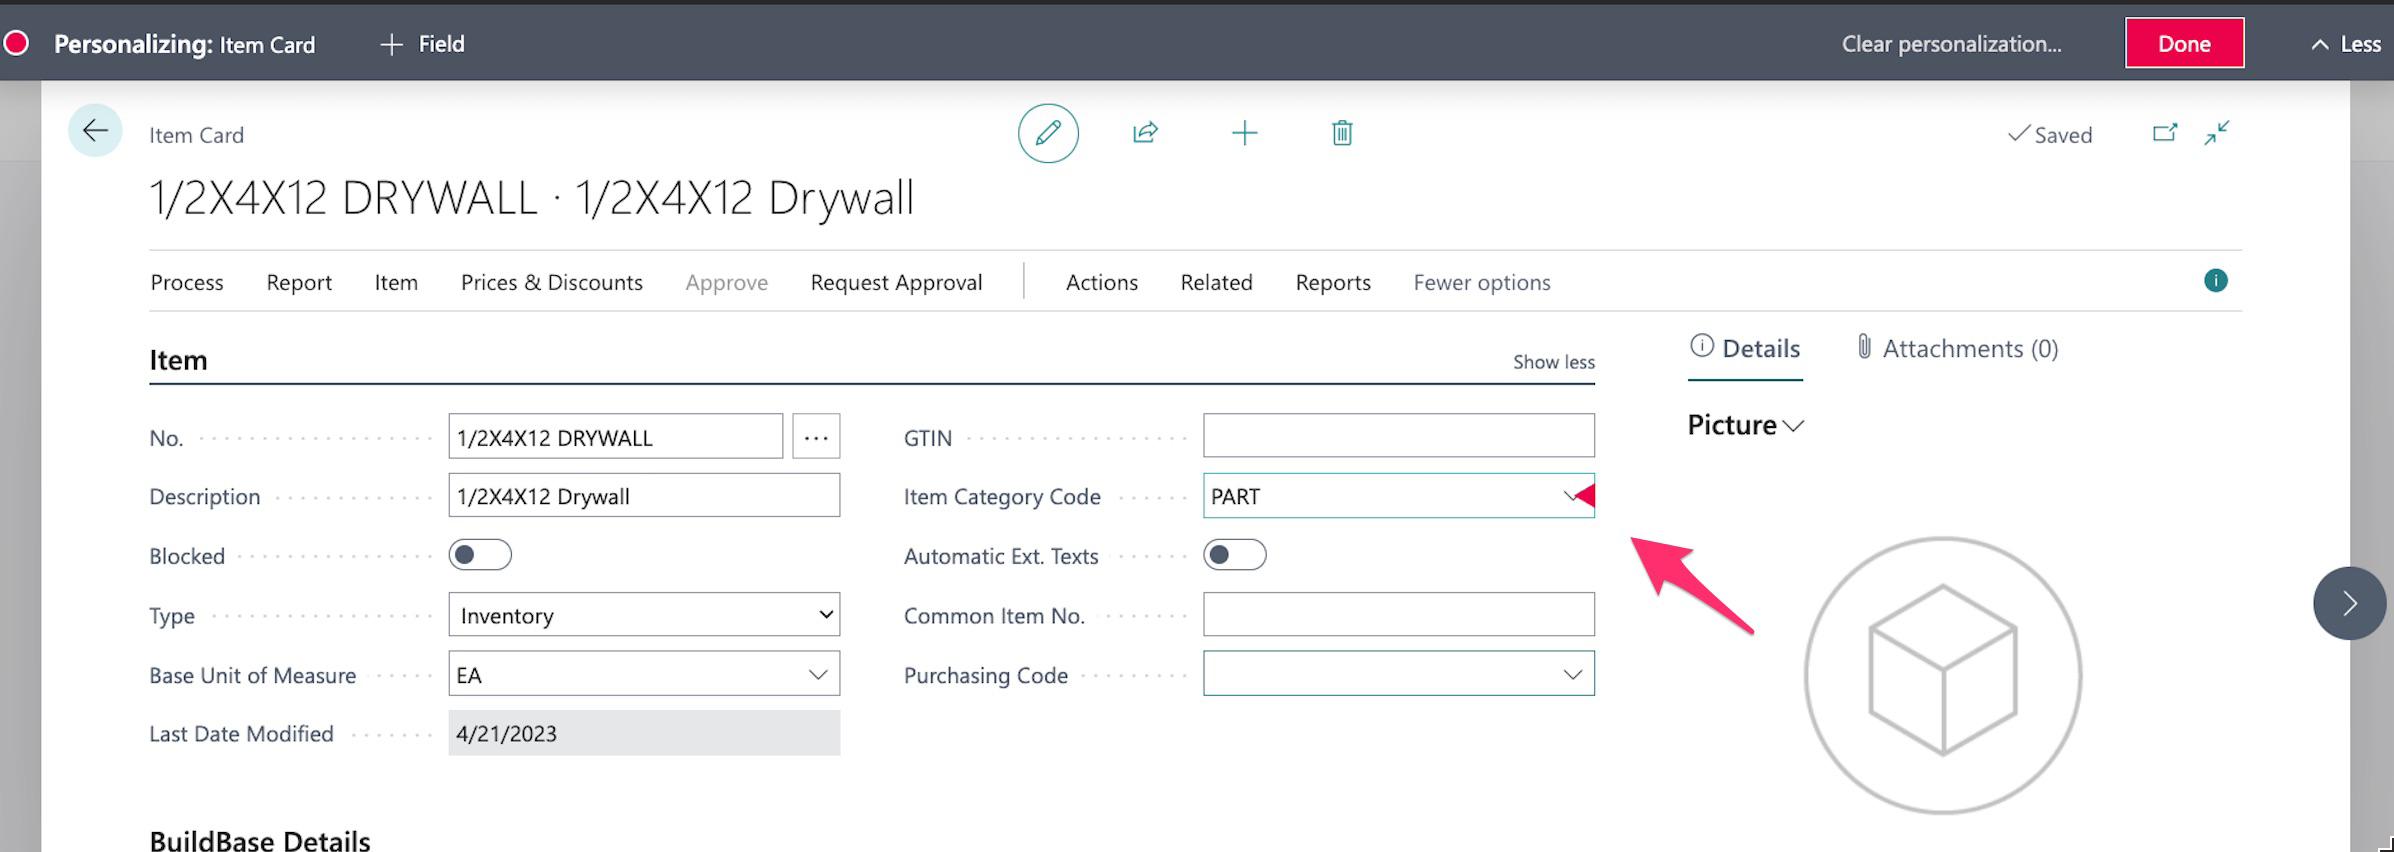
You will notice that in the item card, you can “Personalize” but use extreme caution with this as removing certain fields may be required to work with items:
When viewing an item, I may return to the main item library by clicking here:
Or, I can go to the next item in the item catalog by using the arrow here:
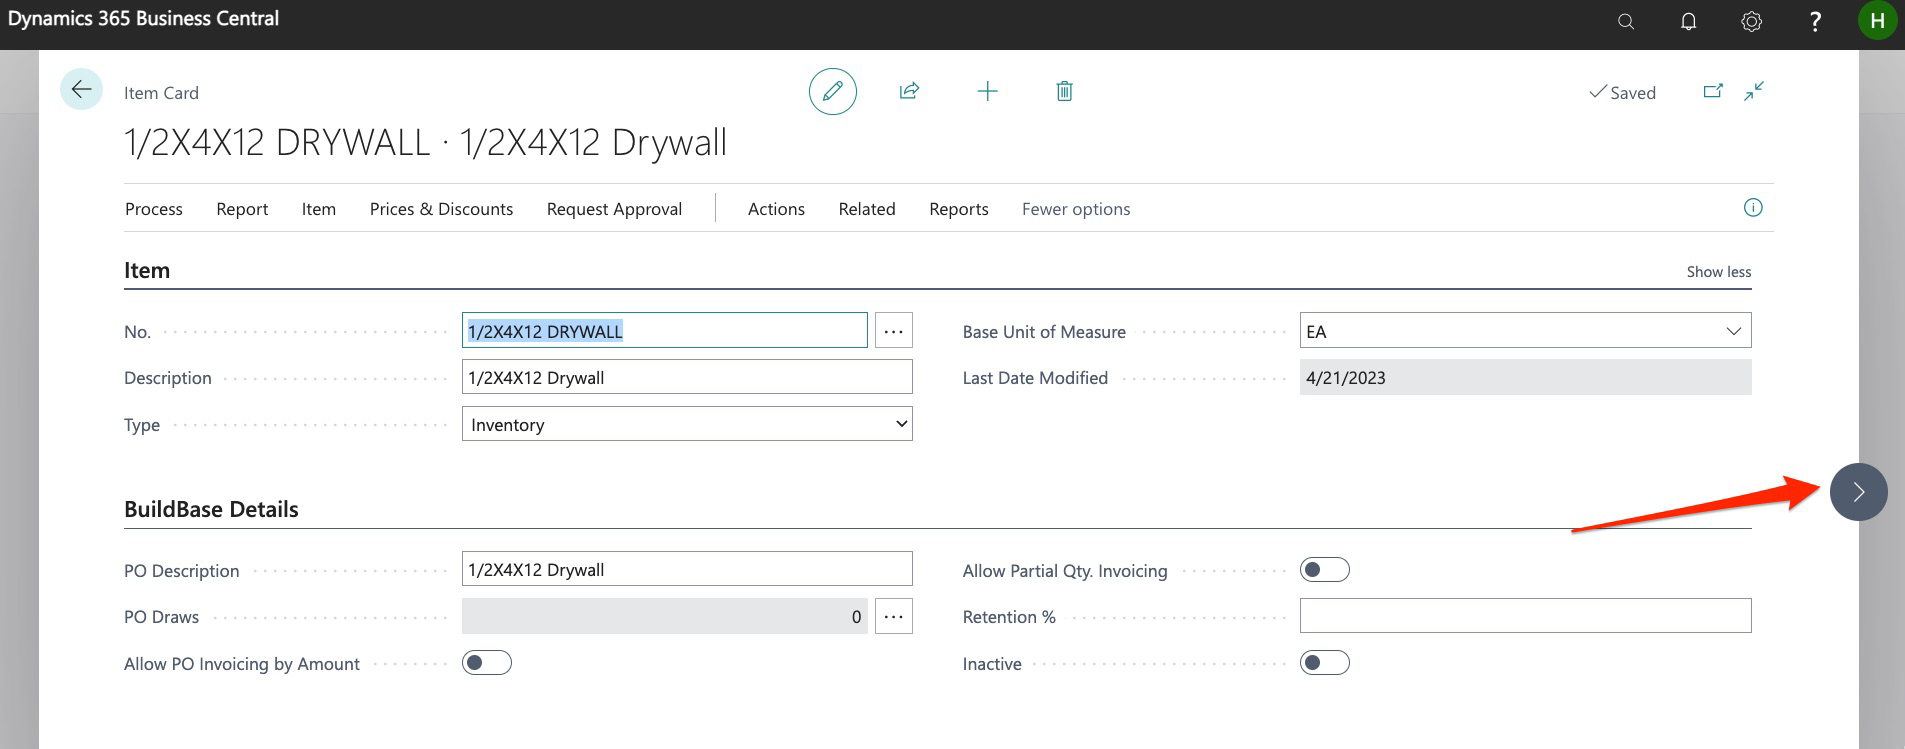
I can use these arrows to move to the next item before, or after:

This functionality works the same throughout Dynamics when in any card (items, jobs, etc.).
We hope you have found this guide useful, please see our training site for more guides.